
M6696 Sew Along Part 2 - The Skirt and Waist Band

Phew we made it thru that bodice and that always feels like quite the accomplishment, but we are moving along with the skirt and the waist band for part two of sewing pattern M6696.
There is darts all over the place in this dress and just like the top we have four of them. Two in the front and two darts in the back.

Press the front darts towards the back, and press the back darts towards the center back.
Moving right along into the pockets. If you recall in my adjustments video I mentioned that I didn’t care for the pockets as drafted but would use S9251 to create that round slash pocket and use those pattern pieces in lieu of the ones in the pattern.

When using denim, avoid cutting pocket facings made out of denim to minimize the bulk. I used printed cotton fabric for mine.
I’m using denim and as always trying to avoid bulk so I’m using a printed cotton for the pocket facings. It’s just one way to have a little bit of fun with your clothes. You can do this for pocket facings, plackets and even inside yokes. They will most likely never be seen but you will know they are there.
Once you are done with the pockets and top stitch, go ahead and join the two front pieces to the back. You now have a skirt.
Its time to join the bodice to the skirt and we will use the waist band for that. The waist band has single notches, double notches, it has seam lines… it is pattern markings galore BUT here are a few things to remember. Start at the center back. Center back of the skirt, center back for the bodice and center back for the waist band. For the bodice you will see two circles in the back. If you gathered the back bodice or did a pleat (like I did) these need to meet and match with the waist band. Now grab the skirt and match the center back for the waist band and the center back for the skirt. Once those are all matching you can keep going.
Match the side seams for the bodice and the skirt for both side seams! Lastly match the darts for the bodice and the skirt. If you are like me and you made a few fitting adjustments along the way this is the best way to make sure they are all aligned.

Match the side seams and match those bodice darts to the darts on the skirt!
Its important that you do this, and I will say it again. Match those seams! This is the difference between a homemade looking dress to one that others will ask “Where did you get it?”.
Lastly for sew along number 2 is the hem, and I must say I’m glad the pattern is asking for the hem now because I despise hems and some times its the last thing I want to do. So turn up your hem 1 - 1/4” and then turn inside a 1/4” for a clean finish. I’m using denim and I don’t want any bulk on my hem so I will just finish my raw edge with my serger and turn up 1 -1/4” and then top stitch.
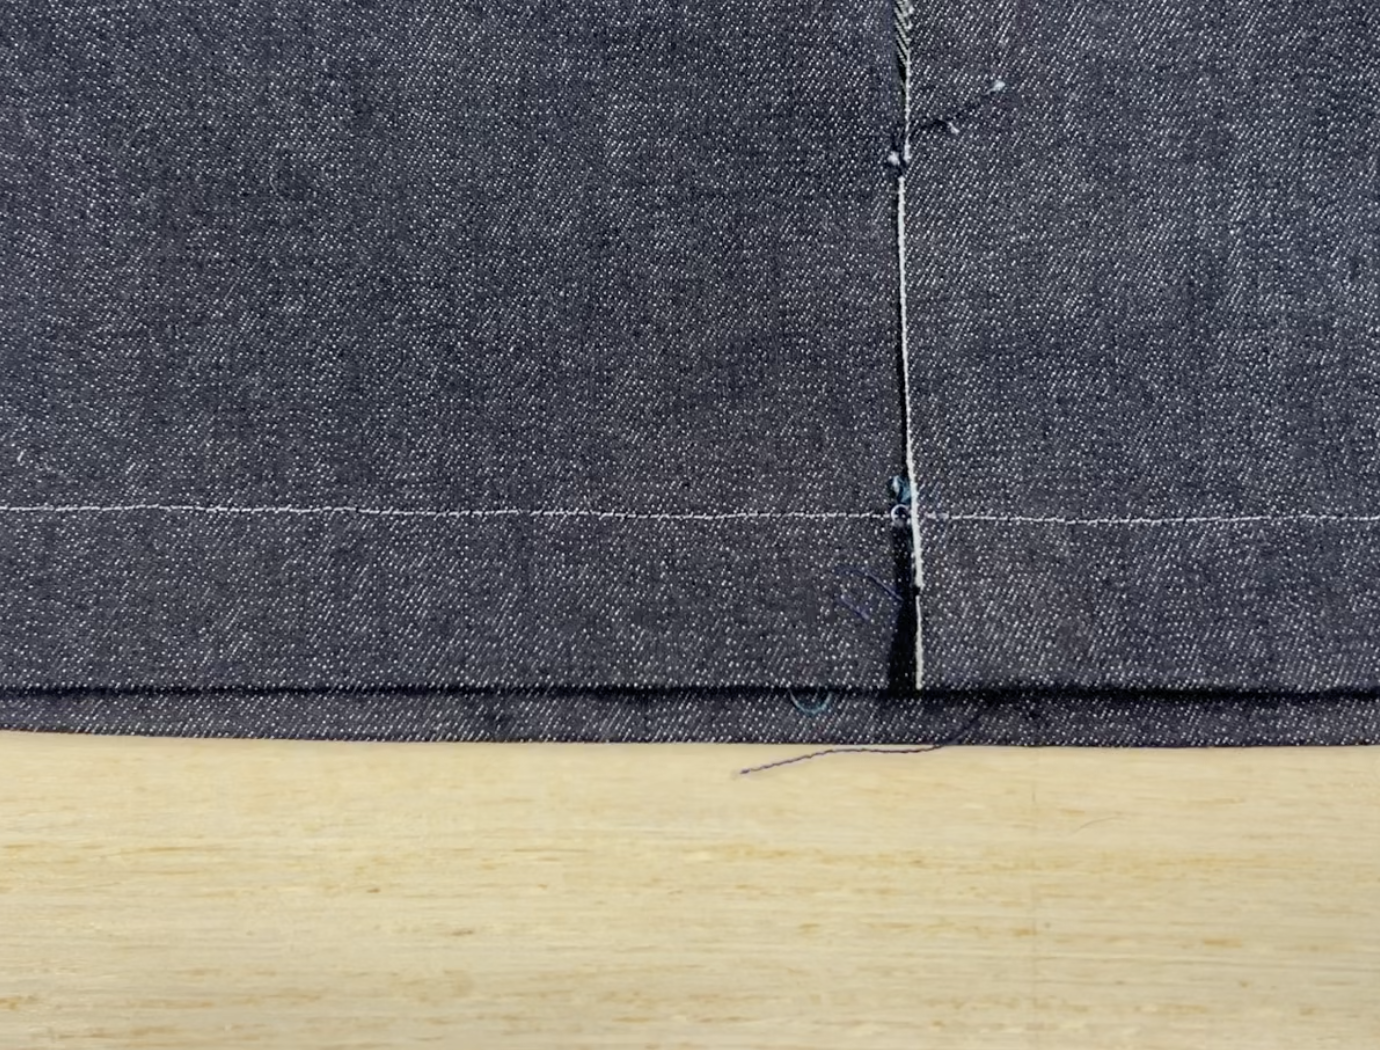
Topstitched hem, not quite finished but we have to do it before we do the plackets.
We are done with part two of this dress….