
Sew Along M6696 Part 1 - The Bodice

Last week I talked about all the adjustments I made to the M6696 pattern it self, changes that I knew I would have to make like a bicep adjustment and a few that I just didn’t care how they were drafted such as the pockets. This week we dive right into sewing this shirt dress. I must say this is a great pattern and the instructions are pretty darn good.
You can buy the pattern at McCall’s Website here is a link to the pattern. I’m using a light weight denim fabric with stretch. I got it from Melanated Fabrics about a year ago and I’m afraid it is now out of stock but this pattern works with a variety of fabrics. Using denim is the reason why I took the majority of that pleat (or I should say gathers!) in the back of my bodice and why I’m grading my seams to minimize bulk.
I try to keep my sew along videos condensed into one video but in order to go thru this entire pattern it will have to be split into a few different videos. We sew the bodice with darts, we attach an inside yoke using the burrito method, there are plenty of opportunities to split stitch on this pattern so I’m going to show you how to save some time but also make sure your inside yoke looks beautifully finished. We also set in sleeves and I teach you how to trouble shoot if your sleeves have some a little too much extra ease like this pattern does.
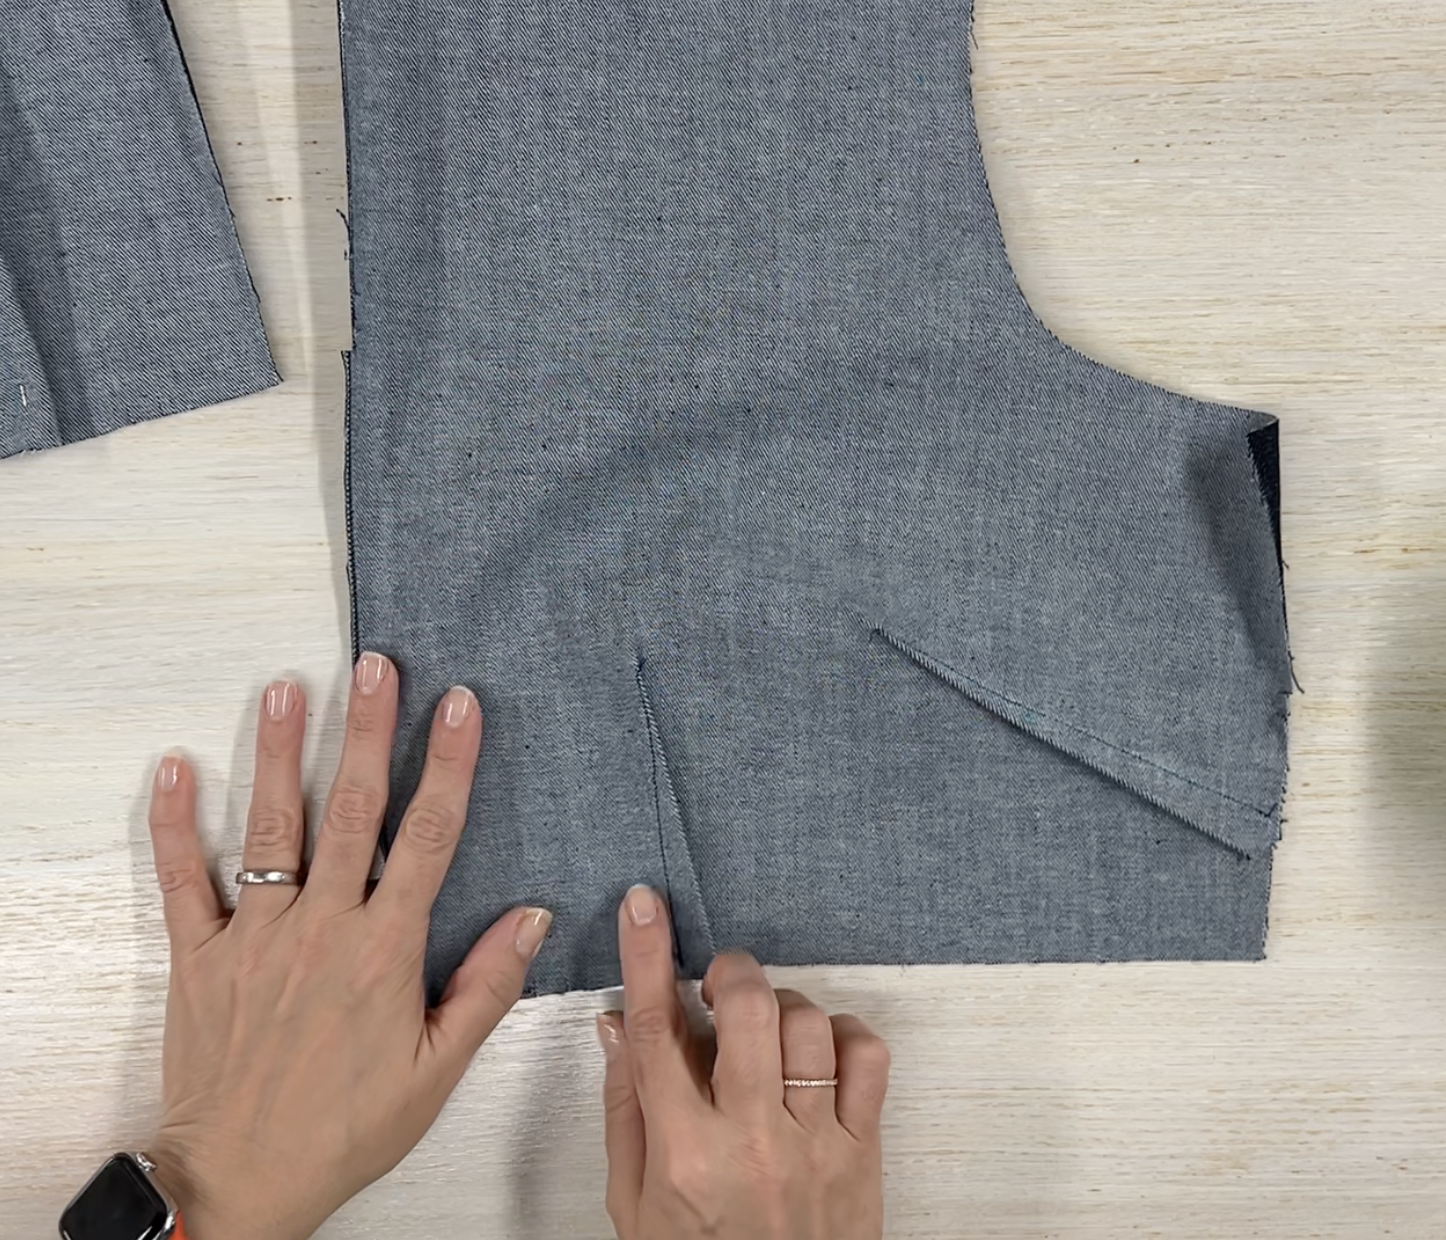
Once your darts are done, make sure to press them down or towards the back.
As always don’t forget to press every single seam after you have stitched it. It makes for a professional looking finish, and it’s the difference between something looking homemade versus a beautifully finished garment.

We deviated this time around from slip stitching the inside yoke. Behold the burrito method.
I’m all for using a little bit of needle and thread from time to time. It’s part of the slow sewing that I want to do this year. But that inside yoke is not the spot that I want to slow down, perhaps we will do that for the sleeve cuffs or the collar. Using the burrito method to install the inside yoke is a quick way to get a beautiful finish on your shirt dress.
I mention in this video that one of the things I saw from a reviewer on Pattern Review for this pattern was that the sleeve ease on the sleeve caps for this pattern may be a tad too much. If you sew them the usual way we may get puckers no matter what. So if you have that issue, just go ahead and pull the sleeve piece in 1/8” toward the top so it is easier to ease it in.

Set that sleeve in just 1/8” at the top of the sleeve cap so it’s easier to set it in.
Setting sleeves can be tricky, trust me I know all about them! But when do you know when you got the job done? When the seams at the bottom of your sleeve are aligned and when there are no puckers.

The seams are aligned!
I told you on my adjustments video that I wasn’t so sure about those sleeve cuffs and sure enough, once I stitched them in and tried on the bodice it wasn’t going to happen. I went ahead and drafted an simple sleeve cuff with no pointy ends. I stitched it in the same way as I did with the original sleeve cuff pattern and I slip stitched the modified cuffs for a clean finish. If you are not feeling like using needle and thread just yet, top stitching is perfectly acceptable. Just make sure its straight!

Modified Sleeve Cuffs
That’s the beauty of sewing your own clothes. Don’t care for the way a pattern piece was designed? No problem, you can change it! This was one of the easier pattern pieces to change. Just measure the length of the bottom of the sleeve pattern piece. Remember the bottom of the sleeve already has a 5/8” seam allowance, so you have the modified pattern piece width. Then I knew I would have to make the pattern piece at least 3 inches deep because I was going to fold it and then use 5/8” (times 2… remember two seams!) to stitch it in and then slip stitch it, so I had a width of 1-3/4” on my sleeve cuff. Don’t be afraid to draft your own pattern pieces, it’s all about trial and error…. you do have to factor in a little bit of math too, but keep trying and you will get better at it.