

The Tale of Two Toiles

Let’s start out with the question…. do you make muslins or toilles? Yes? No? I used to not do them and tend to fit as I go. But there are times when you really have to make sure you are happy with the fit and as I have been putting a little bit more $$$ on my fabric I have been trying to focus a little bit more on making muslins and sure enough I’m glad I am spending the time on them. Not all patterns are well drafted, not all patterns fit as intended and not all patterns end up looking the way we envision them to look on ourselves. I’m no different.
Last week I worked on a muslin for the Fira Dress by Liesel and Co. The pattern cover is lovely but I noticed how another maker on Instagram had a heck of a time achieving the look she wanted whilst making it. It all looked well in the front but the back had a huge sway back adjustment to be made. I know this pattern was also tested and most testers were rather happy with the outcome, but this is not the first time I have seen people have to do adjustments to the sway back on this pattern which seemed rather odd but ok. I’m glad I made a muslin because sure enough…. I had the same issues that others did. Upon seeing the overall dress on me, I must say that I didn’t care for the style and I chucked it. I also looked at adjustments on the Fira dress and I believe someone wrote a blog post on the designer’s website about making adjustments to the pattern, and that sway back adjustment is there. I wonder if this came up when the pattern was being tested.
If you are curious I would have had to lower the bust dart 1”, raise the armhole as you could see my bra, lower the V neck (it’s way too modest for me), do a sway back adjustment… in the end I didn’t think it was worth the time it would take to make it, let alone cut into my nice sage green linen. So I’m saving my linen and thinking of another project to work on. For now, if I do make this pattern at a later time, I’m going to stick with the top vs. the dress.

I also worked on M8325 over the weekend. I told myself its a Learn to Sew pattern, so it should be a slam dunk. It is an easy pattern but it is time consuming. So I had some linen and decided to make a muslin because the ease on the bust was large, super large for this pattern. I realize its a Learn to Sew pattern so they perhaps put tons of ease so the maker doesn’t get discouraged trying to fit the pattern.
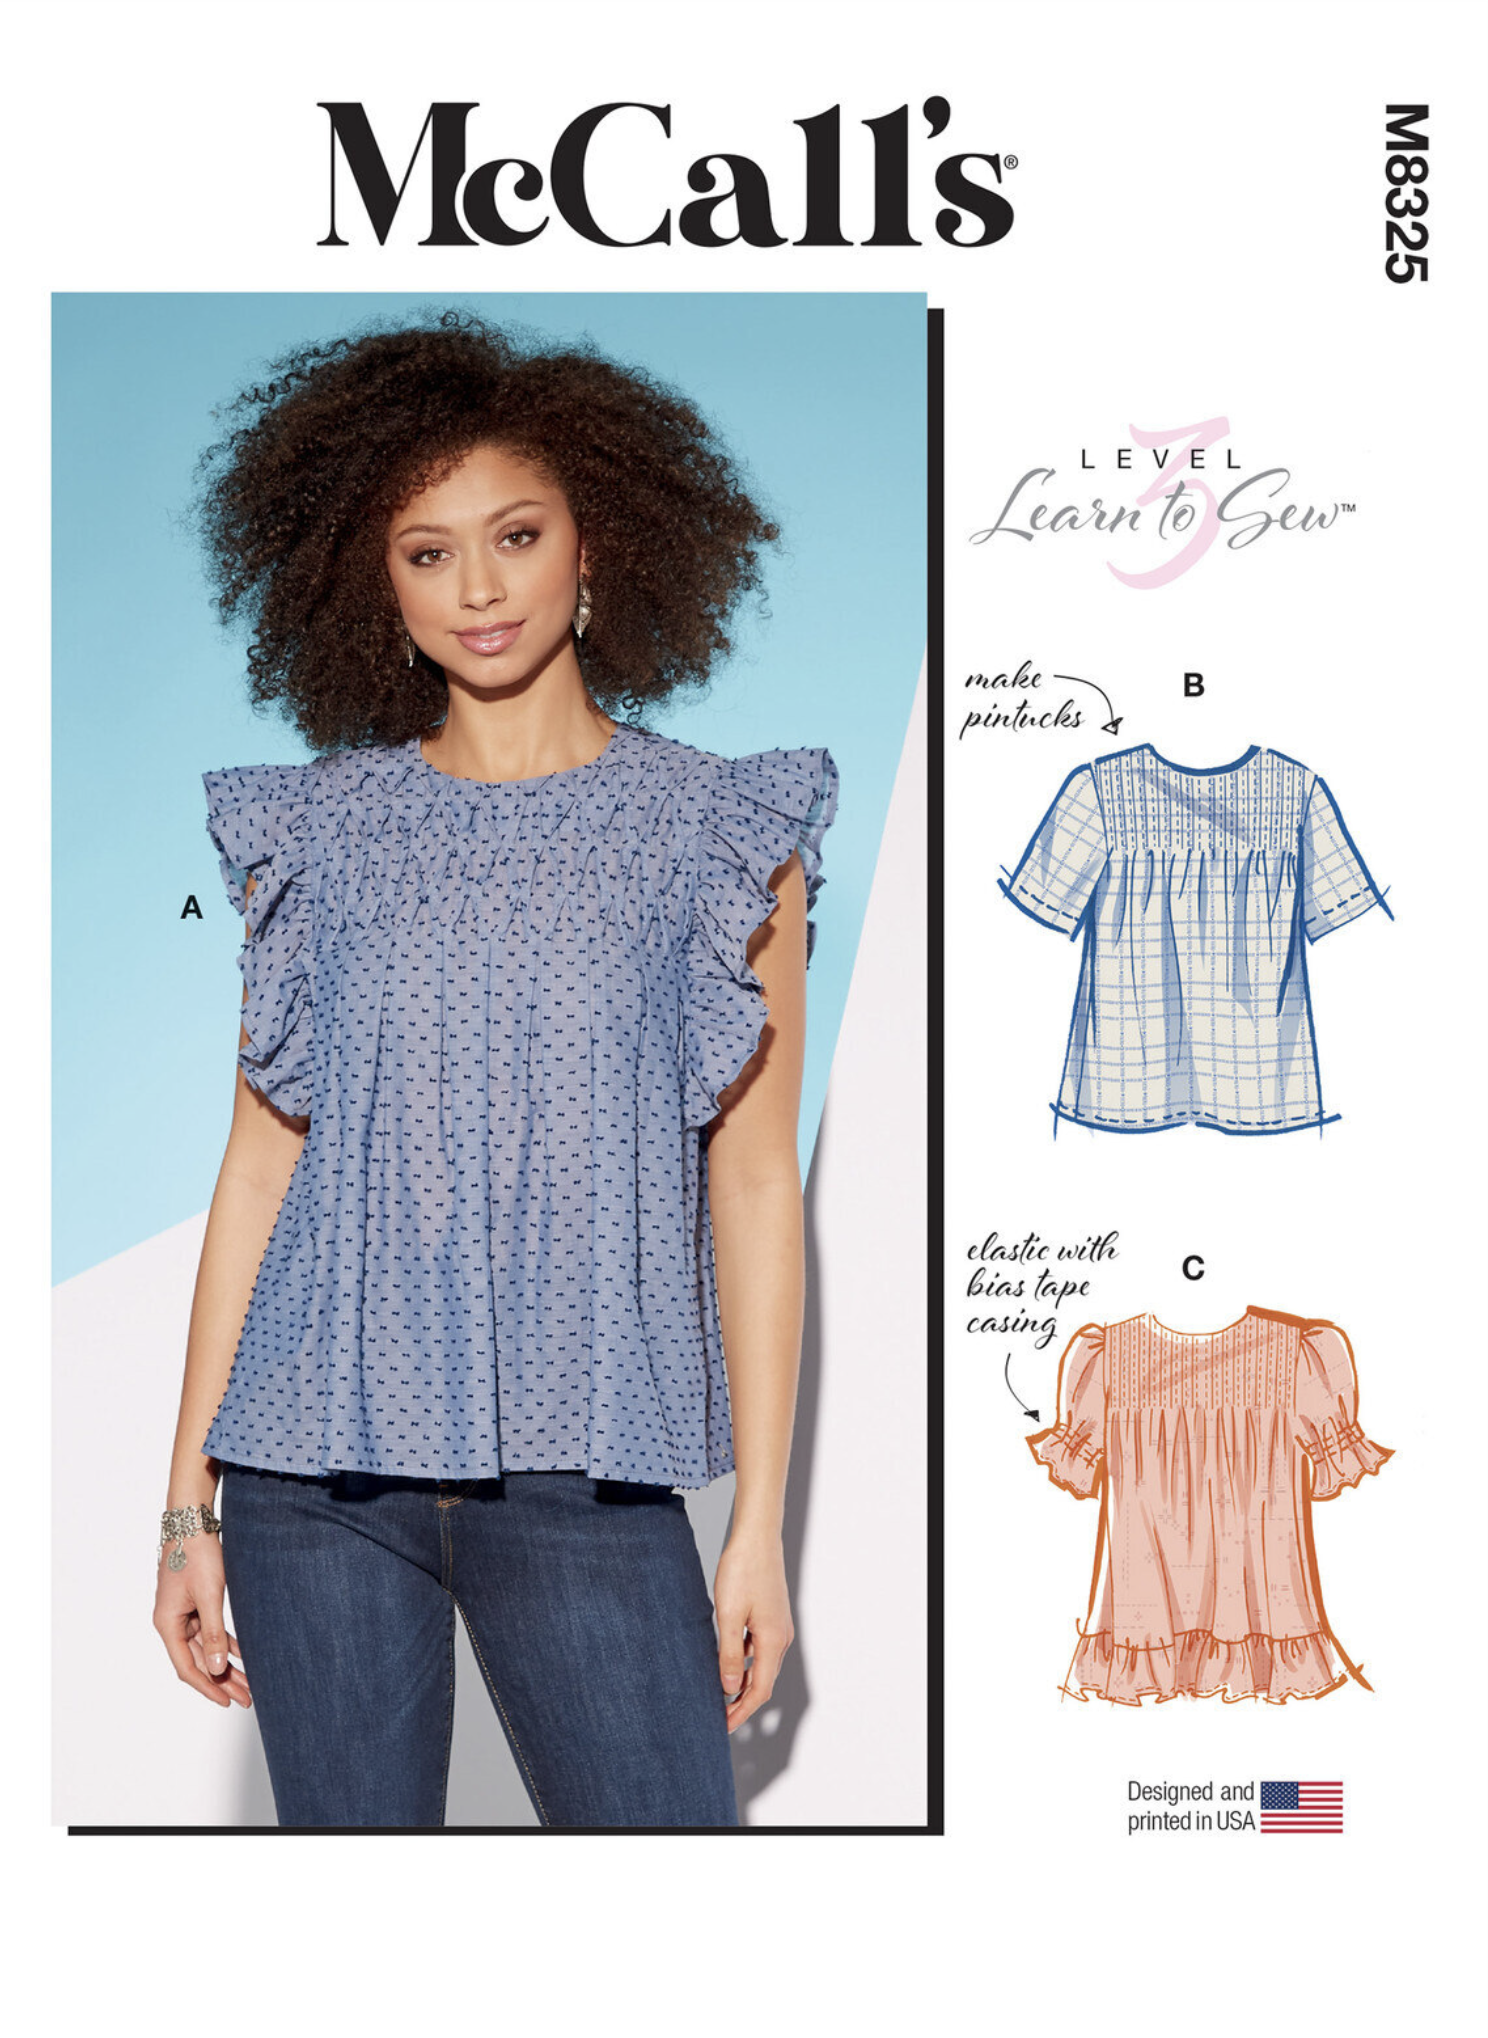
I’m going to cut to the chase and tell you right now, if you make this pattern, pick some very light fabric with some drape (as in Challis and light as a feather Swiss dot)… and while you are at it, stick with view A… and size down. In my case 2 sizes down! The pattern would have had me using XXL based on my bust measurements, I used Large and it was still way too big. For a pattern like this you want to make sure that your shoulders fit. I reached out to the designer thru Instagram and she was kind enough to answer my questions hence why I went down a few sizes.
After working on this pattern and making a muslin… I have so many questions for McCall’s about this pattern. First of all, did they test the pattern in the larger size range? What I mean by that is when a pattern is made, it’s usually drafted for size 8 and then graded from there to other sizes.
Did someone test the sleeves on this pattern (they are enormous by the way)… on the Size Large the bicep measurement is 18”. You read that right…. 18”. That’s BIG and its even bigger for the other size ranges! This is coming from someone who usually has to do a bicep adjustment and I was already expecting to do this adjustment on this pattern so I don’t know if I was pleasantly surprised when hay I have to reduce the size or I should have realized it was a RED flag for what awaited me. I’m not gonna go into details but lets just say… I dont look cute on it, and stick with Rayon Challis for this pattern… and if you have a large bust go return it to the store right now.
Suffice to say, I’m glad I made a muslin and as I mentioned if you do try this pattern stick with very lightweight fabric… I think linen may even be too thick because once you do the pintucks and if you do decide to do the honeycomb pattern which is so fun (and I loved it!) I also think the fabric will be gathered towards the front, the bigger the size, the more fabric, the more fabric the less shape it gives you. Also throw the facings off to the side and use bias tape for the neckline. Make it easy on yourself.
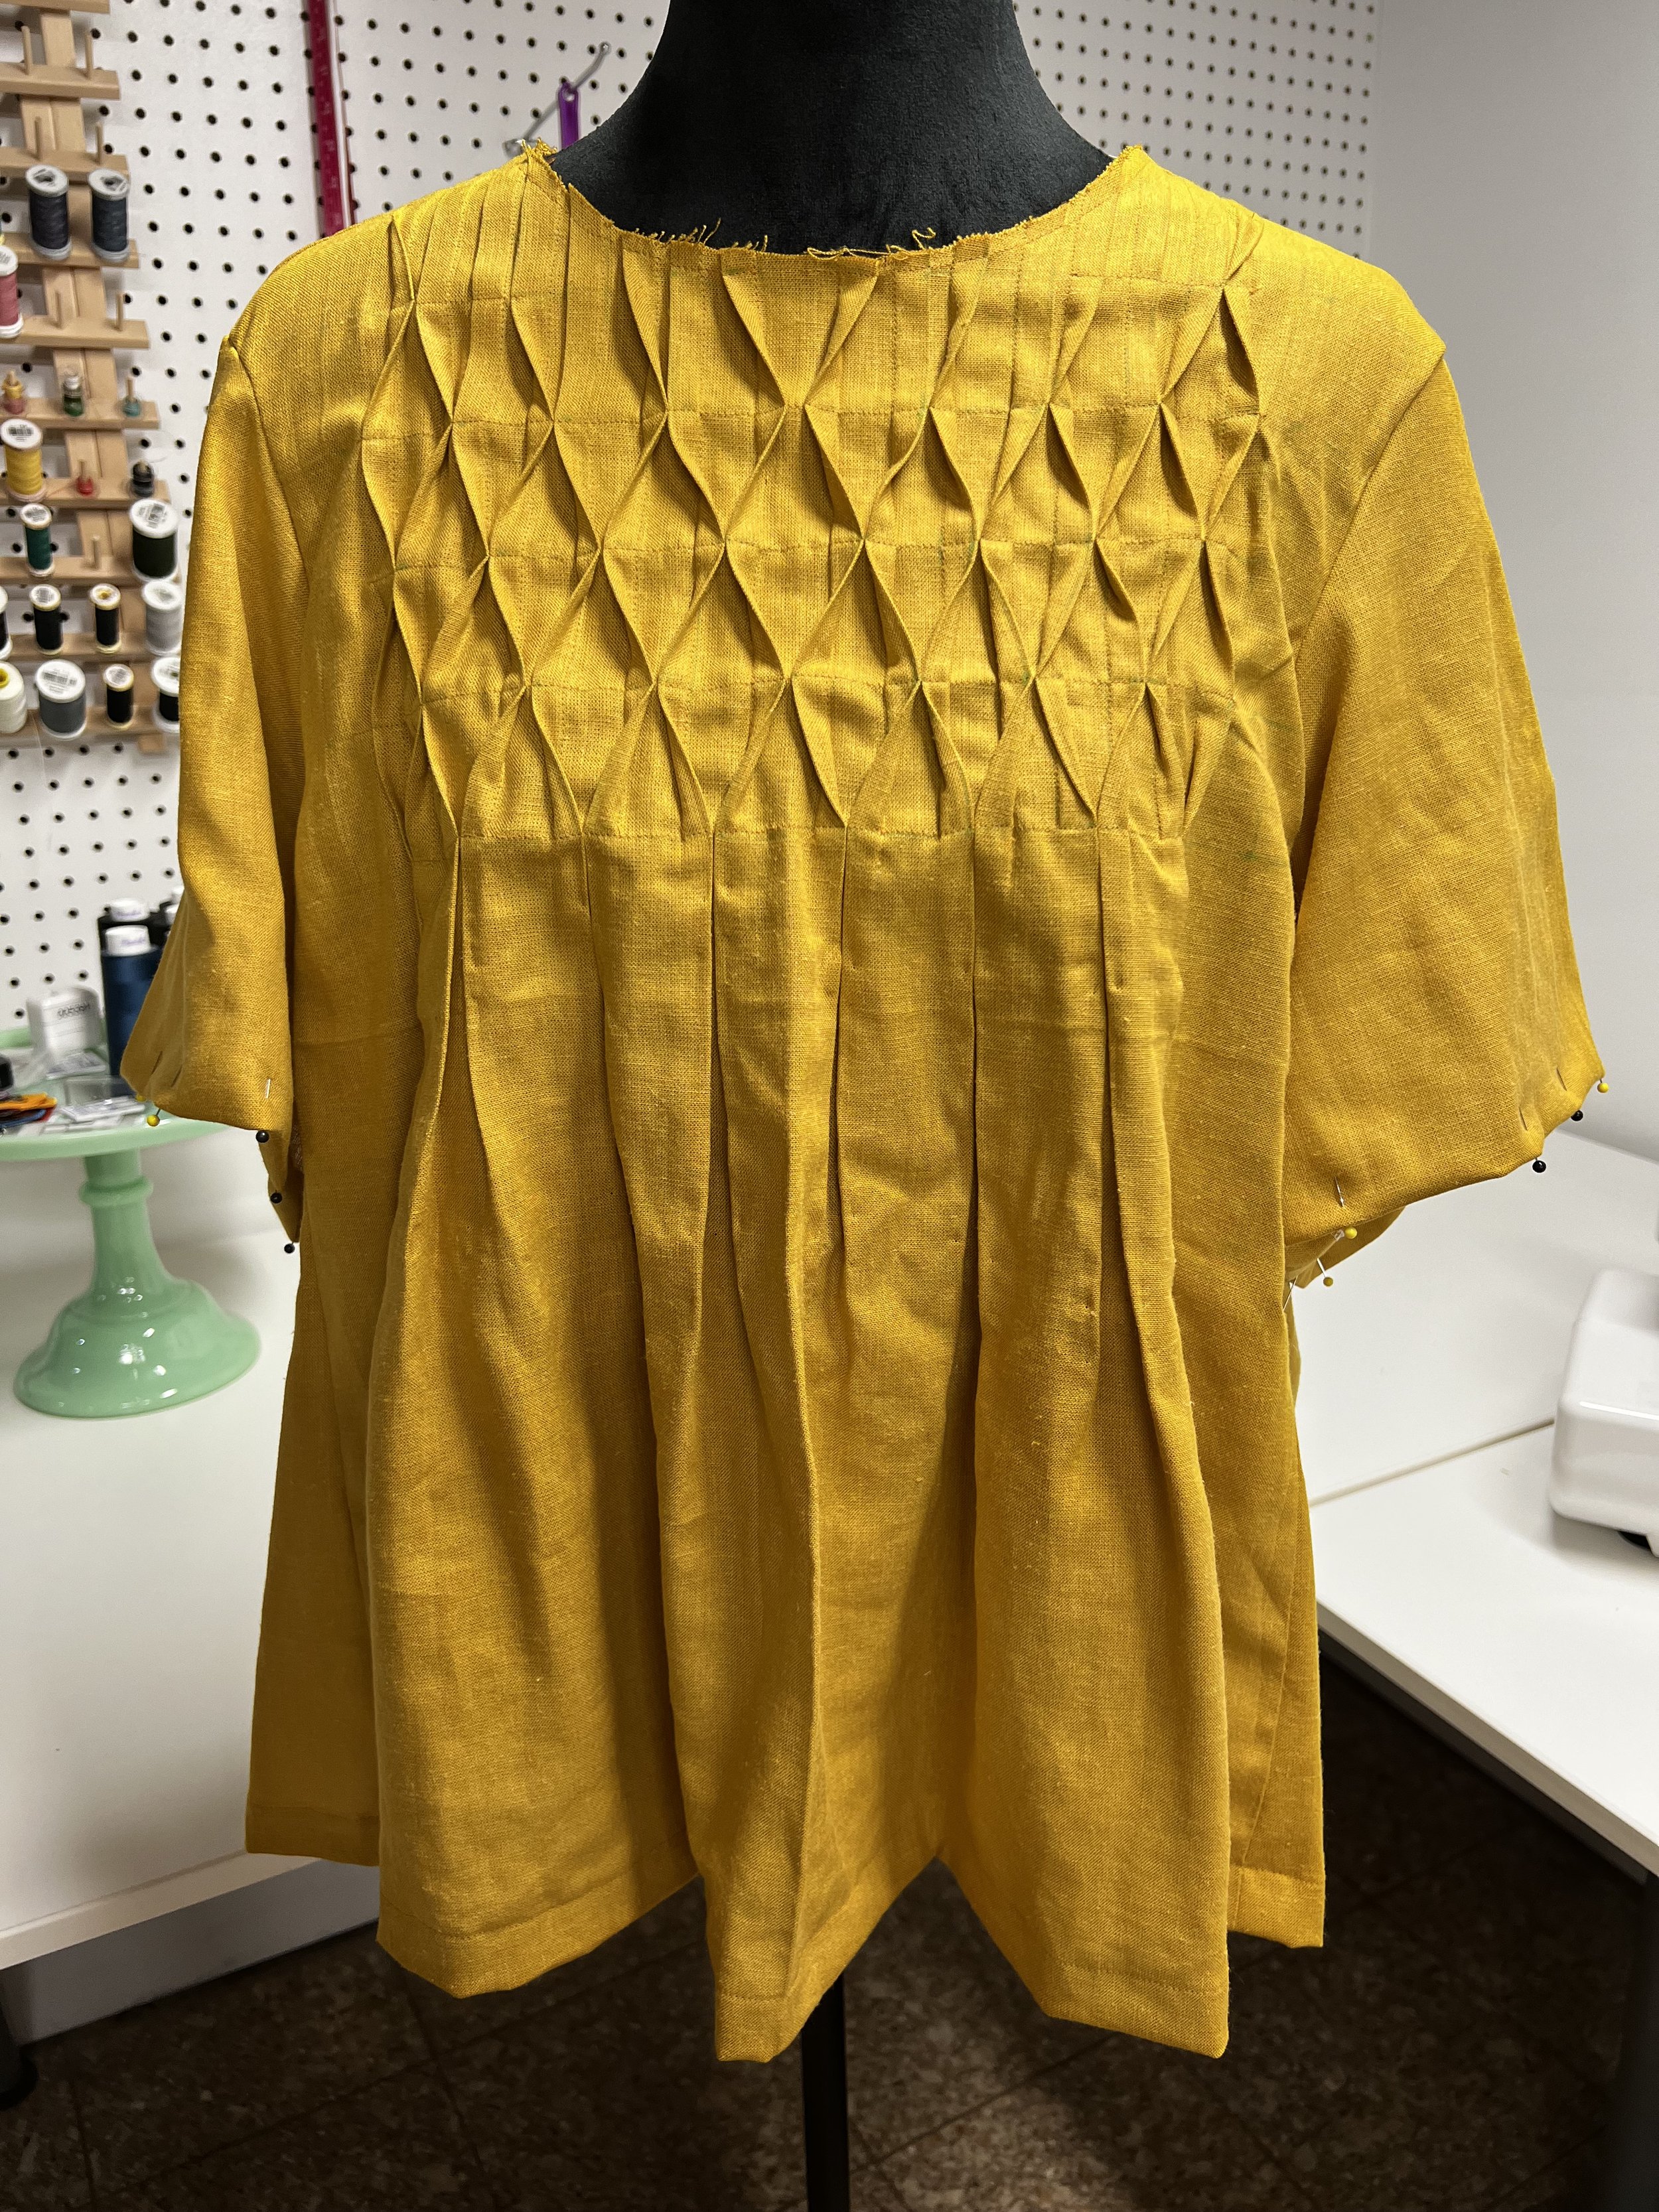
My unfinished muslin for M8325
In conclusion glad I made those muslins. I get a little sad when something doesn’t work out but I tell myself I’m going to give myself 24 hours to silently sulk on it and then move on!
Sew Along for M8104-Neck band fix and Adjustments to McCalls M8104 aka “Dawn McCalls”
Step by Step Tutorial on how to Sew McCalls M8104 a sewing pattern for an empire waist dress with a button down front.

Click on the image for a YouTube video on how to Sew McCalls M8104
Didn’t want to make a toile, but thankfully I had some leftover ugly rayon fabric around here which is perfect for a muslin. You can purchase the pattern from Something Delightful Website M8104. I purchased this Telio Fashion Fabric from Melanated Fabrics. It is now sold out by you can find it Troy Bluestone Telio Fabric. Here are the changes I made:
Cut a size 24 for the shoulders but a size 22 everywhere else. I wanted lengthen the bodice as my apex is a little lower.
Graded the length on the back bodice piece as I want it to match the front bodice but I don’t want it sitting too low on the back waistline..

Took out 5/8” from the center back bodice piece and graded it to zero on the sides of the pattern so it meets the front bodice at the sides.
Raised the neckline on the front bodice.

Raised the neckline by adding one inch to the front bodice at the center front and graded it to zero at the shoulders.
I had to redraft the band neck band piece no. 10…. and woah. This is were Dawn McCalls M8104 goes from an easy slam dunk to sew pattern to a beast that is poorly drafted. See instructions below how to check the back band is too small and also how to fix it.
ABOUT THAT NECKBAND from hell…..
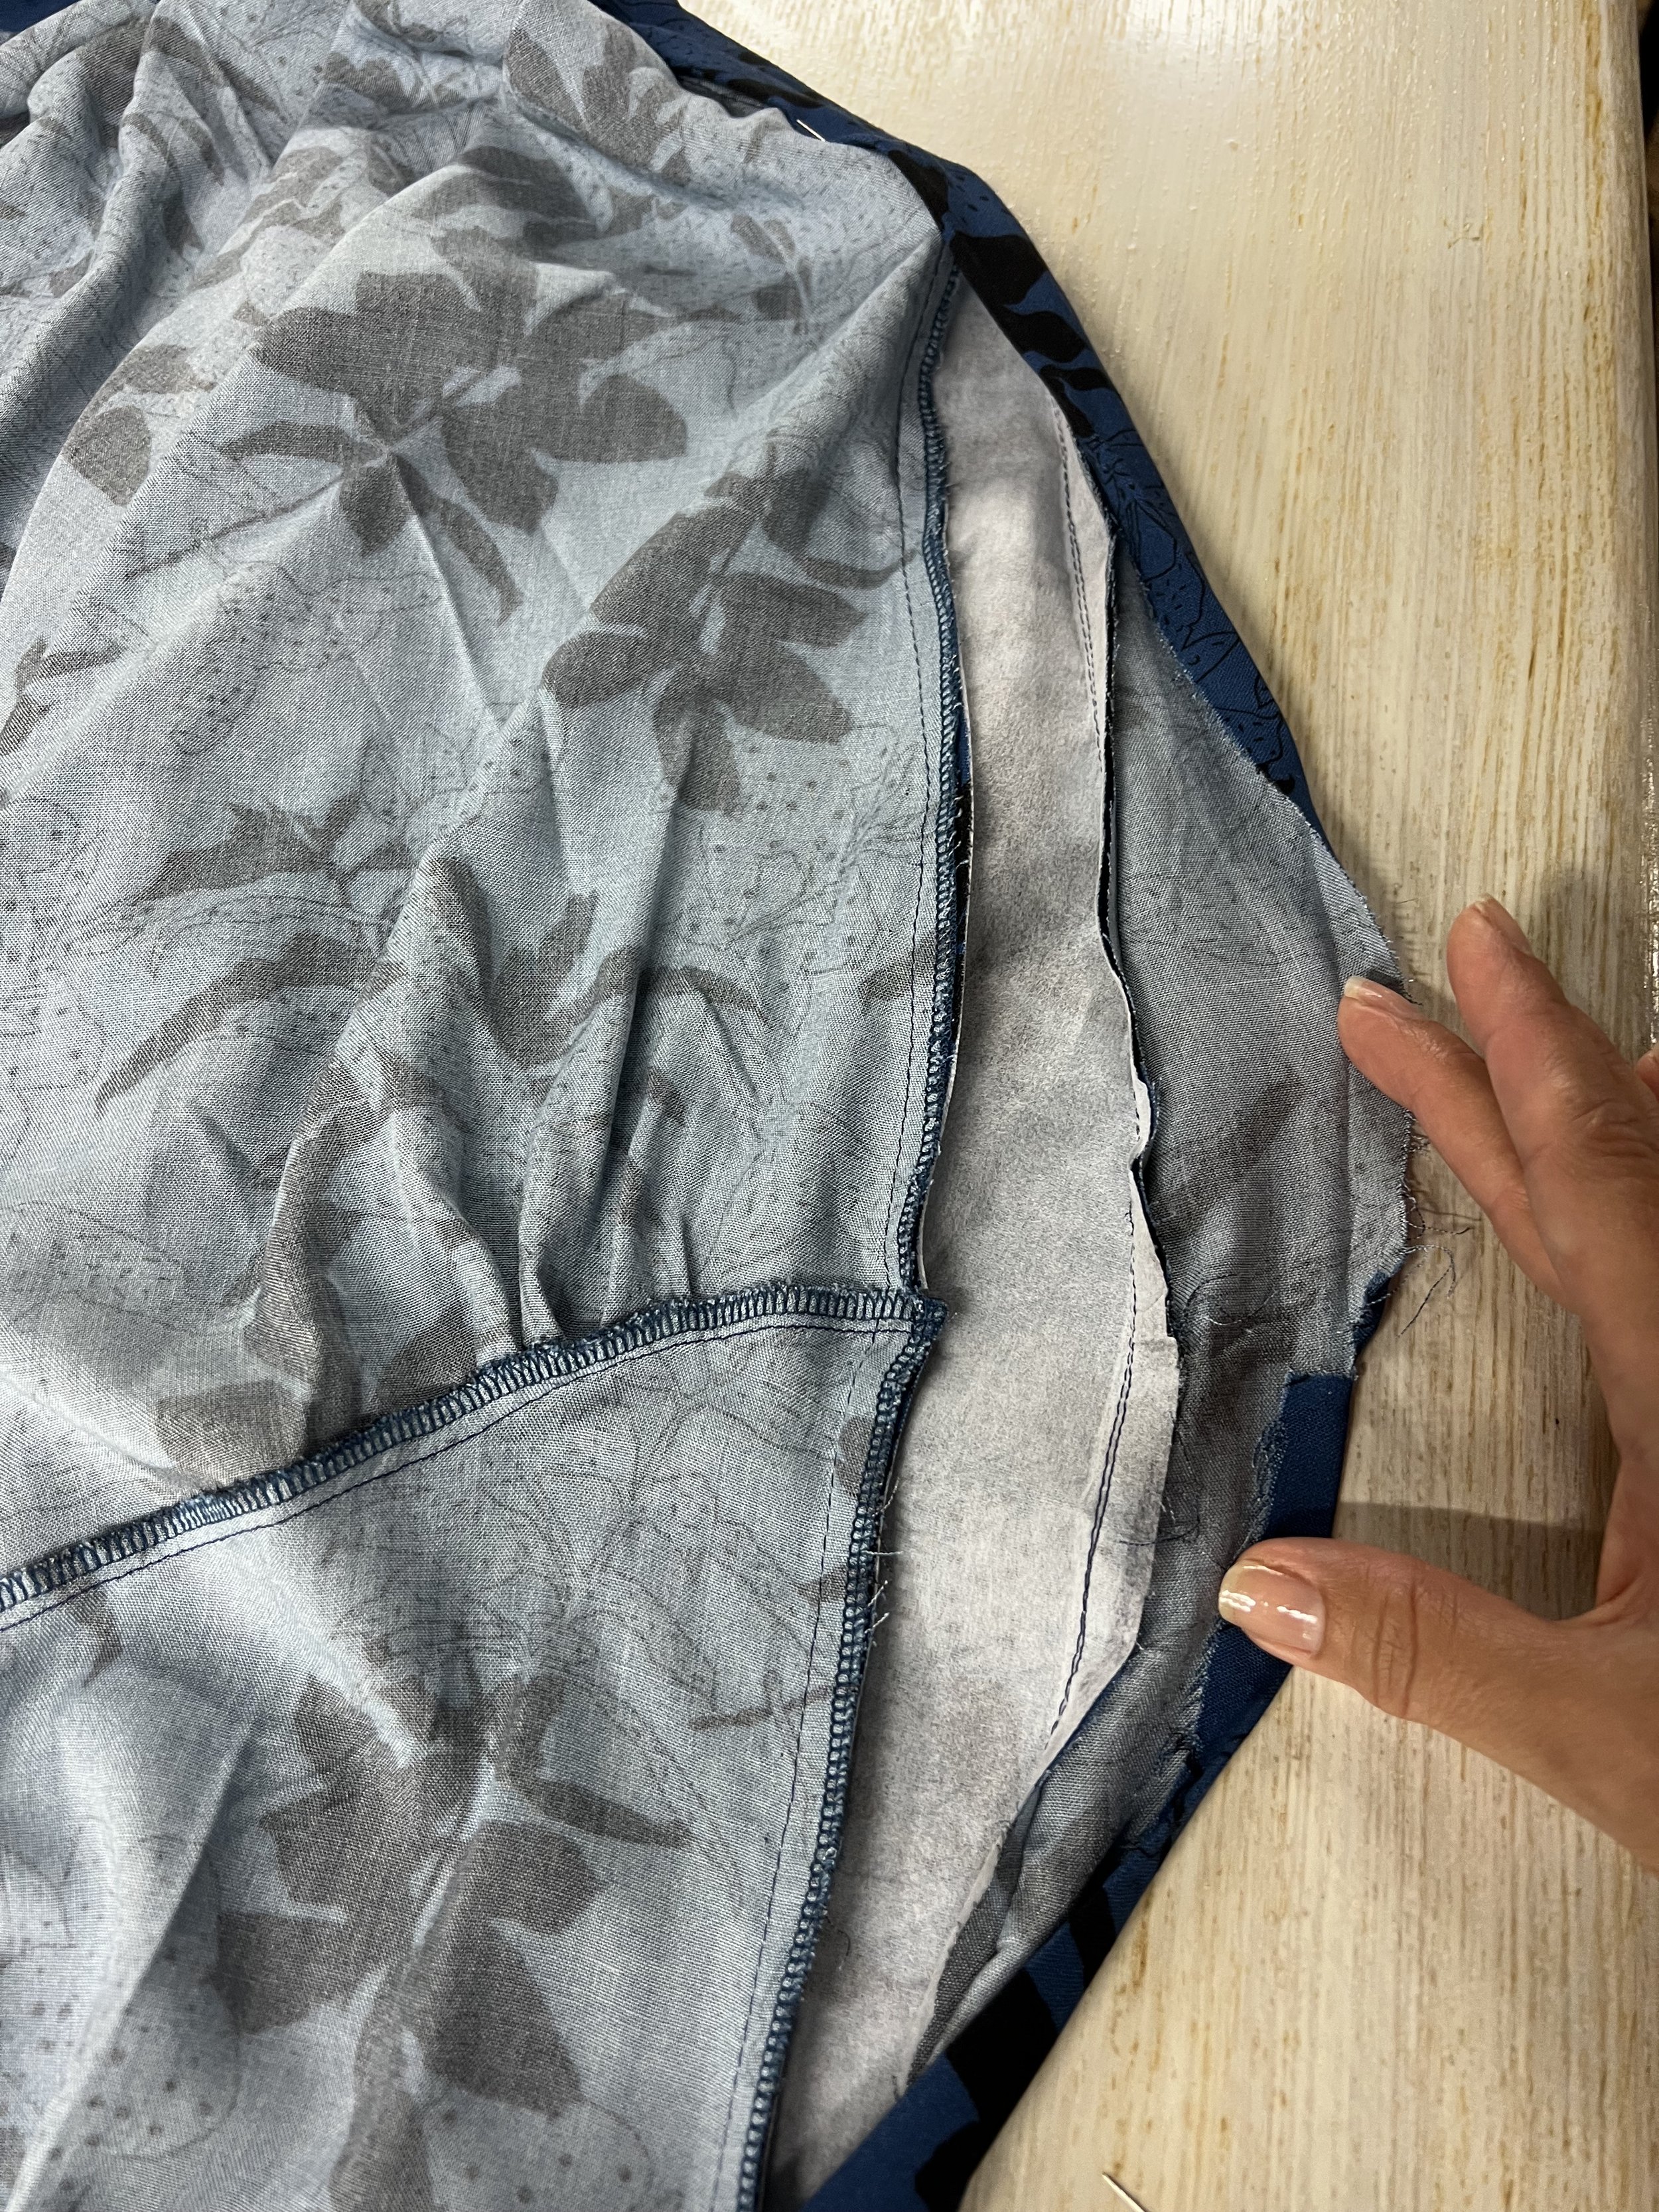
If you are here its because you are sewing M8104 and for some reason have been struggling with the neckband. Its not you, it’s the pattern. If you grab the back bodice piece and put the back neck band pattern piece you will notice it is not long enough. And this is where the saga begins.

See that… yup. The back neck band is not long enough! Great!
It just means that you will have to redraft that pattern piece. Use Pattern Piece no. 10 and extend it all the way to the size you will need. Remember once you extend it, this will already have a seam allowance of 5/8” included.

Redrafted back neck band piece. Seam allowance of 5/8” is already included.
So now that you redrafted the back neck band you can go ahead and cut your two pieces and one of them will be interfaced. This is were I want you to throw the instructions out the window.
Attach the INTERFACED back neck band to the center back on the middle of the bodice back. Do NOT sew the front bands to the back bands just yet because guess what… those are too long so nothing is going to match. Stick with me! Pin the front bands (Piece 9) in starting at the notches go all the way down to the hem and then go back up from the notch where the front band and the back band meet at the seam. You will notice that the meet up point is now too long and you will have to sew the back bands to the back band (piece no. 10) at an angle. Just follow the seam line for the shoulder. Fun!!!!

Piece no. 10 (the interfaced piece) attached to the bodice. Notice how the seam allowance for the front bands and the back band is now longer much longer than the usual 5/8” seam allowance.
Now go ahead and attach the UNINTERFACED back band and front band pieces the same way with right sides together. This is different from what is shown in the pattern instructions.
Notice how I added the INTERFACED front bands FIRST and then added the UNINTERFACED band SECOND. I’m doing it this way so your fabric doesn’t stretch when you are adding in the bands, the fabric doesn’t stretch and your back band lays nicely against your neck.
Now trim that seam allowance to 3/8” and clip your curves! Now I want you to UNDERSTITCH so when you fold your neck band the seam were they meet stays towards the inside. See pictures below…
See the stitching line above, I’m stitching as close to the seam I just did and I’m catching the seam allowance towards the UNINTERFACED band. See picture below how it looks on the back!
See the second stitch closest to my fingers towards the right? That is my understitching. This is what it looks like from the back. I want to make sure that when I press the bands to the inside they stay there. Do this all the way around the neckband. Don’t skip this step!
Once you do that, you will need to press your seam allowance 3/8” towards the inside so you can stitch in the ditch.
Finish with your buttonholes and buttons! Or invisible snaps like I’ll be using.


Despite all the neckband “drama” I would sew this pattern again. Now that I know how to tackle it, I’m thinking next time it would look great in a linen fabric.

M6696 Sew Along Part 2 - The Skirt and Waist Band

Phew we made it thru that bodice and that always feels like quite the accomplishment, but we are moving along with the skirt and the waist band for part two of sewing pattern M6696.
There is darts all over the place in this dress and just like the top we have four of them. Two in the front and two darts in the back.

Press the front darts towards the back, and press the back darts towards the center back.
Moving right along into the pockets. If you recall in my adjustments video I mentioned that I didn’t care for the pockets as drafted but would use S9251 to create that round slash pocket and use those pattern pieces in lieu of the ones in the pattern.

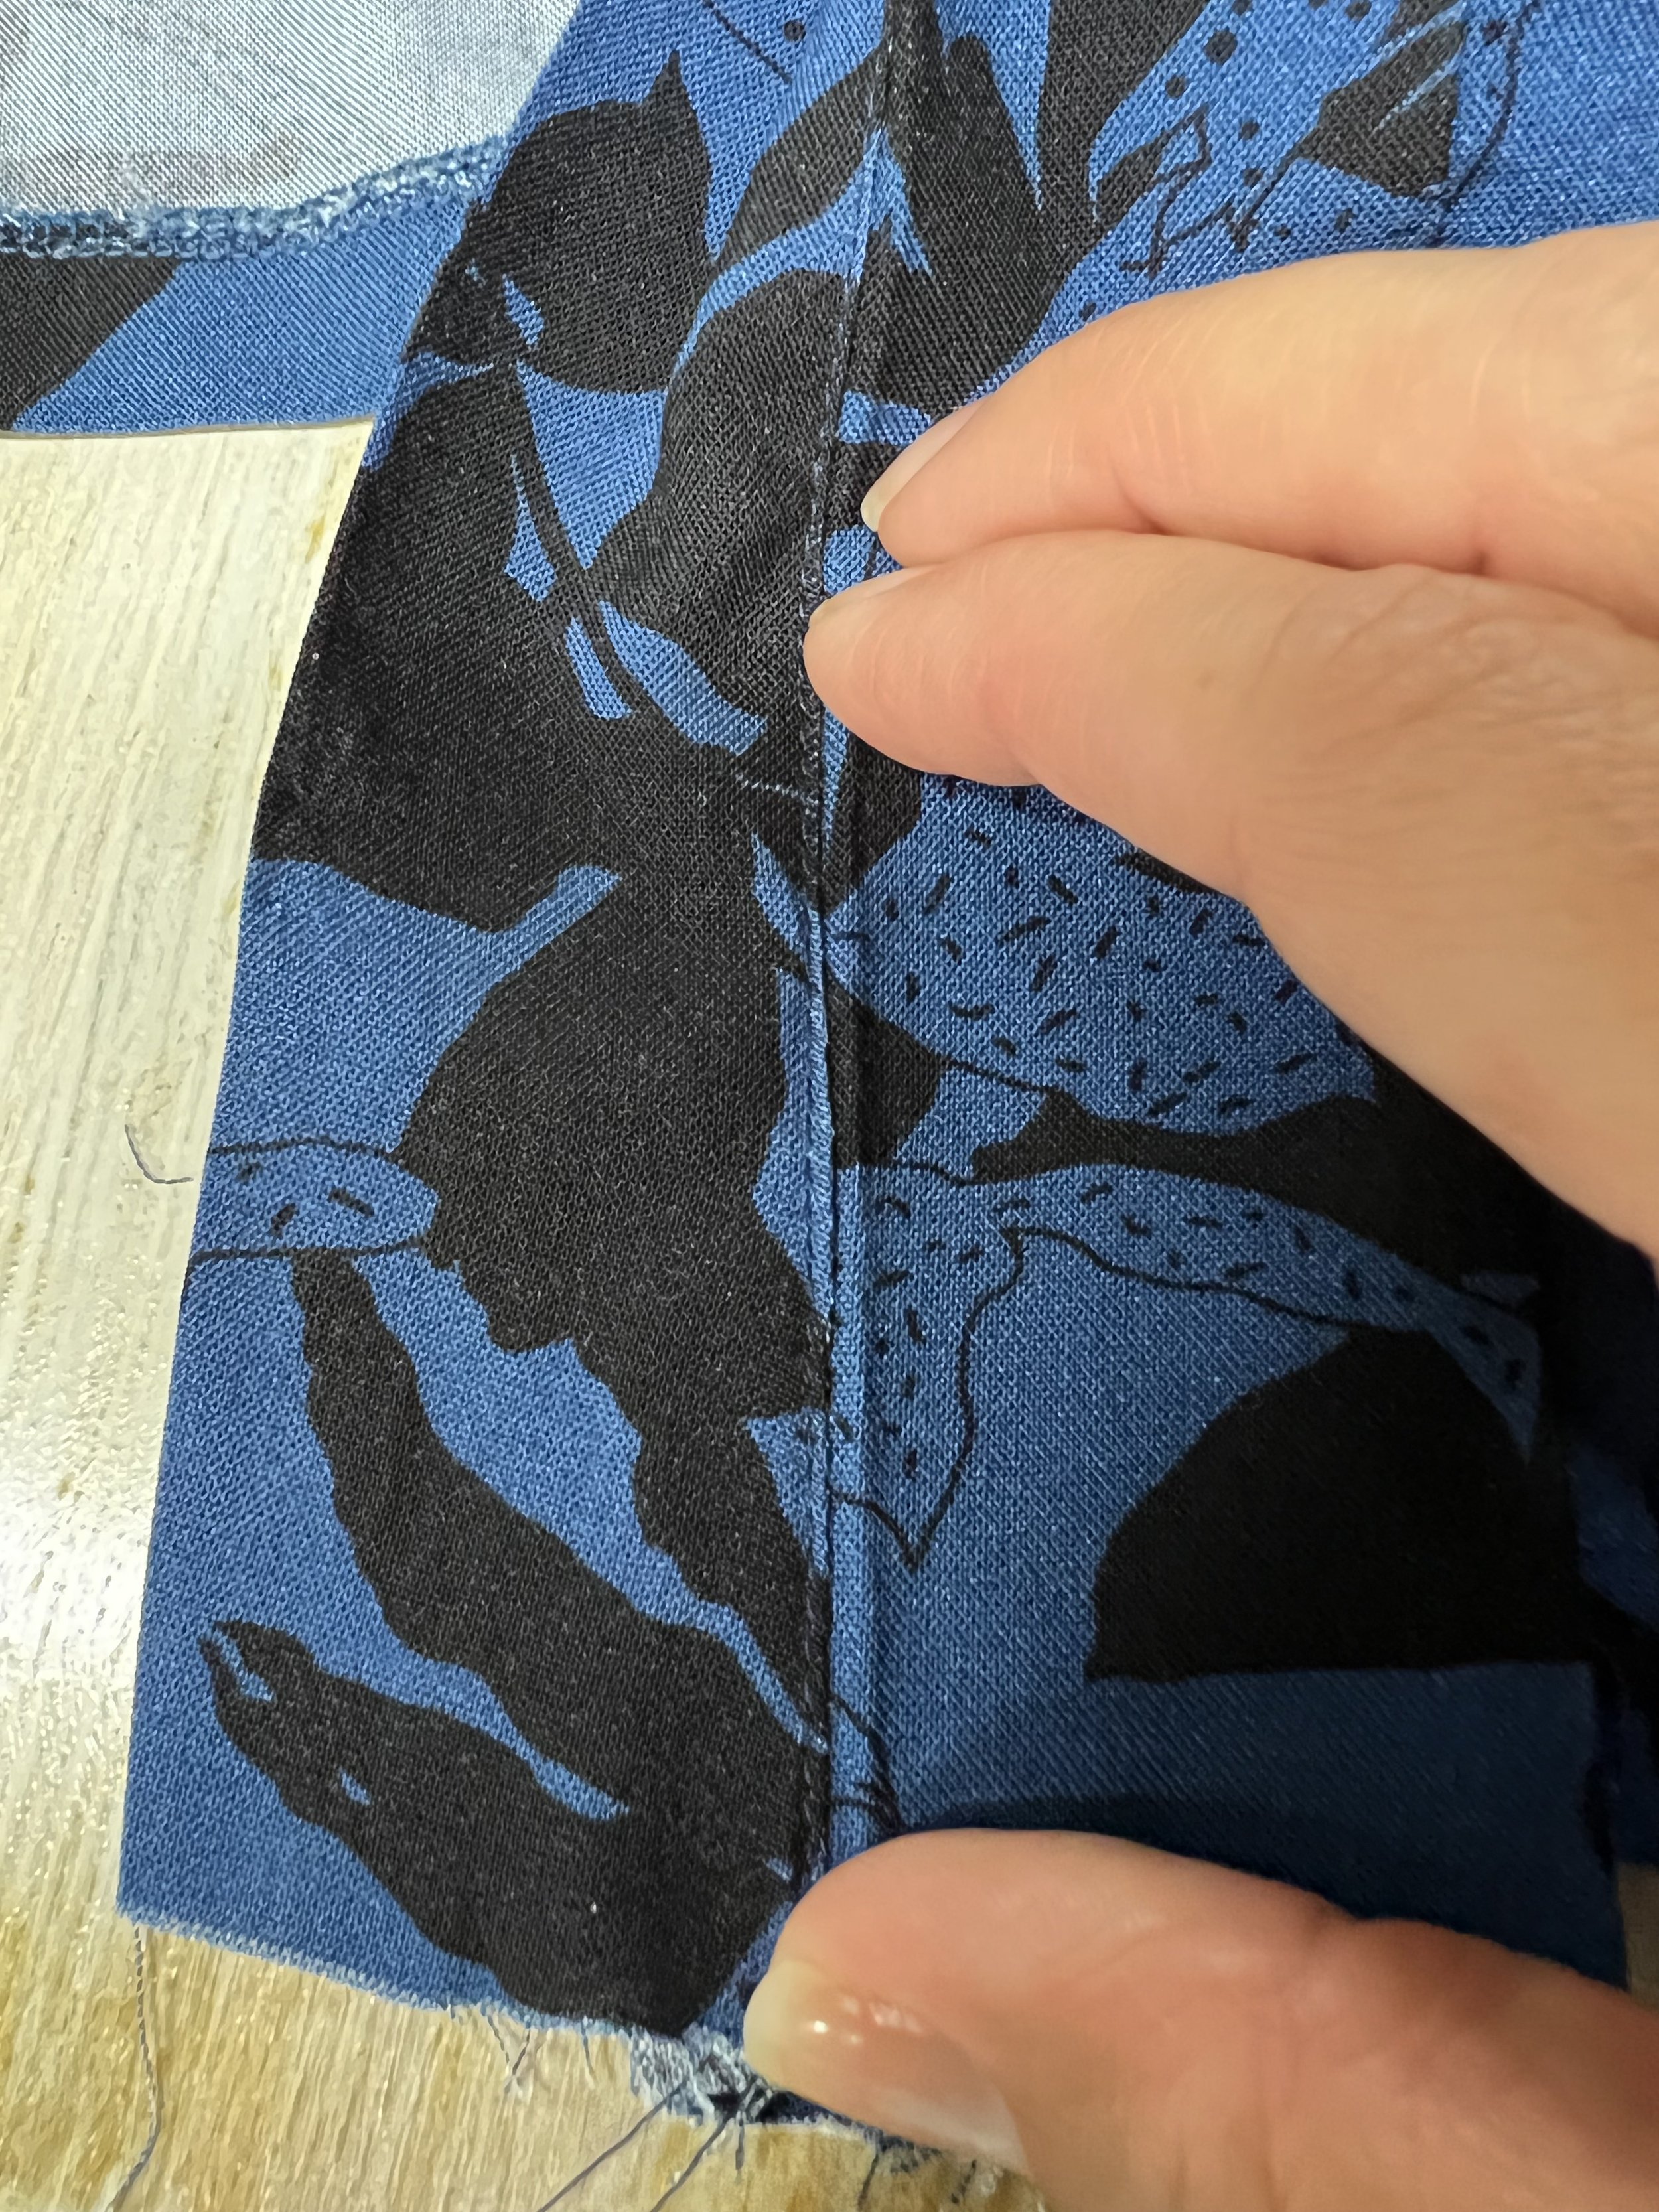
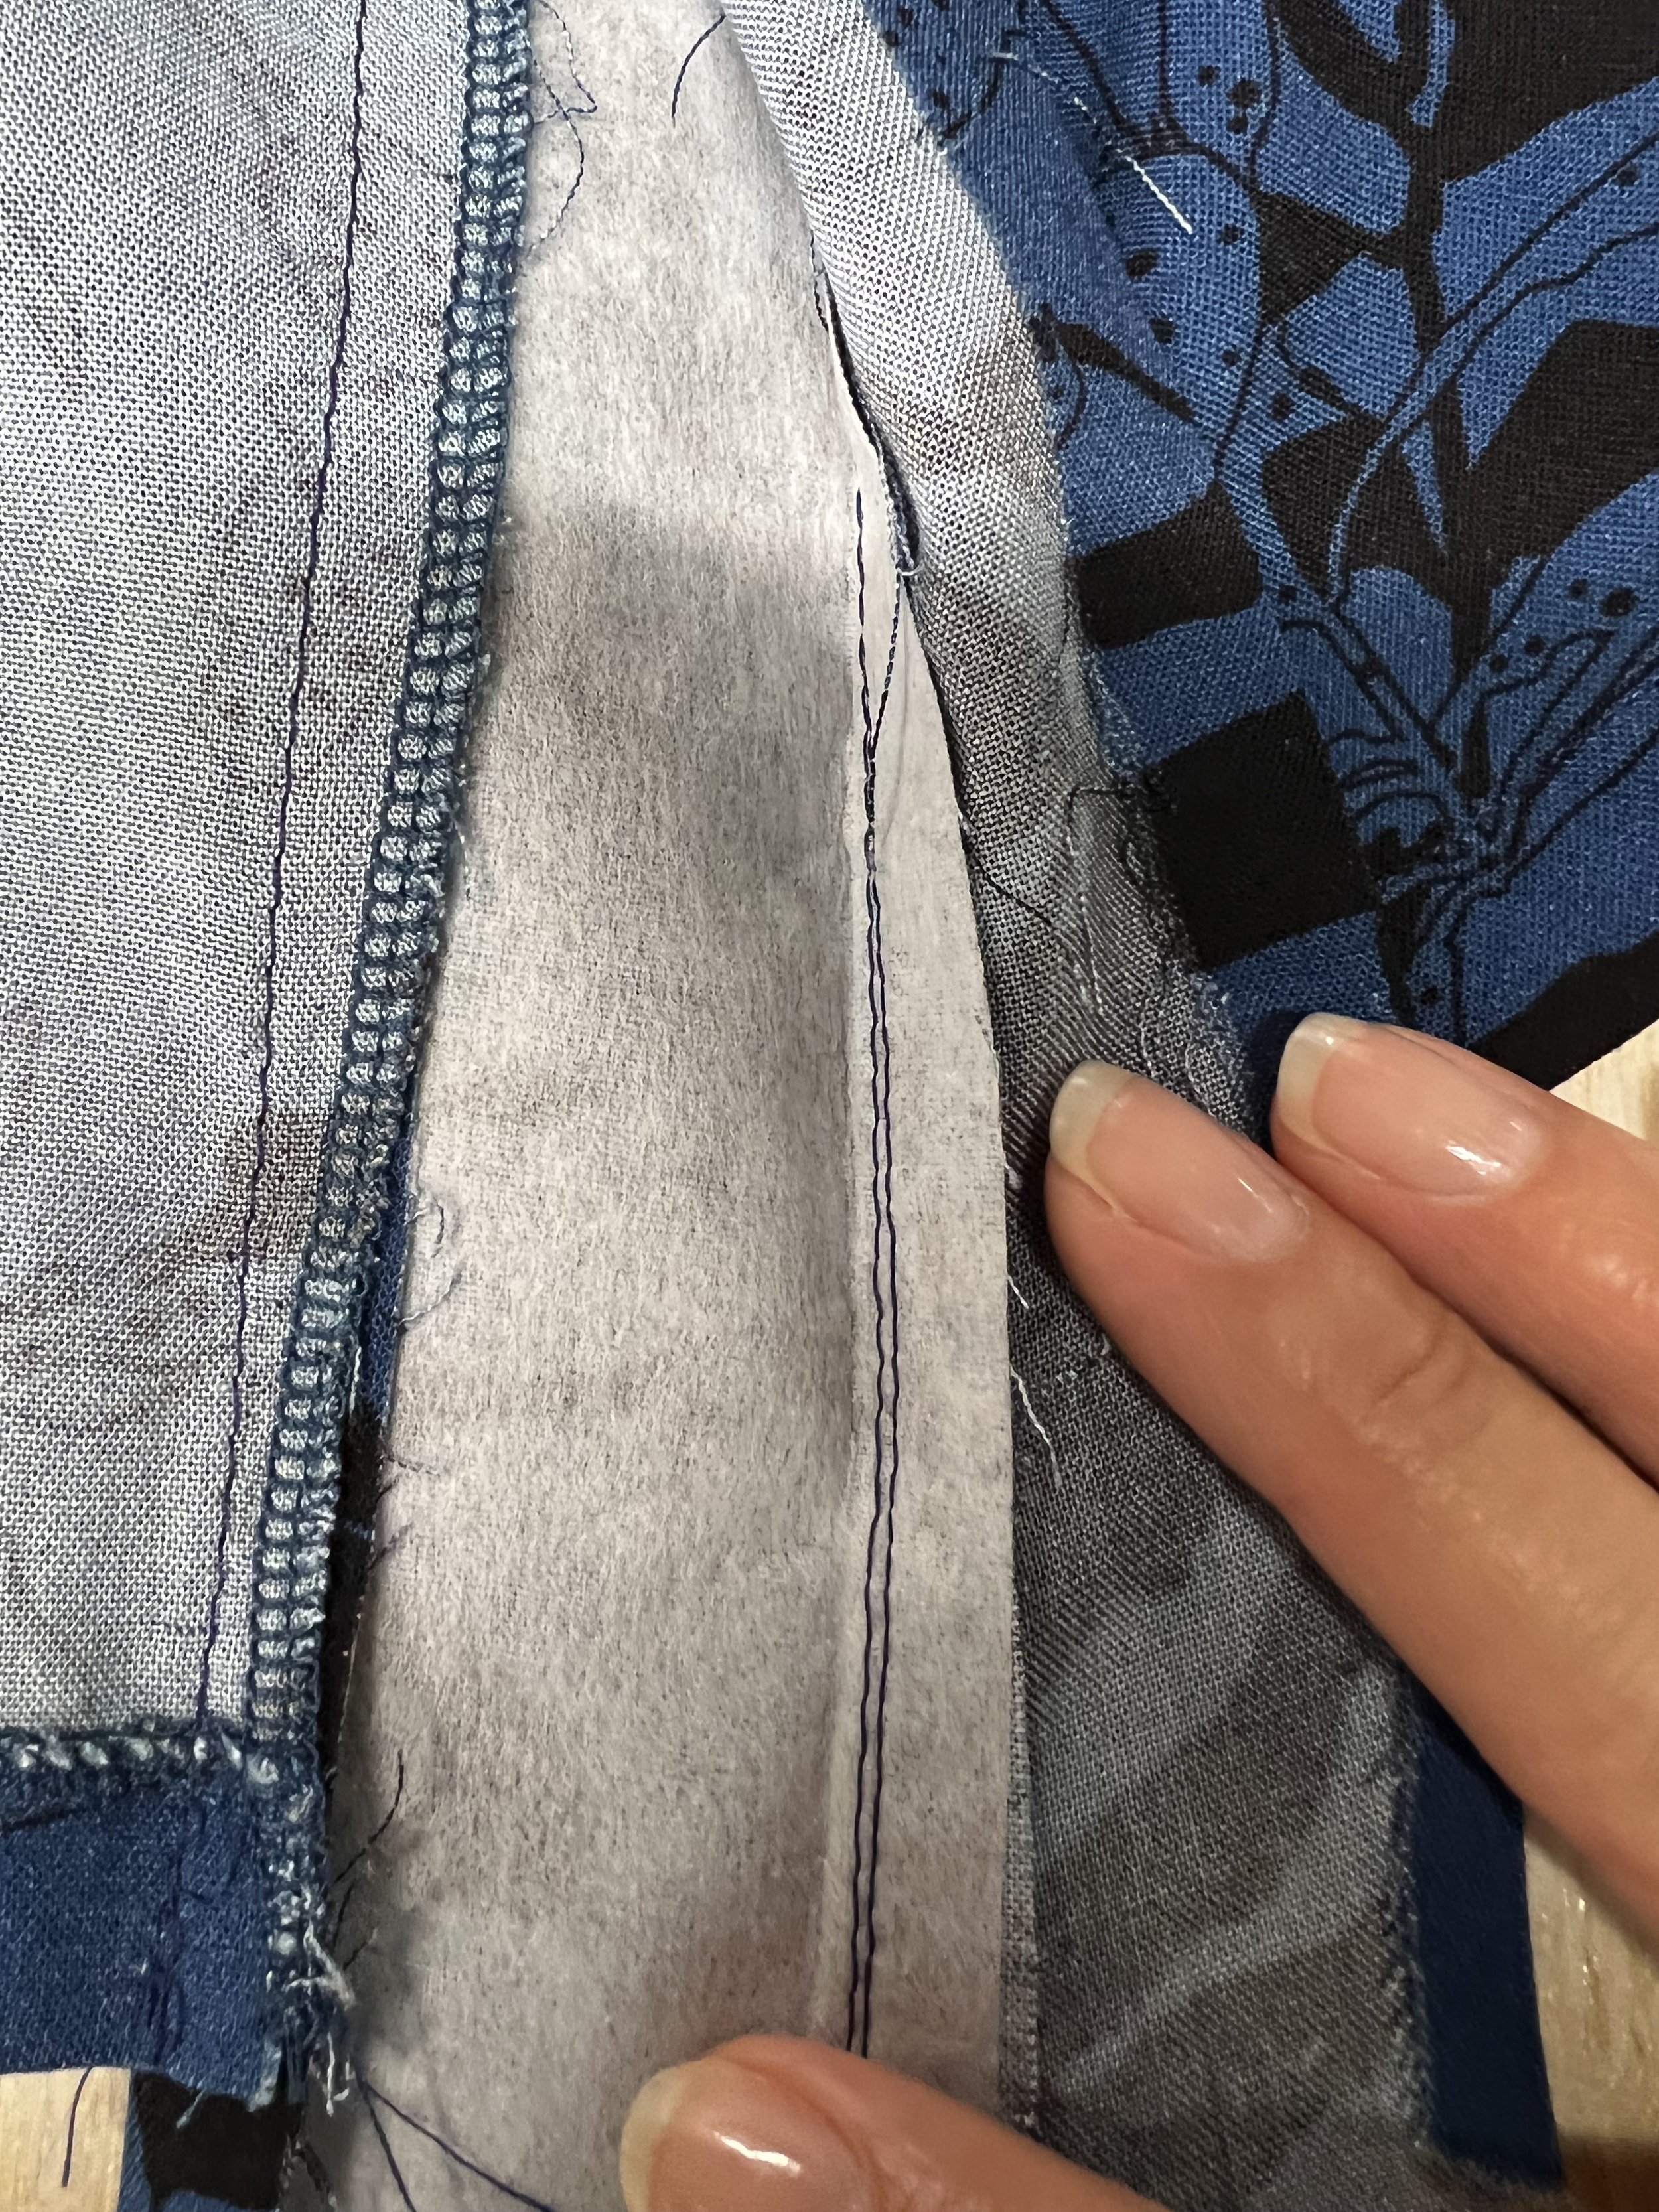
When using denim, avoid cutting pocket facings made out of denim to minimize the bulk. I used printed cotton fabric for mine.
I’m using denim and as always trying to avoid bulk so I’m using a printed cotton for the pocket facings. It’s just one way to have a little bit of fun with your clothes. You can do this for pocket facings, plackets and even inside yokes. They will most likely never be seen but you will know they are there.
Once you are done with the pockets and top stitch, go ahead and join the two front pieces to the back. You now have a skirt.
Its time to join the bodice to the skirt and we will use the waist band for that. The waist band has single notches, double notches, it has seam lines… it is pattern markings galore BUT here are a few things to remember. Start at the center back. Center back of the skirt, center back for the bodice and center back for the waist band. For the bodice you will see two circles in the back. If you gathered the back bodice or did a pleat (like I did) these need to meet and match with the waist band. Now grab the skirt and match the center back for the waist band and the center back for the skirt. Once those are all matching you can keep going.
Match the side seams for the bodice and the skirt for both side seams! Lastly match the darts for the bodice and the skirt. If you are like me and you made a few fitting adjustments along the way this is the best way to make sure they are all aligned.

Match the side seams and match those bodice darts to the darts on the skirt!
Its important that you do this, and I will say it again. Match those seams! This is the difference between a homemade looking dress to one that others will ask “Where did you get it?”.
Lastly for sew along number 2 is the hem, and I must say I’m glad the pattern is asking for the hem now because I despise hems and some times its the last thing I want to do. So turn up your hem 1 - 1/4” and then turn inside a 1/4” for a clean finish. I’m using denim and I don’t want any bulk on my hem so I will just finish my raw edge with my serger and turn up 1 -1/4” and then top stitch.
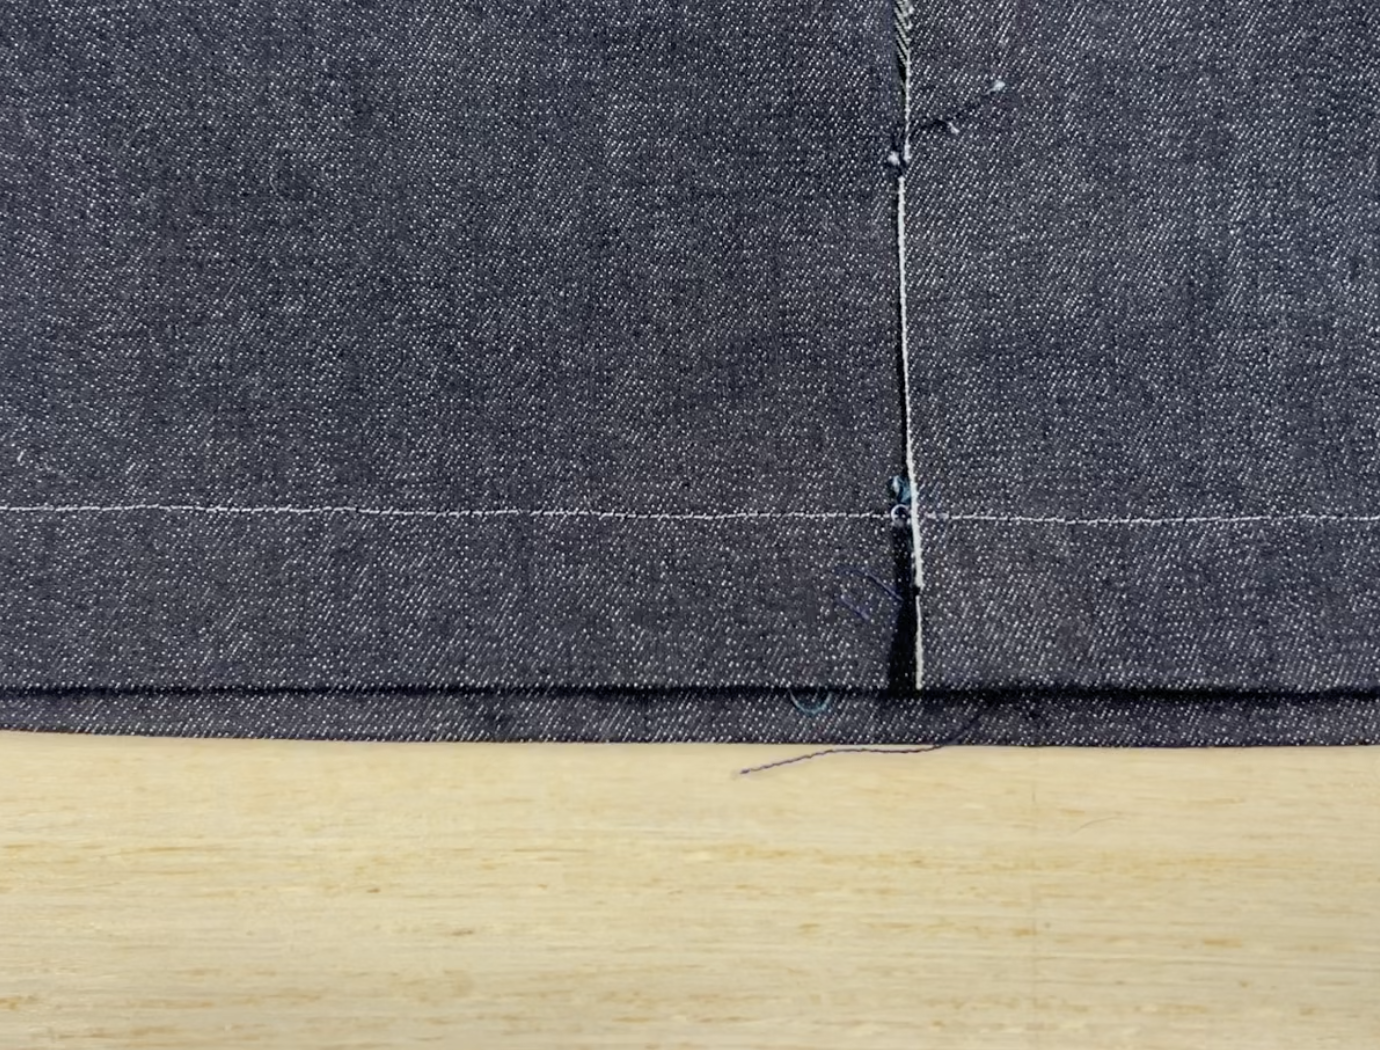
Topstitched hem, not quite finished but we have to do it before we do the plackets.
We are done with part two of this dress….

McCalls 8182 Sew Along and Pattern Review
Pattern Description: M8182 or Monica McCalls is a Scoop neck boned corset top with lacing or separating zipper front opening. It has two different hemlines and you can either do the elastic short sleeves or go sleeveless. The top is also lined.
Pattern Sizing: Pattern is sized 6 to 24. I made a size 8. I made view B.
Did it look like the photo/drawing on the pattern envelope once you were done sewing with it? yes it looked like the picture on the envelope.
Were the instructions easy to follow? Yes they were very easy to follow.
What did you particularly like or dislike about the pattern? It is a nicely drafted pattern, the instructions are great. The one thing that I disliked and they should have a better explanation is the length of the zipper. They ask you to use a separating zipper that is either 14” or 16” long. Even the 14” zipper is way too long and you will have to cut it no matter what, this might be a deterrent to some.
Fabric Used: I used a black sateen fabric and black lining fabric.
Pattern alterations or any design changes you made: I had to do no pattern alterations on this, which was quite shocking but the measurements are on point.
Would you sew it again? Would you recommend it to others? I love the pattern, but I will say it is one to do in small increments of time as cutting, interfacing and getting the lining fabric ready is time consuming. Attaching the boning also takes quite some time. Even with all the time it takes as the sewing has to be rather precise in addition to topstitching, the corset is beautiful and the instructions are easy to follow. I would recommend it to others and believe it or not, I will sew it again!
Subscribe to our newsletter.
Sign up with your email address to receive news and updates.