The Bicep Adjustment
Whenever I’m working on a new pattern, out of habit I always measure myself. Upper Bust, Bust, waist, hips and biceps… I’m sure you do that too right? I do. Every. Single. Time. As I start working on M6696 I know that I will have to yet again do a bicep adjustment amongst a few other adjustments, but for today lets focus on on bicep adjustments.
So first of all, how do you know if you have to do a bicep adjustment? So first things first, figure out the size of the bodice or size of the pattern that you have to cut. In my case I’m using a size 20 based on my bust / upper bust measurements so I’m cutting a sleeve for a size 20 bodice. My bicep measures 15”. The size 20 for the sleeve pattern measures 15-3/4”. I could use this piece as is BUT the sleeve will be tight, and as I move about I don’t want to have a tight sleeve.
I’m using a size 20 bodice so I’m cutting a size 20 sleeve. If this is your first time doing a bicep adjustment, trace the sleeve pattern before you make any adjustments!
As a rule of thumb, you should have between 1” to 2” on the upper arm for all woven garments. Key word here woven garments. So although my 15-3/4” sleeve will fit I don’t want it to be tight so I’m going to add an 1” to the pattern piece so I will give myself a 1- 3/4” ease.
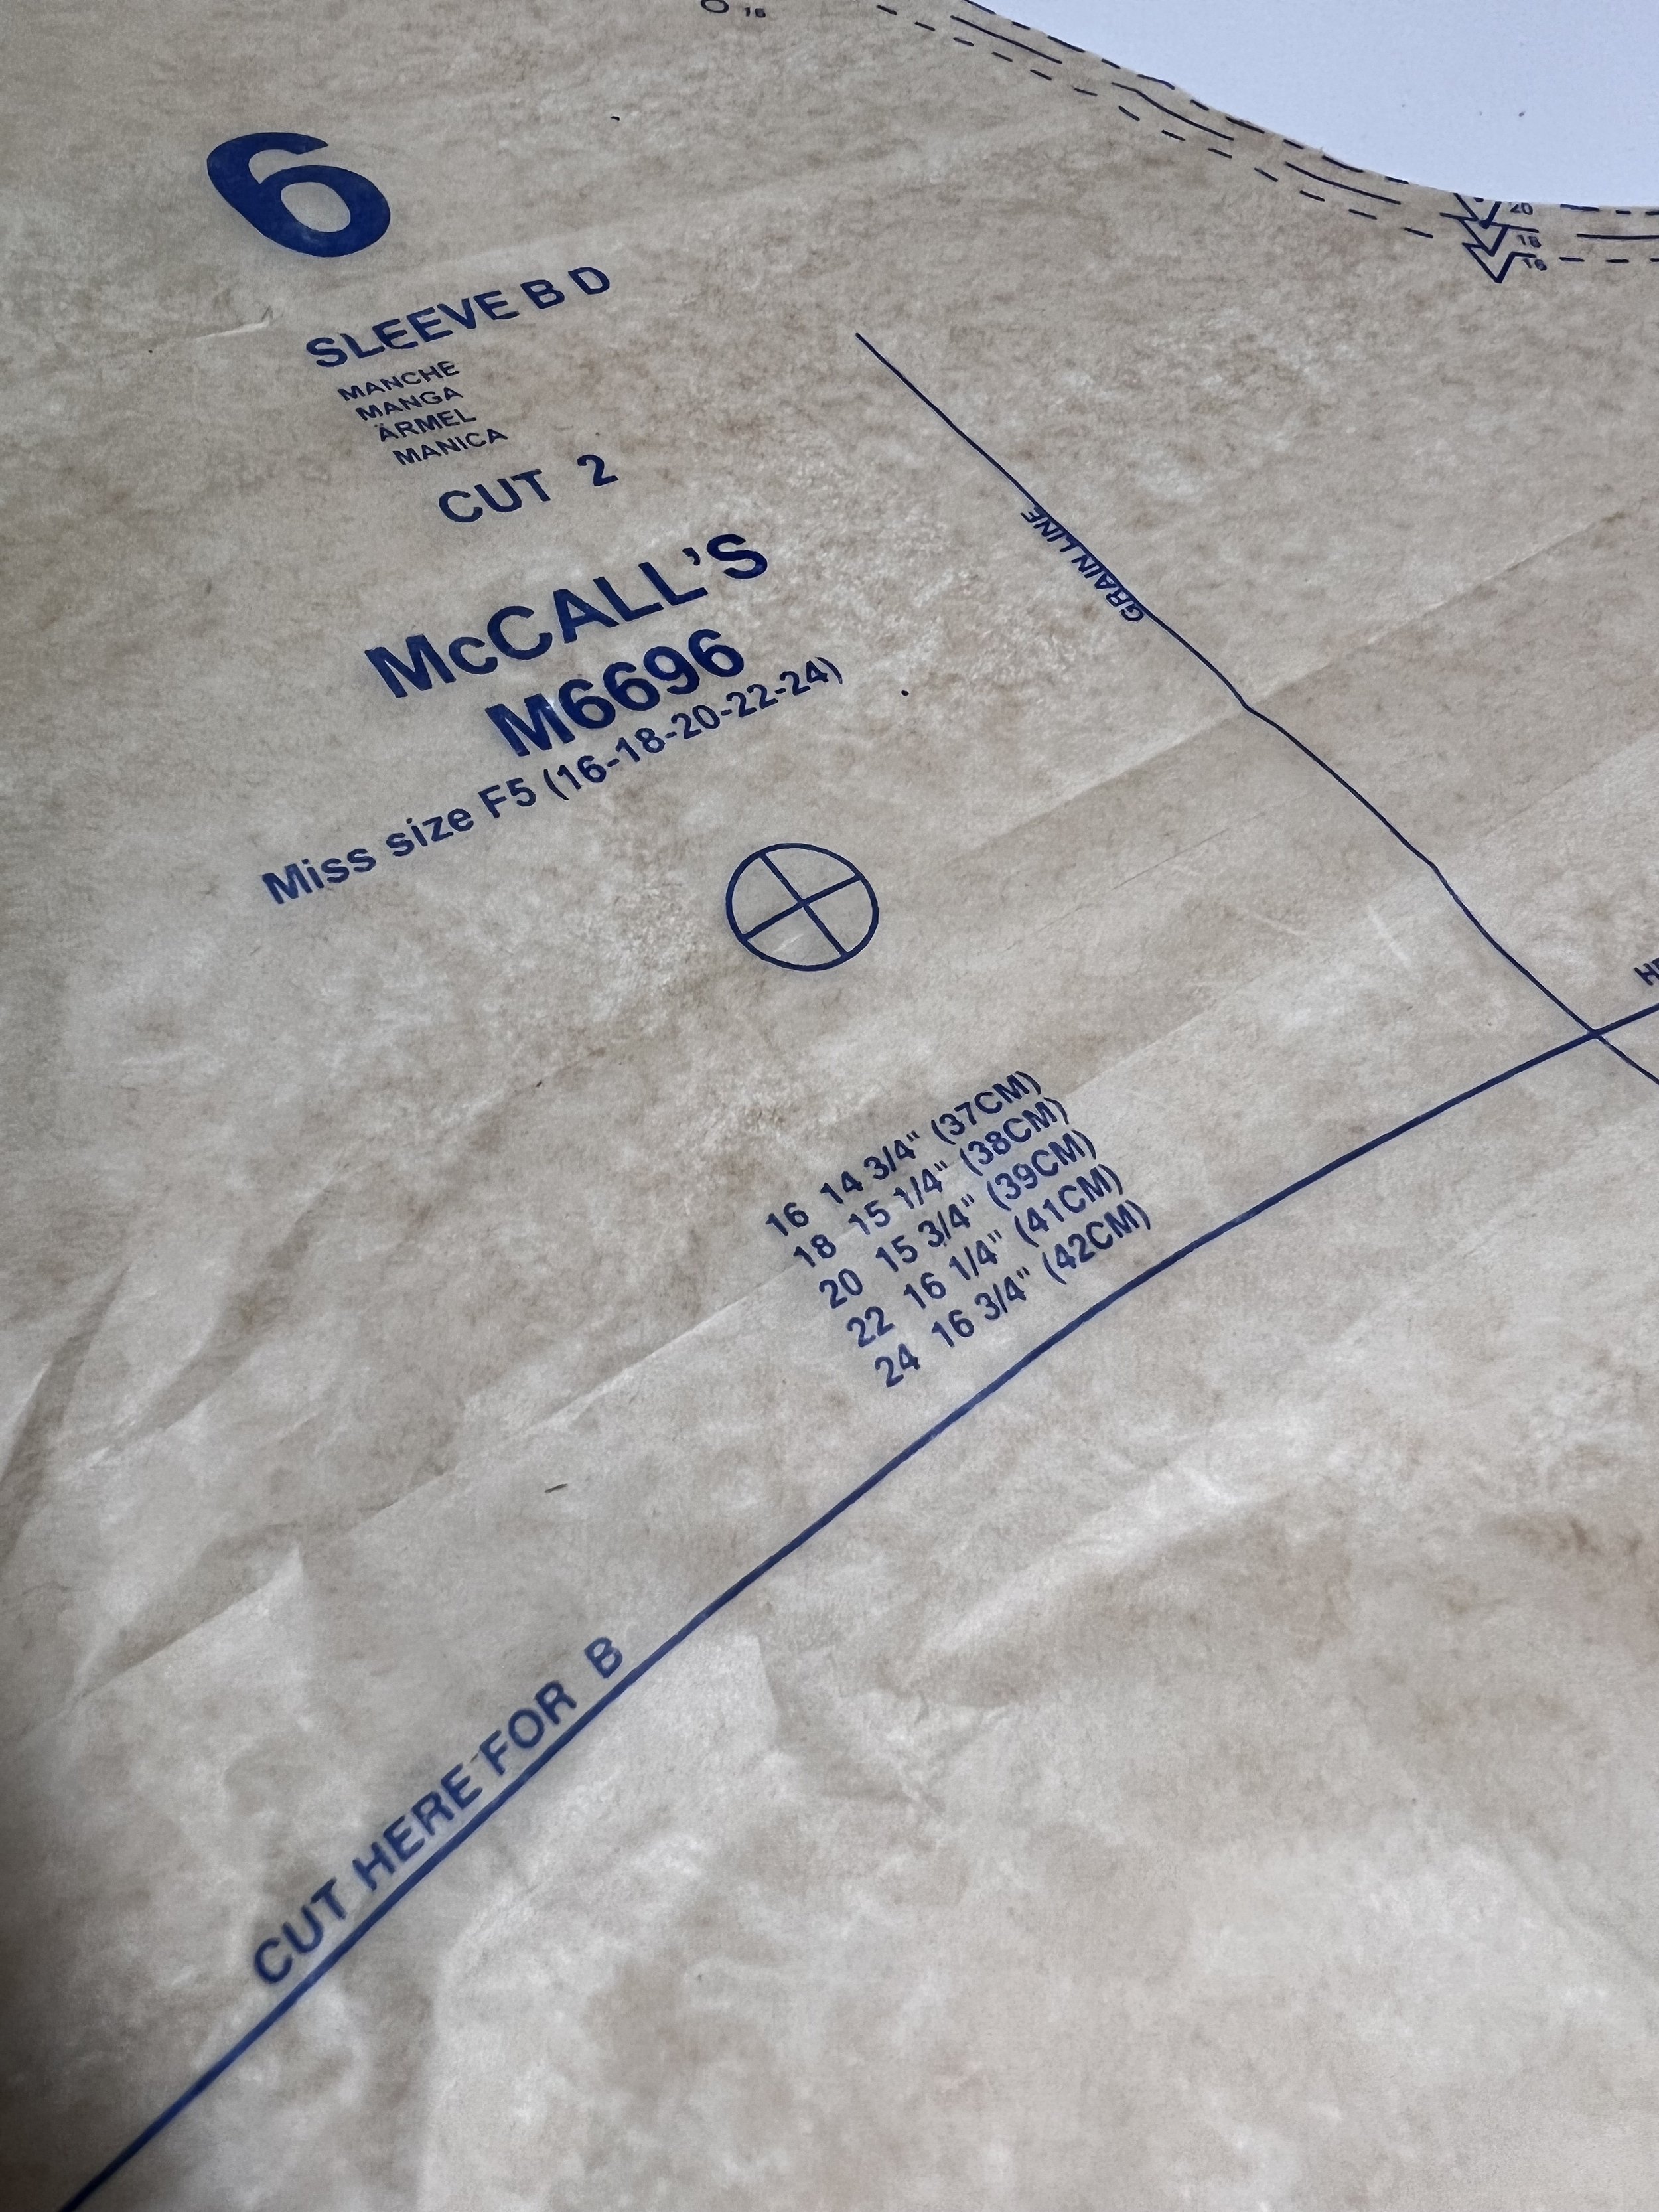
M6696 sleeve pattern piece. In it, you will see the measurements for the biceps for each size. If this is not listed, all you have to do is measure the pattern from side to side and take out the seam allowances (in my case 5/8”) so remember there is a seam allowance at each side of the sleeve!
Ease is really up to you, so I’m giving myself a little extra room. If I try it on and I want it to be tighter then I can always take it in.
Traced sleeve pattern, make sure to mark your grainline, notches, circles, top of the sleeve, etc.
If this is your first time doing a bicep adjustment, I suggest you trace your sleeve pattern first!!! So we have to do a little prep work so we can begin.
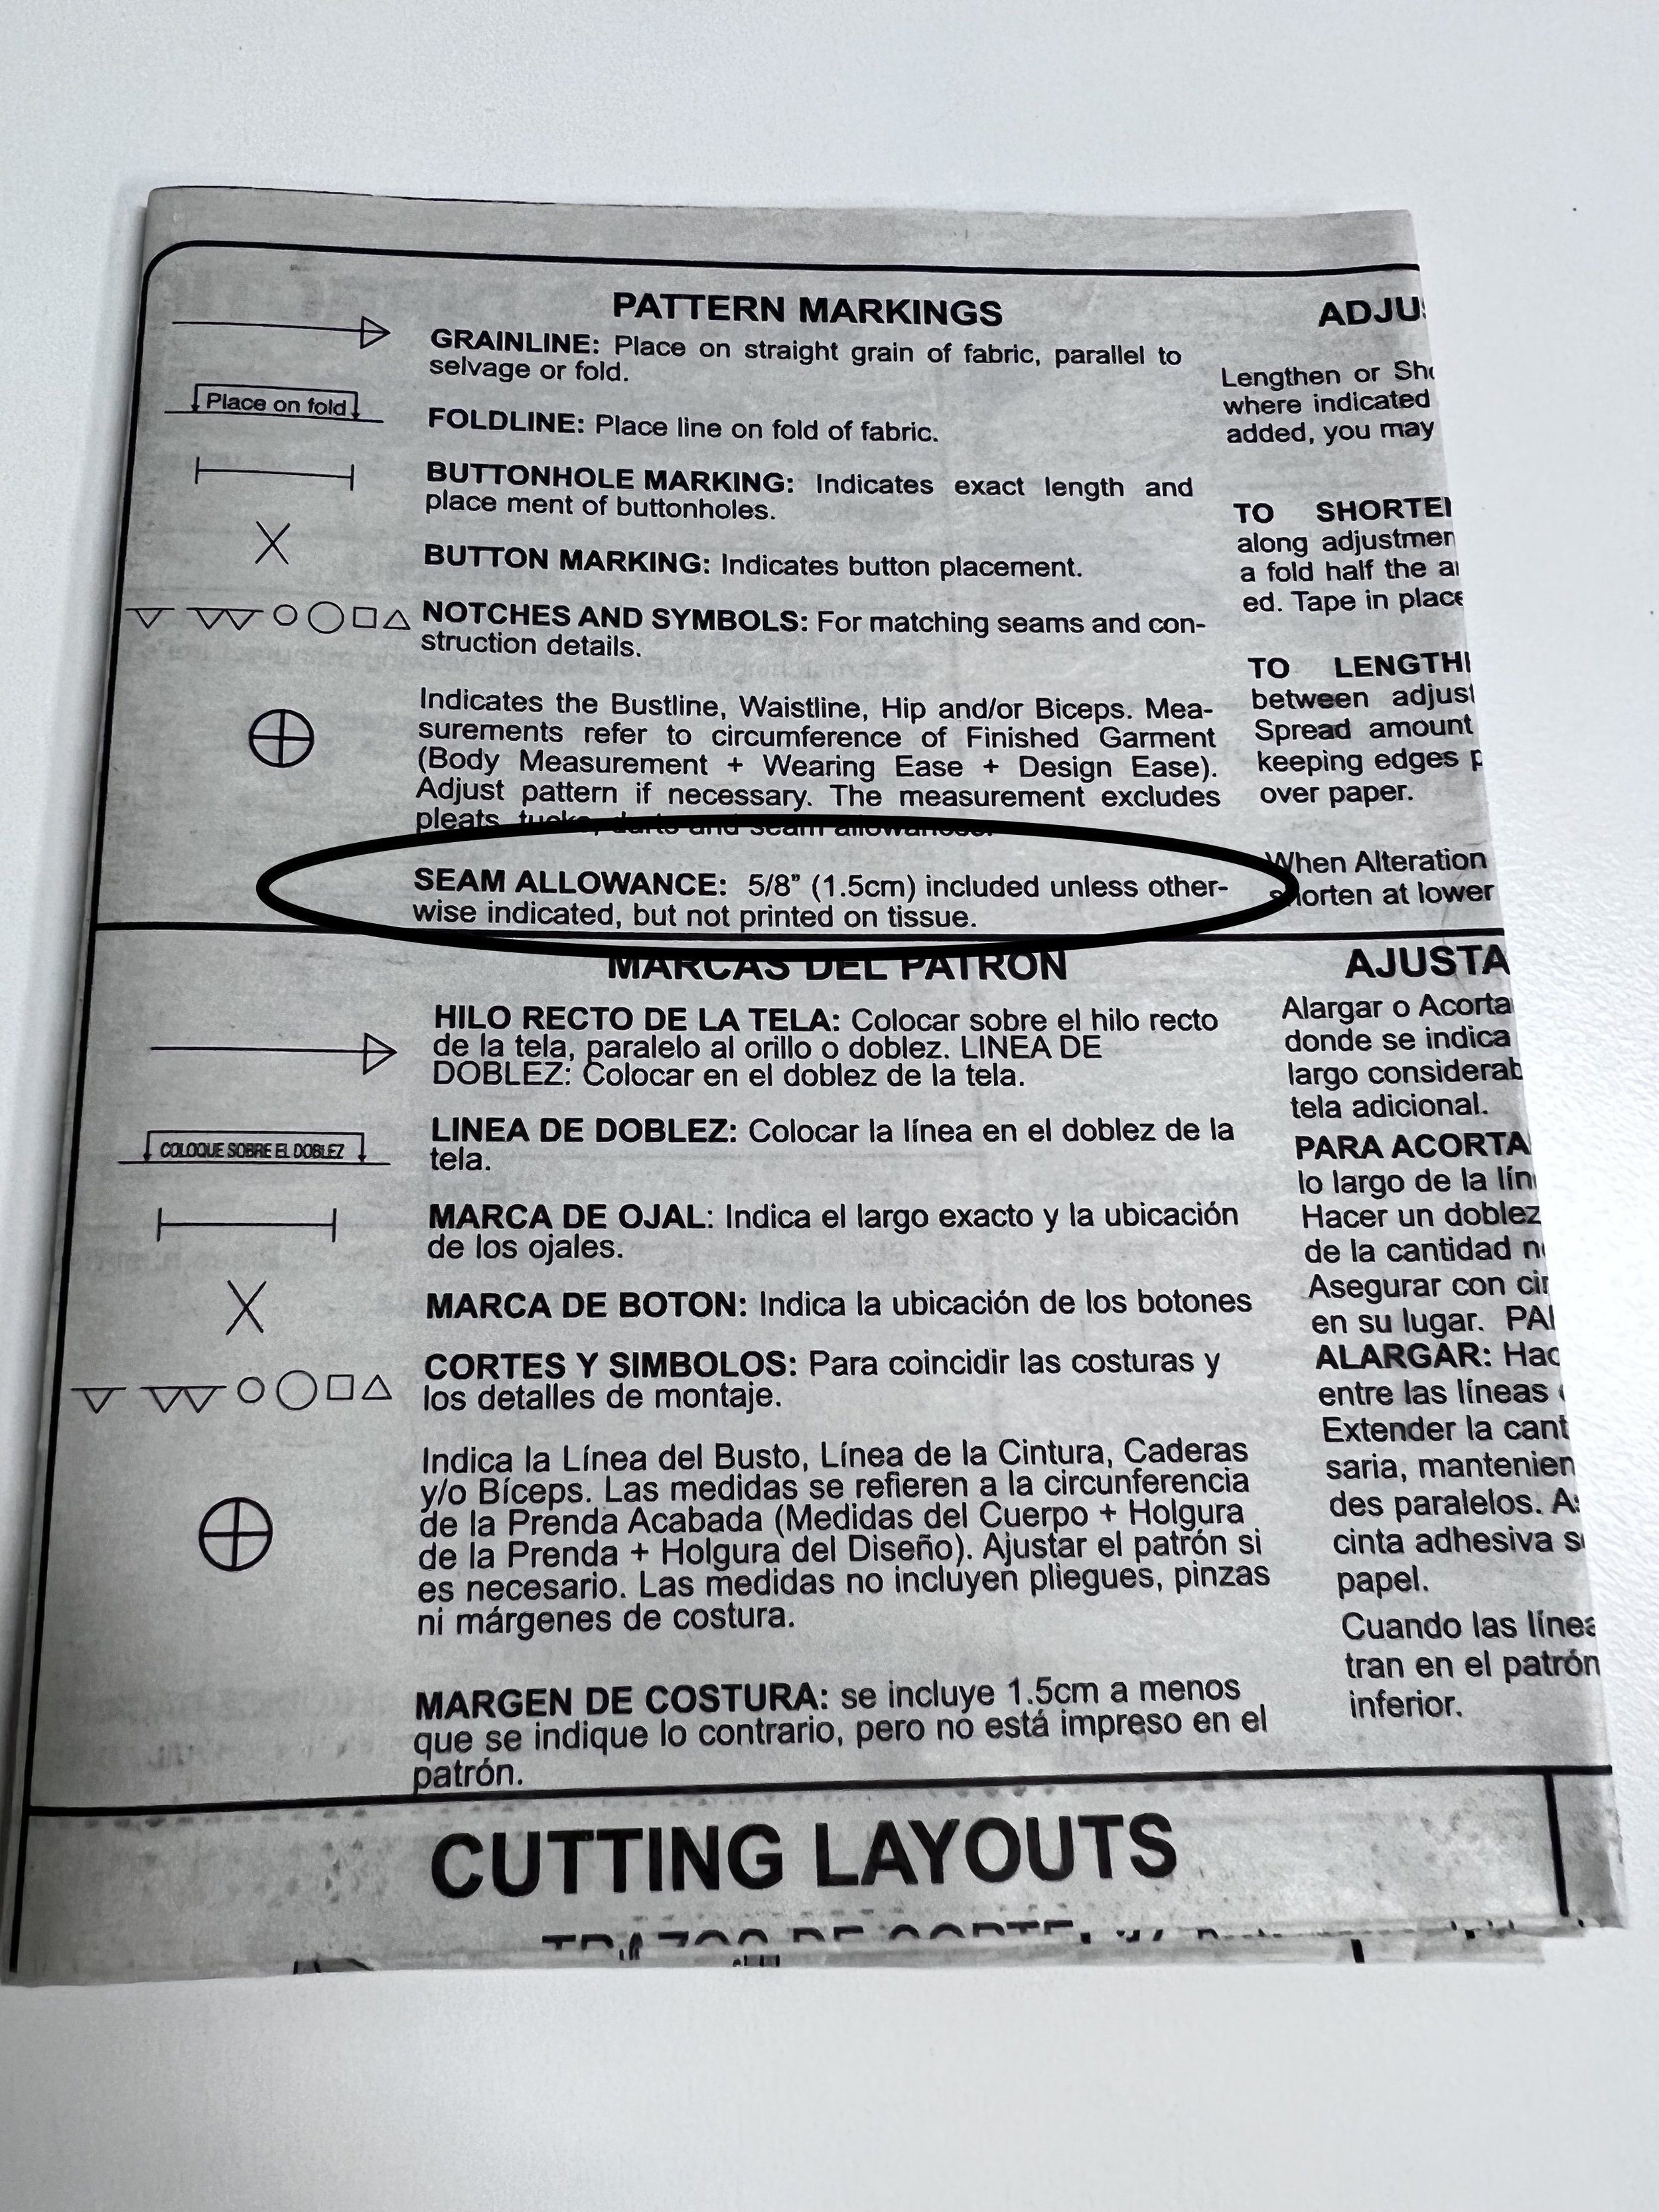
Now that you traced your sleeve, I want you to mark your seam allowances on the cap of the sleeve and the sides. In my case it is 5/8”. Use whatever seam allowance your pattern uses. It is always listed in the pattern instructions.
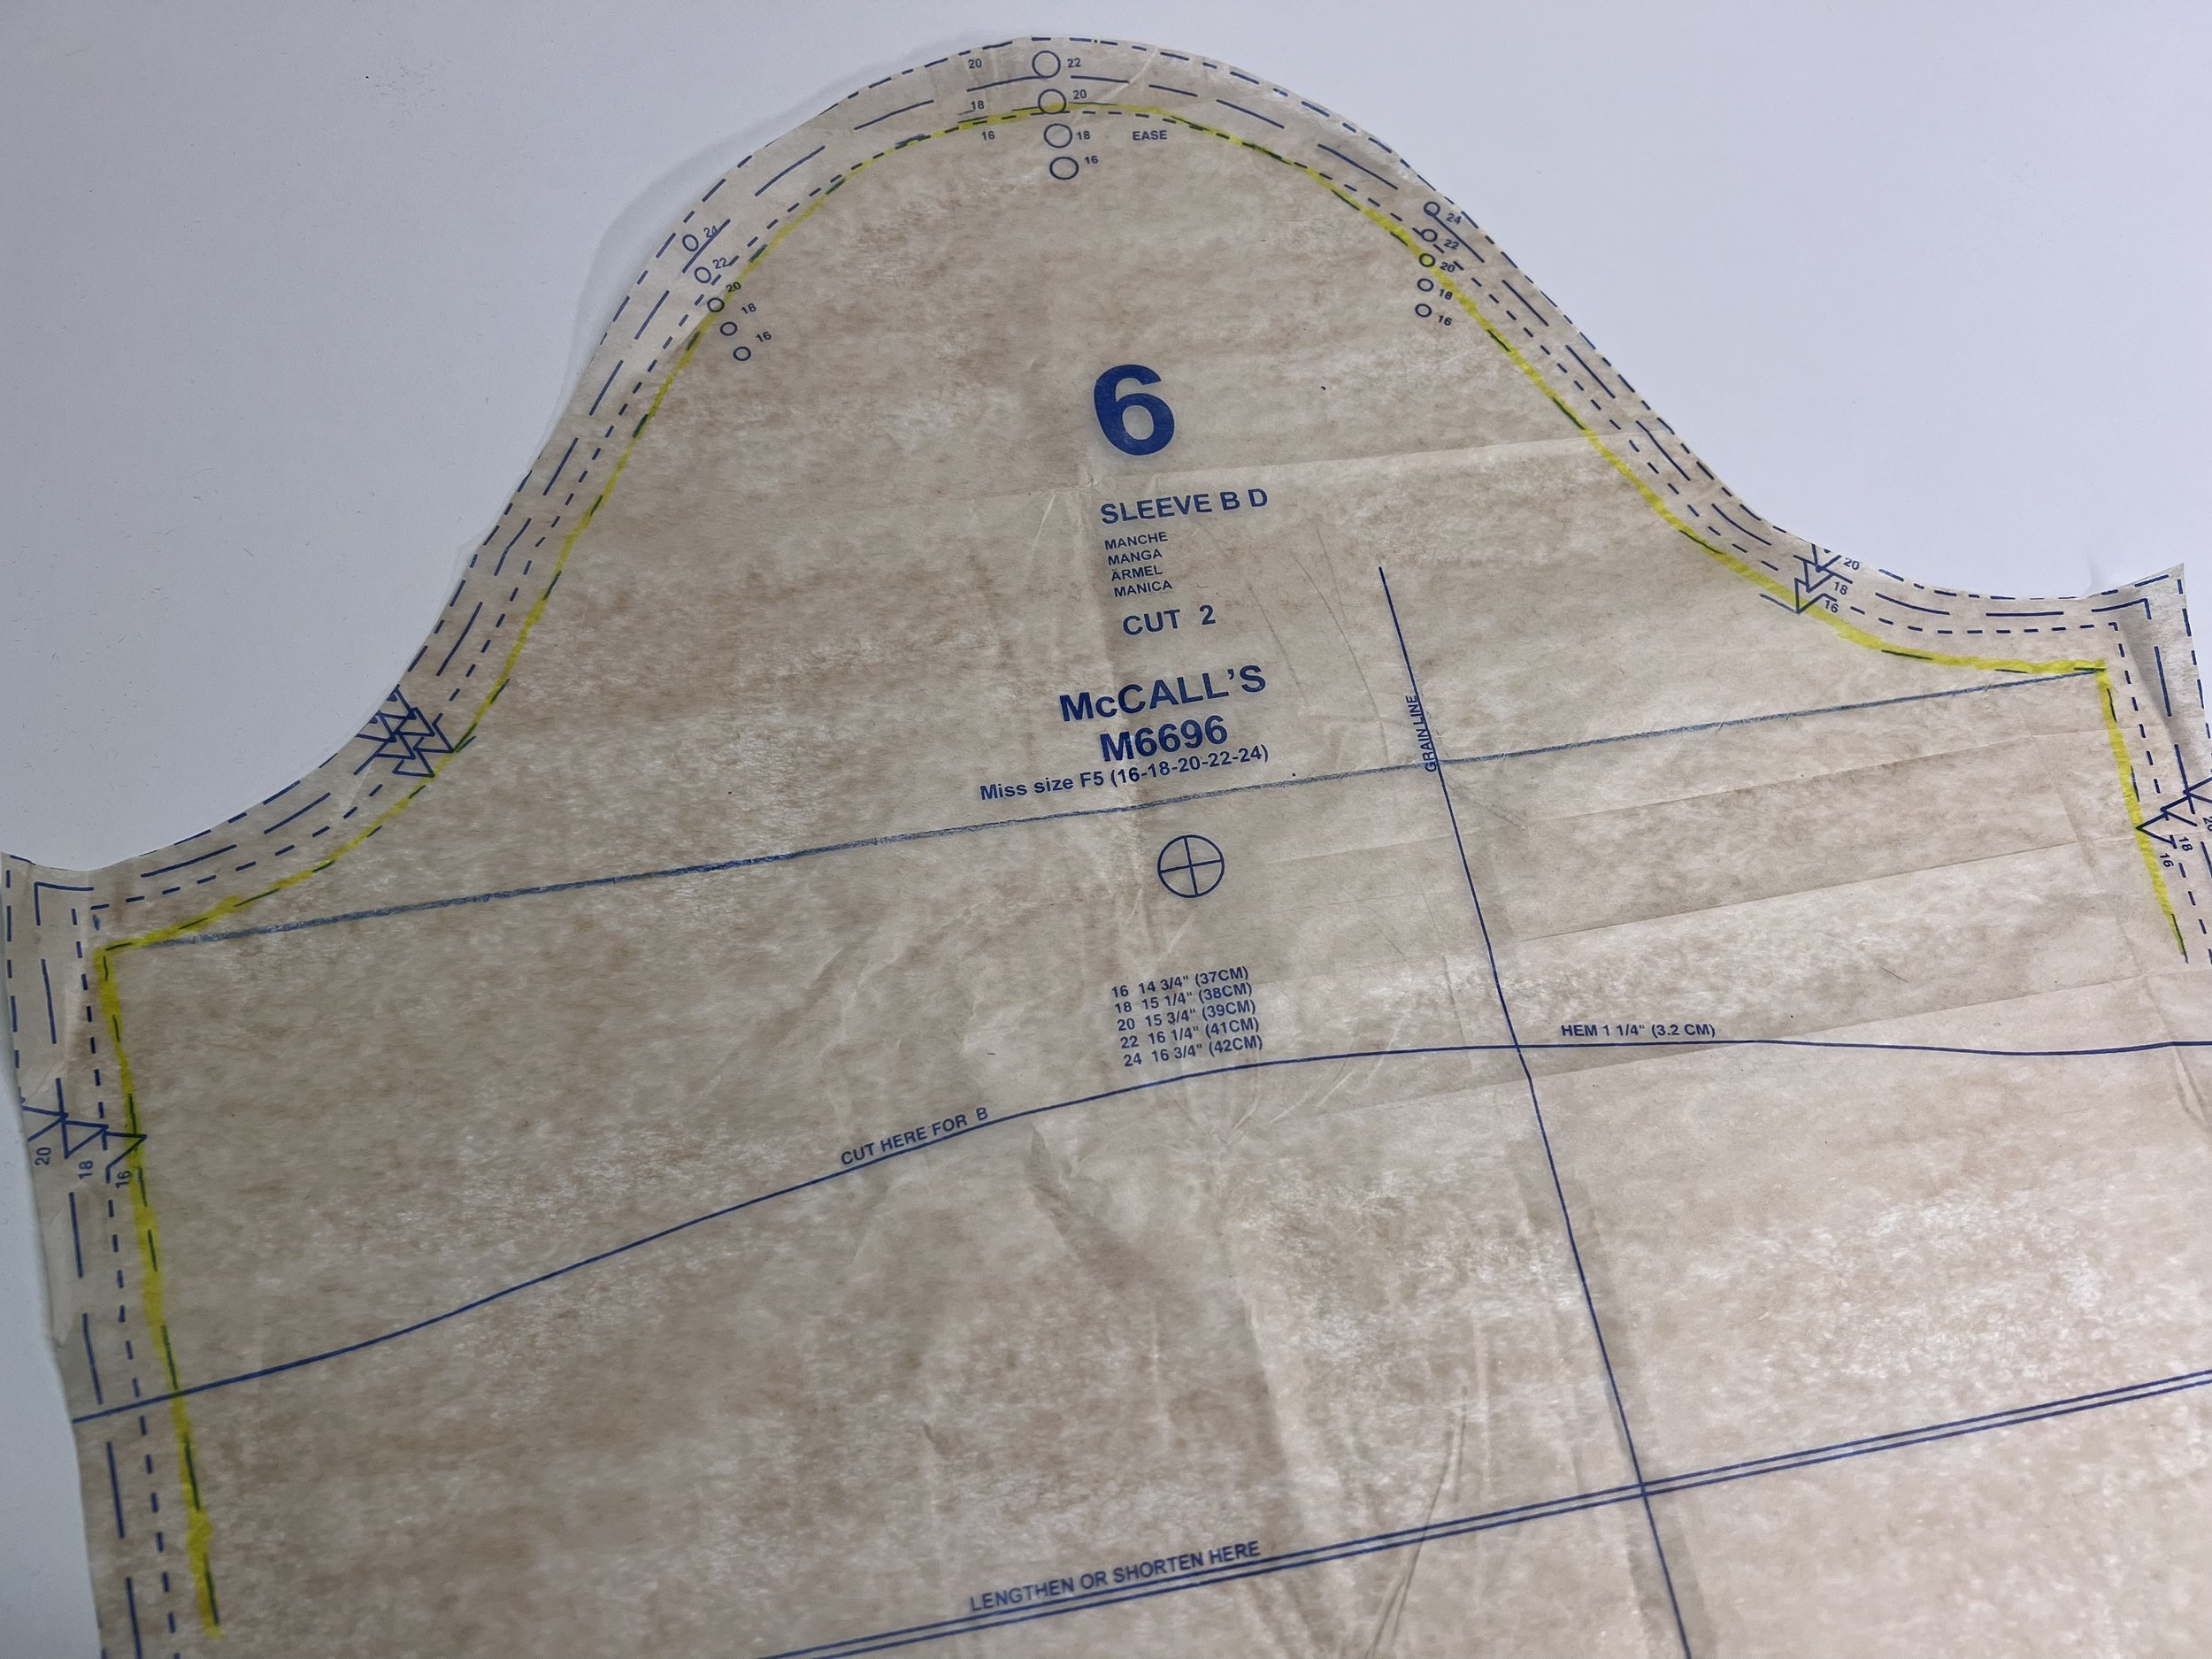
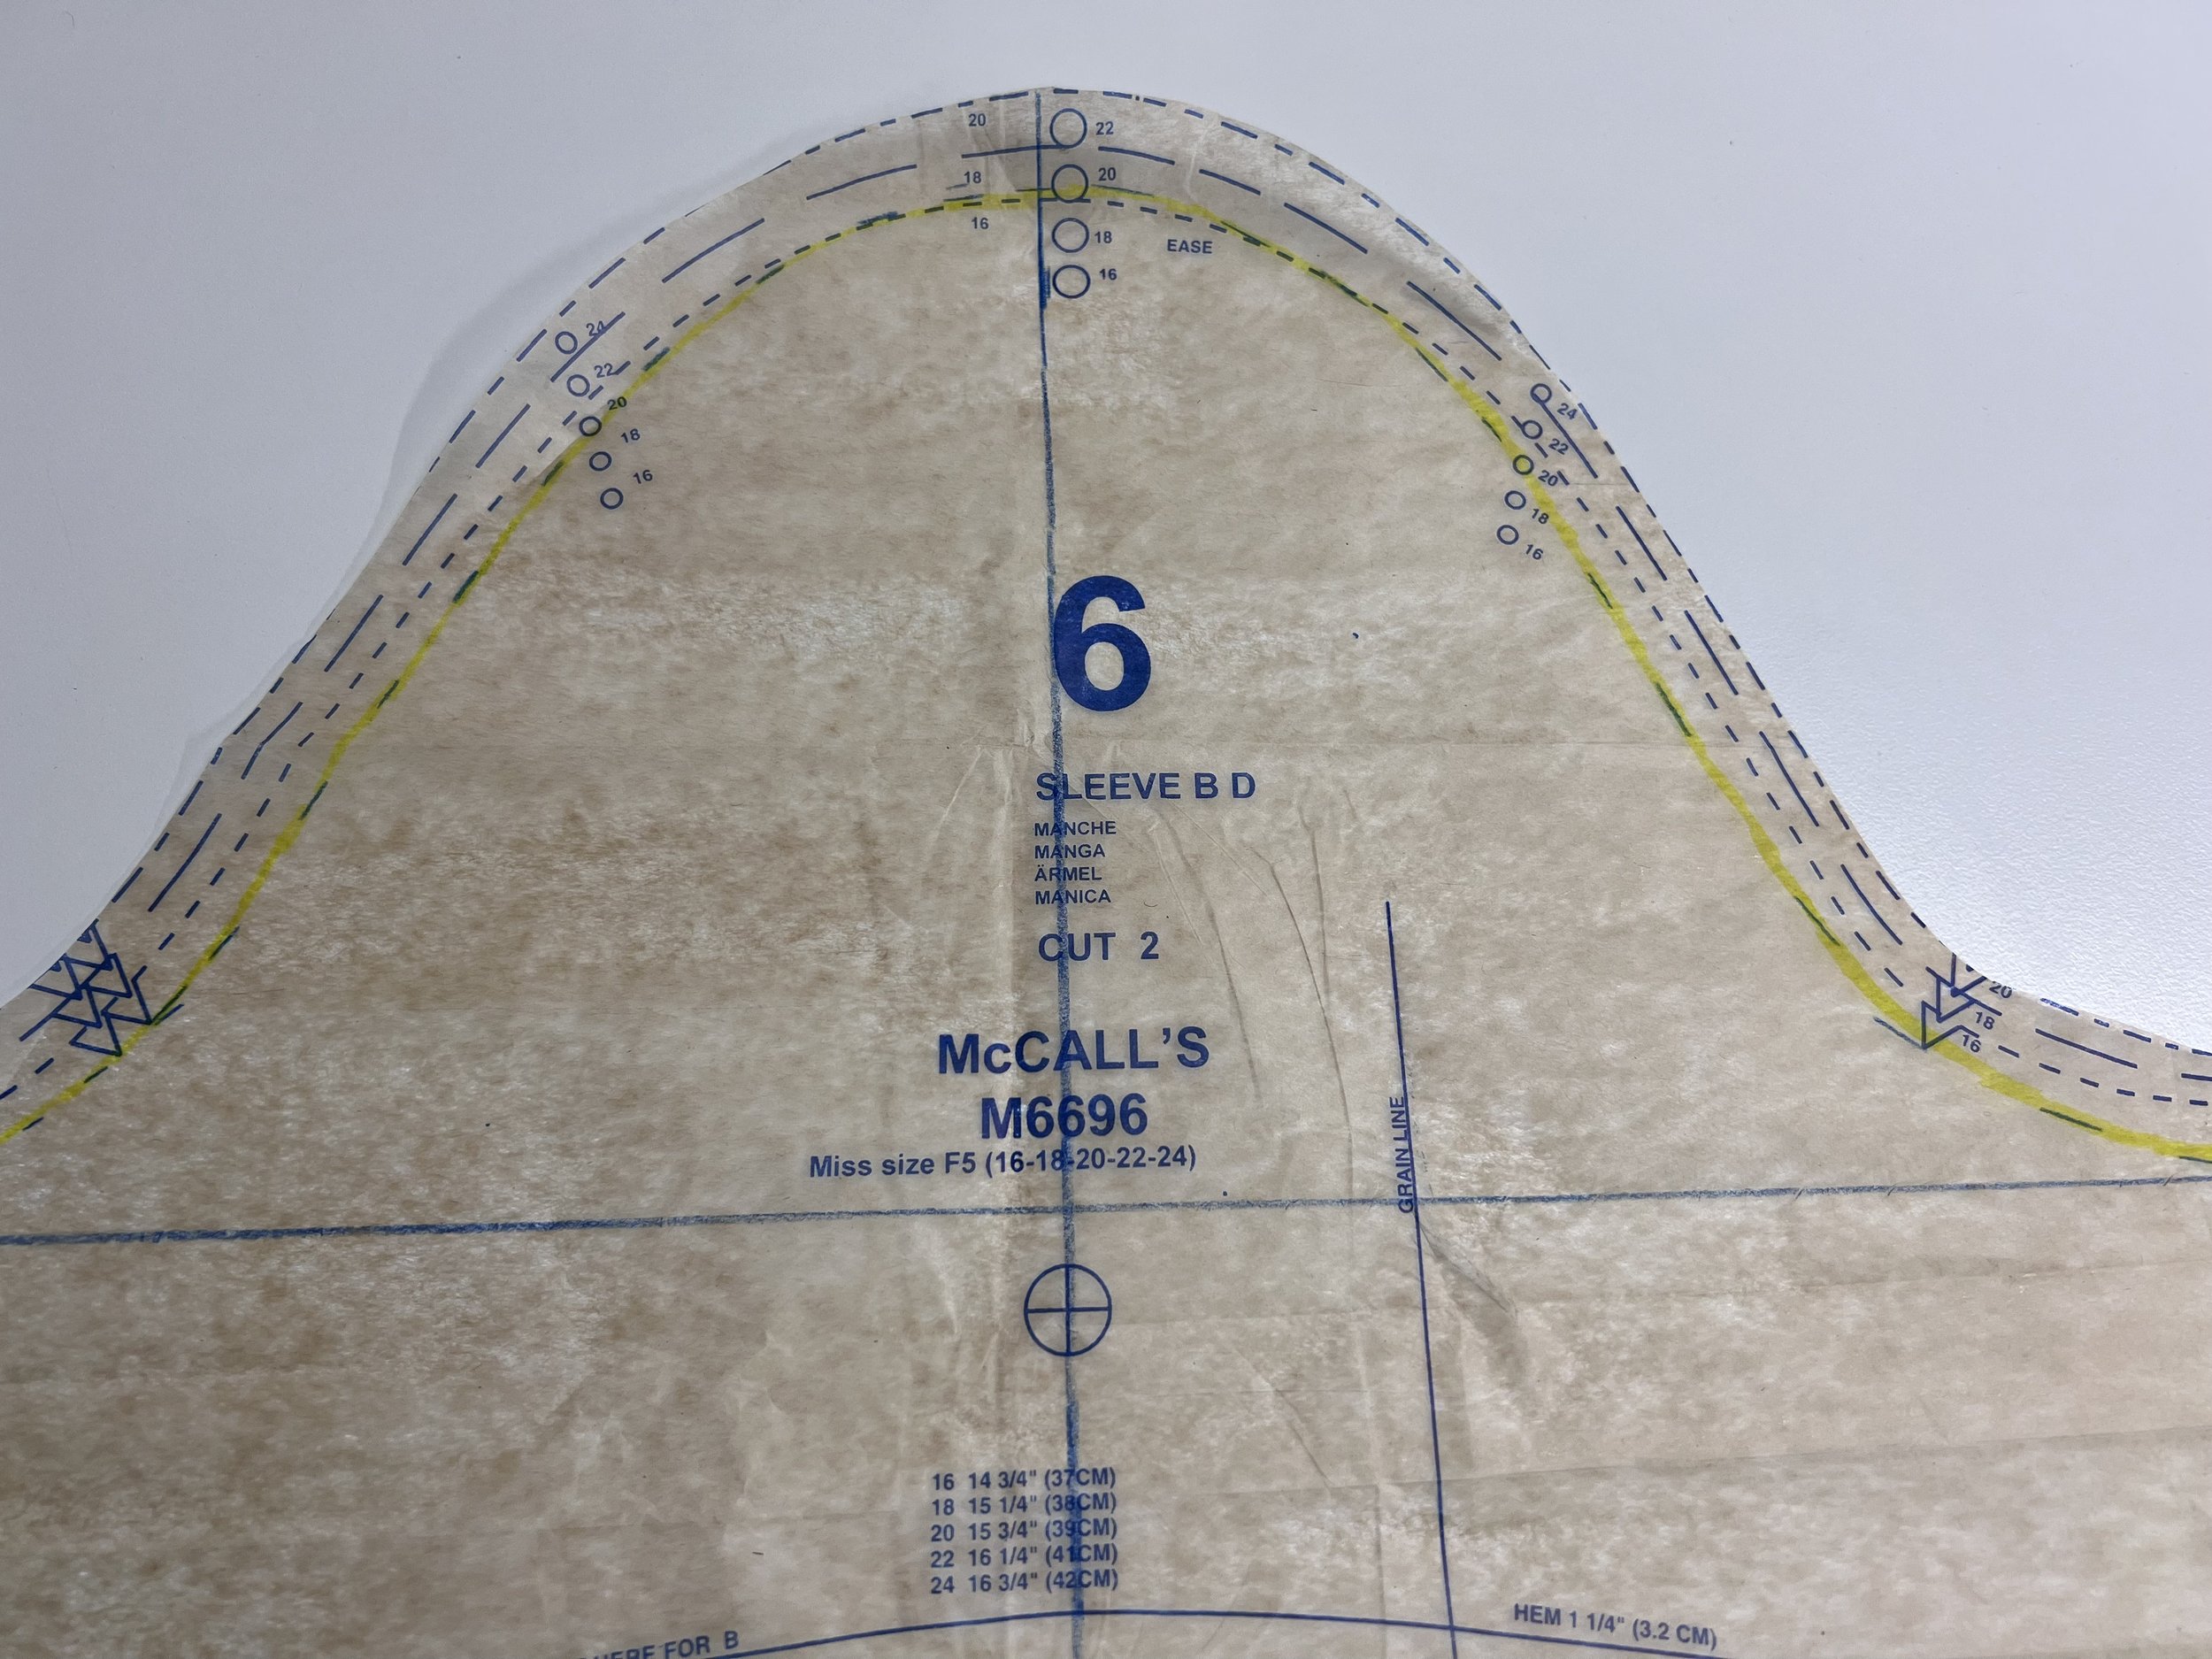
I used a blue pencil and high liter yellow line to show my seam allowance at the sleeve cap, sides and also at the bottom.
Here is the sleeve pattern with all seam allowances on the sides, cap of the sleeve and also at the bottom.
Now I want you to draw a straight horizontal line ———- from side to side. Use a ruler! Where will this line go? It will go were the two seam allowances intersect. This also happens to be the widest point of your sleeve.
Draw a horizontal line —- from side to seam were the two seam allowances intersect.
Now I want you to make a vertical line | from the top of the sleeve cap to the bottom of the sleeve. Make sure you are at the top of the sleeve cap. You may see notches close to the middle of the sleeve but that may not be the exact top of the sleeve. Again top of the sleeve! to the bottom of the sleeve.
Make sure you draw a vertical | line from the top of the cap of the sleeve to the bottom of the sleeve pattern. Make sure you do this at the TOP of the sleeve.
This is where the fun begins!
I want you to cut with your rotary cutter or your paper scissors. Thru those two lines, BUT I want you to leave about 1/16” of an inch of paper that we will use as a pivot point. I want you to do this for both vertical and horizontal lines. Go slow! If you cut thru it just grab a small piece of tape and reinforce it in that gap.
See that little pivot point I left? Its small but it will help me keep the pattern piece together but also manipulate the pattern so I can adjust as needed.
You should be able to move the center of your sleeve. That gap in the center of your sleeve is how we will add 1” to the width of our sleeve. You can add an whatever amount you need to add to this spot. It may be 1/2”, 3/4” or even 7/8”. Add whatever amount you need. Use your ruler!!! Do not “eyeball it”
Use a ruler to measure how much you need to add.
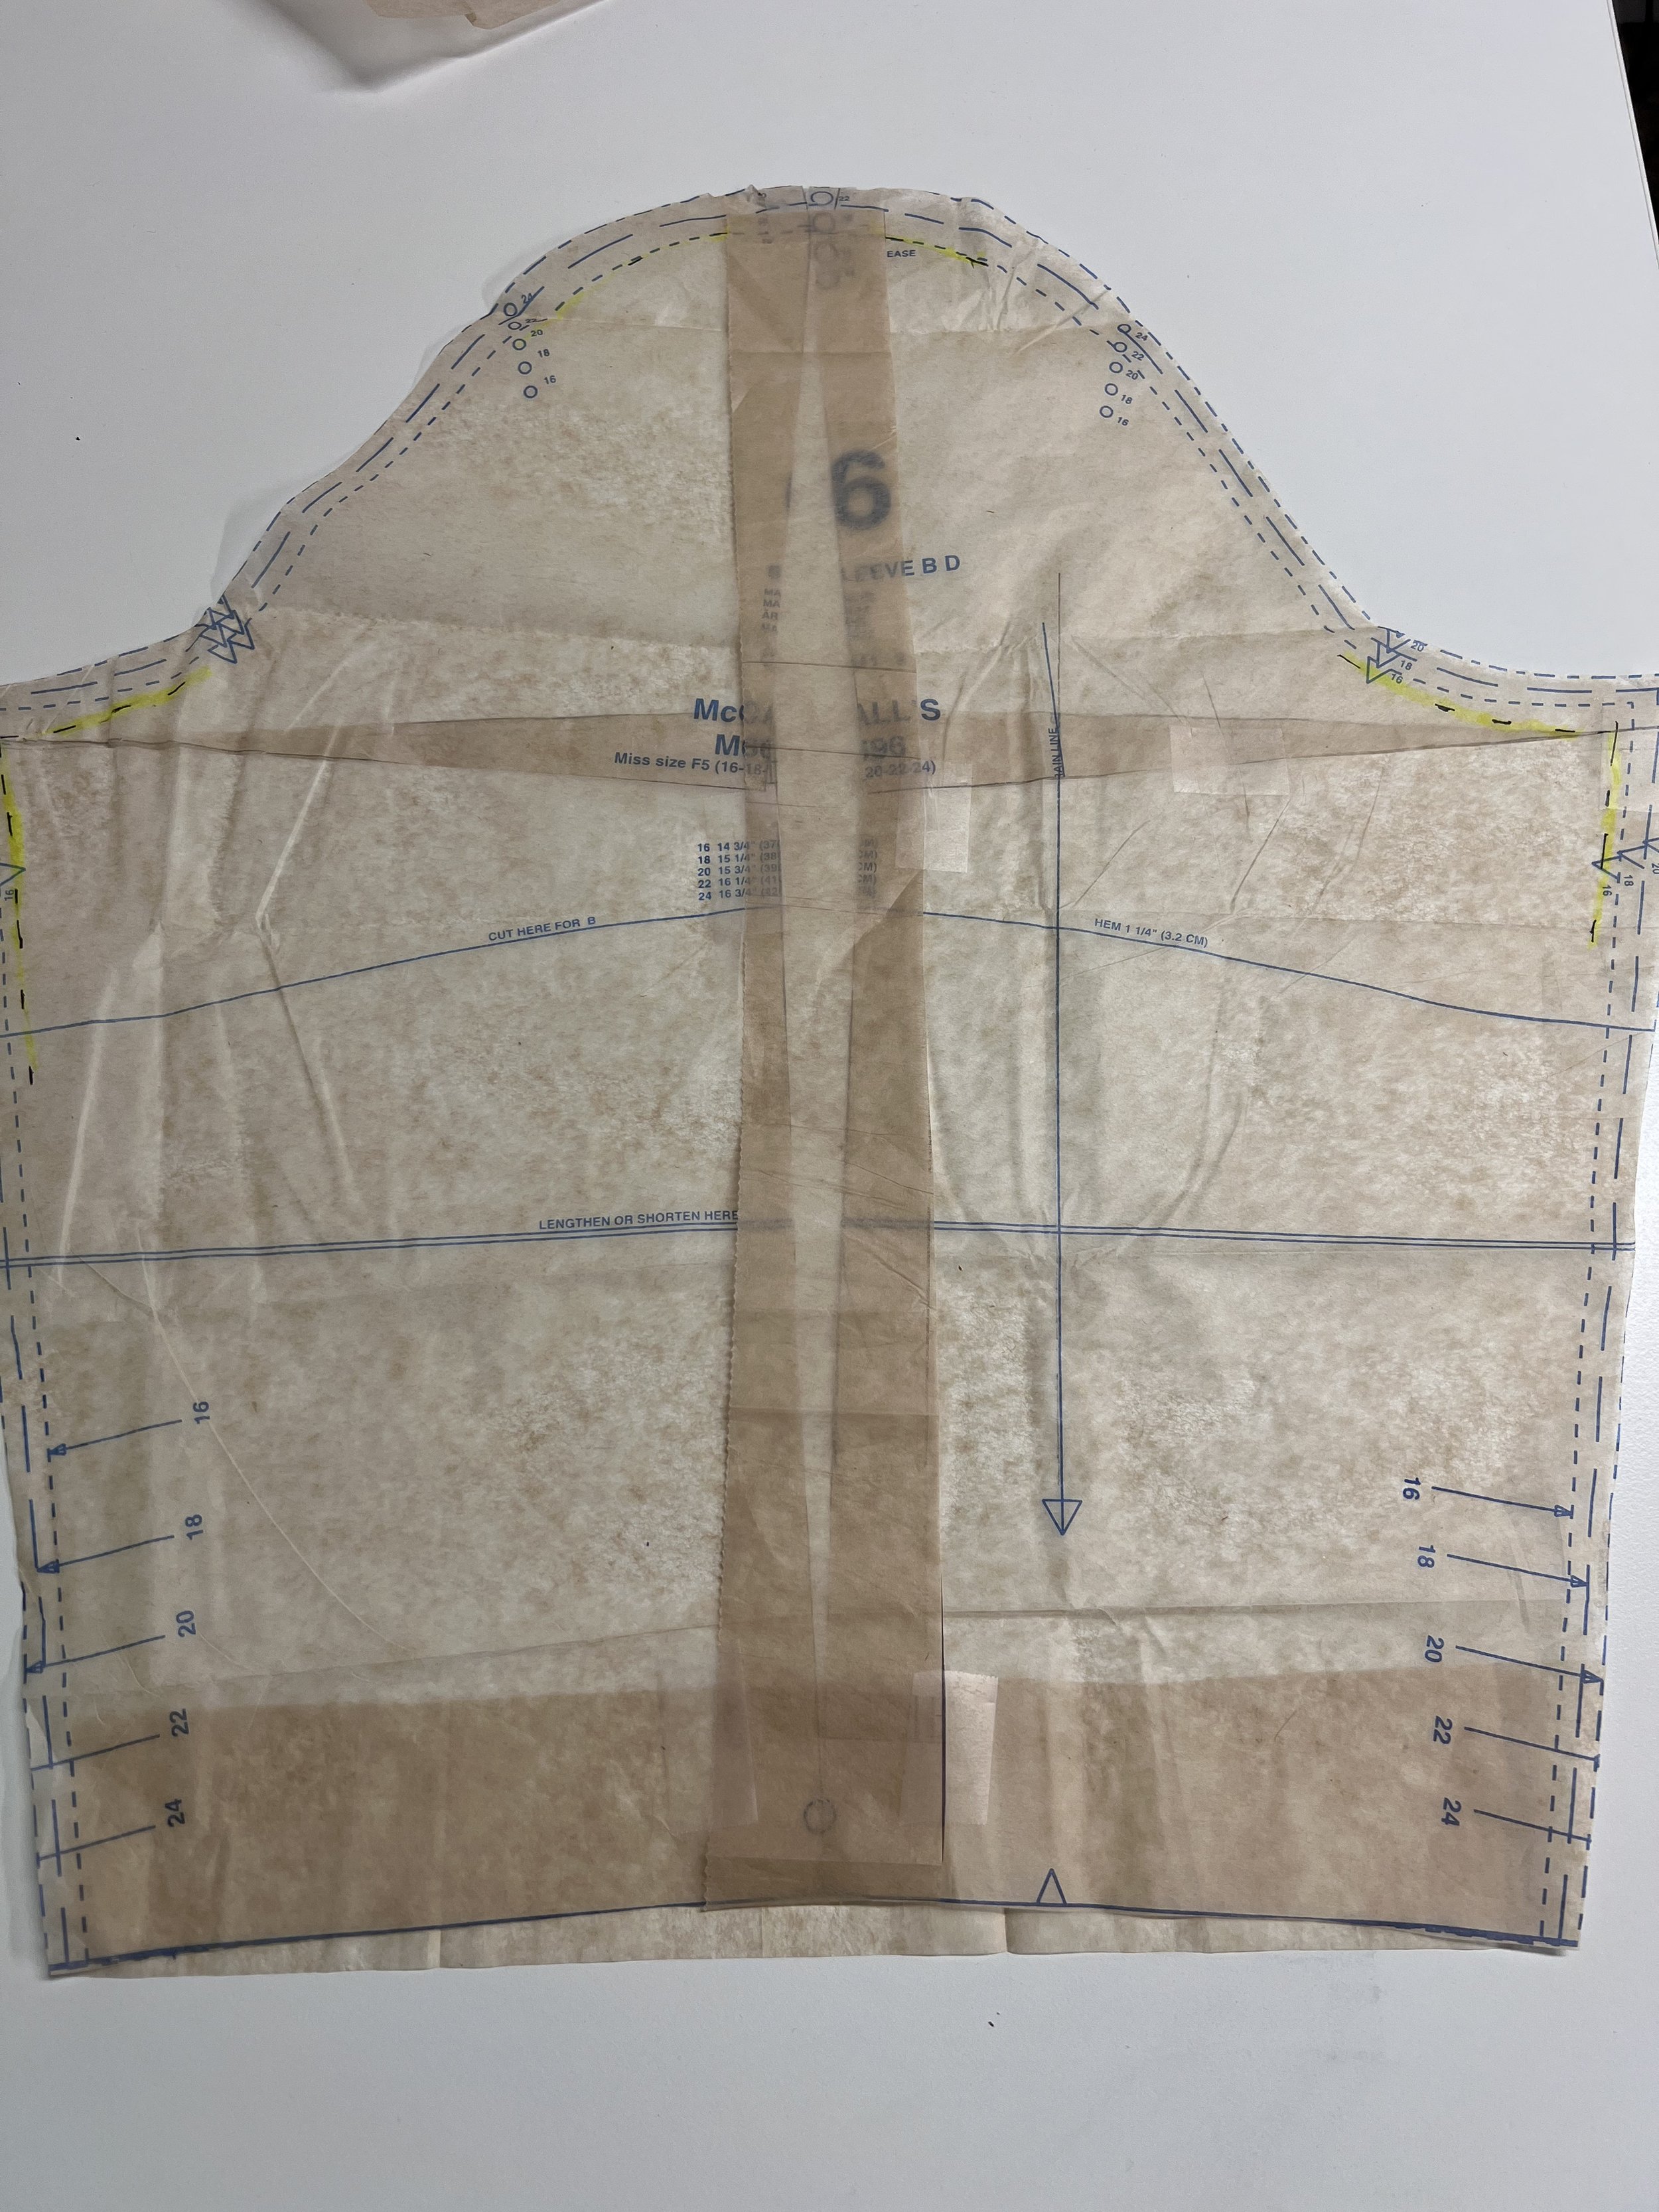
Now that you have added 1”, grab some tape and tape the sleeve down. I also like to add in a cut of tissue pattern paper and as a reinforcement. You should also make sure the bottom of your sleeve is straight across so add tissue paper there too.
Add tissue paper in the middle of the sleeve pattern piece to reinforce it once you have measured and also add tissue at the bottom of the sleeve. Lastly, make sure to extend your grainline on the pattern piece so you cut it on grain. It is now ready to use!
Your bicep adjustment is done and the pattern piece is ready to use.
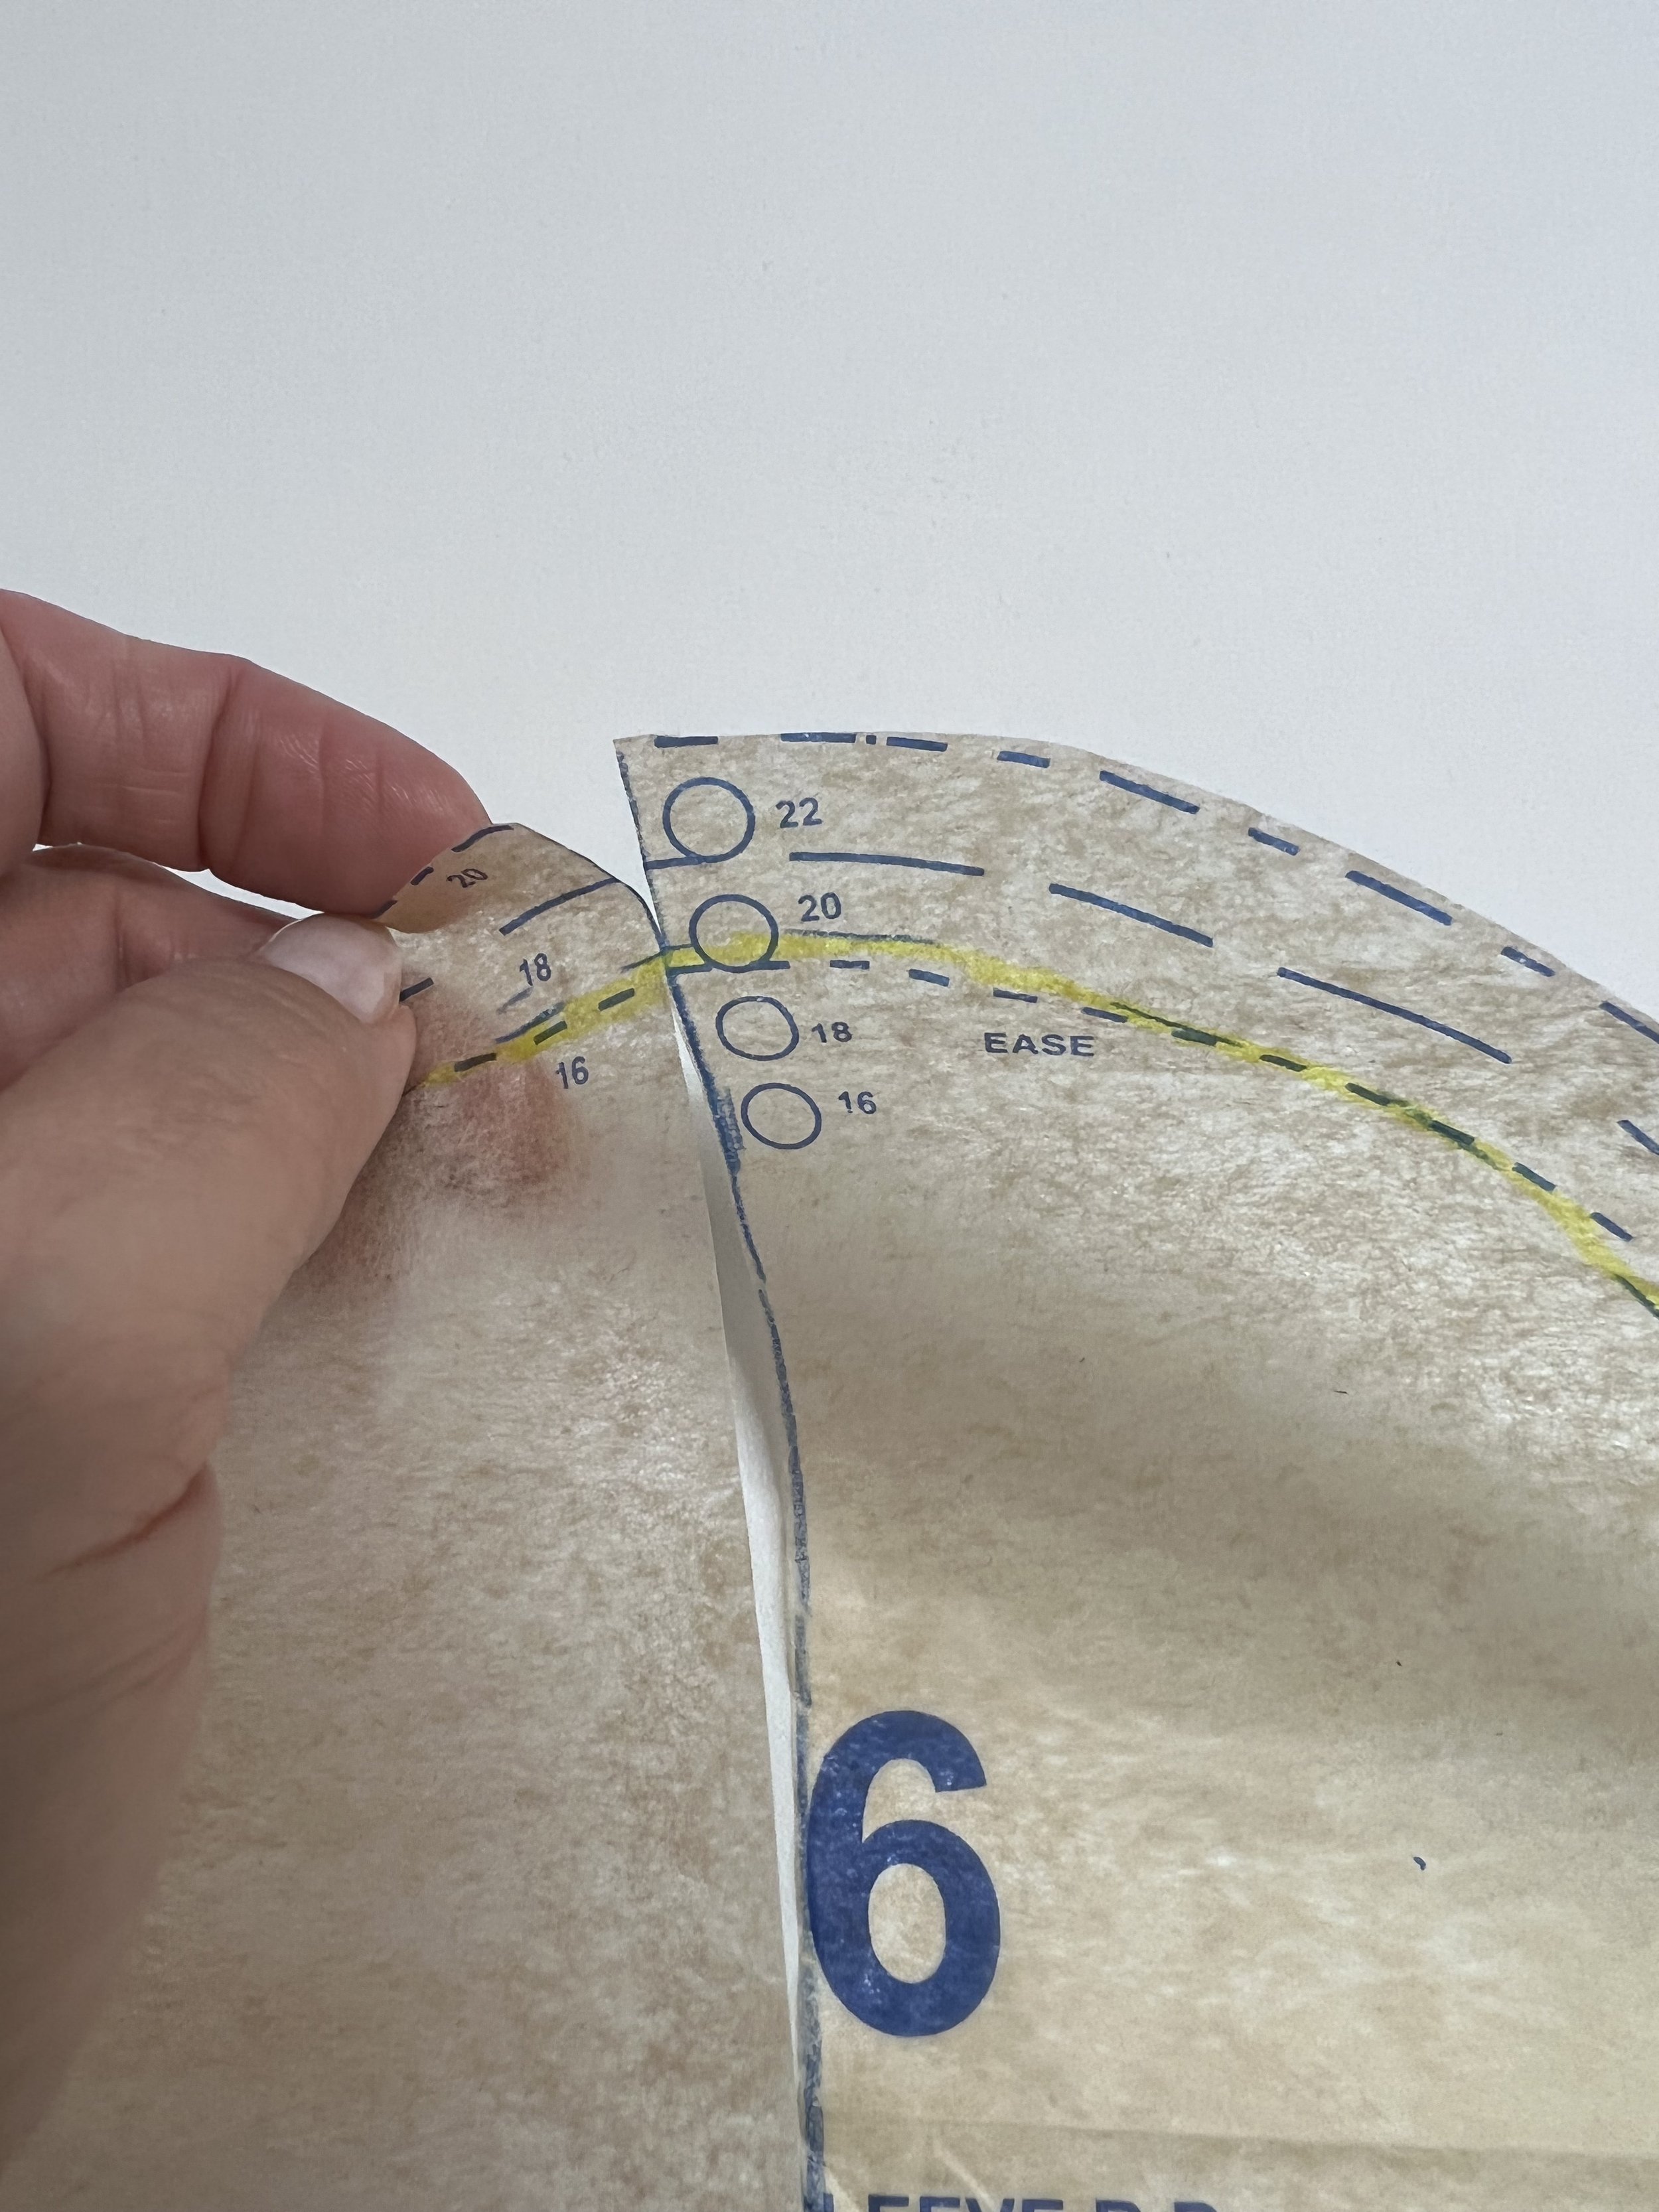
But what happens if you need to add more than 1” to the bicep? If you add one more than 1” the top of your sleeve cap will get distorted. See the picture below?
Perhaps you may need to add more than 1” to the bicep pattern piece? Now what? The top of the sleeve pattern piece gets distorted.
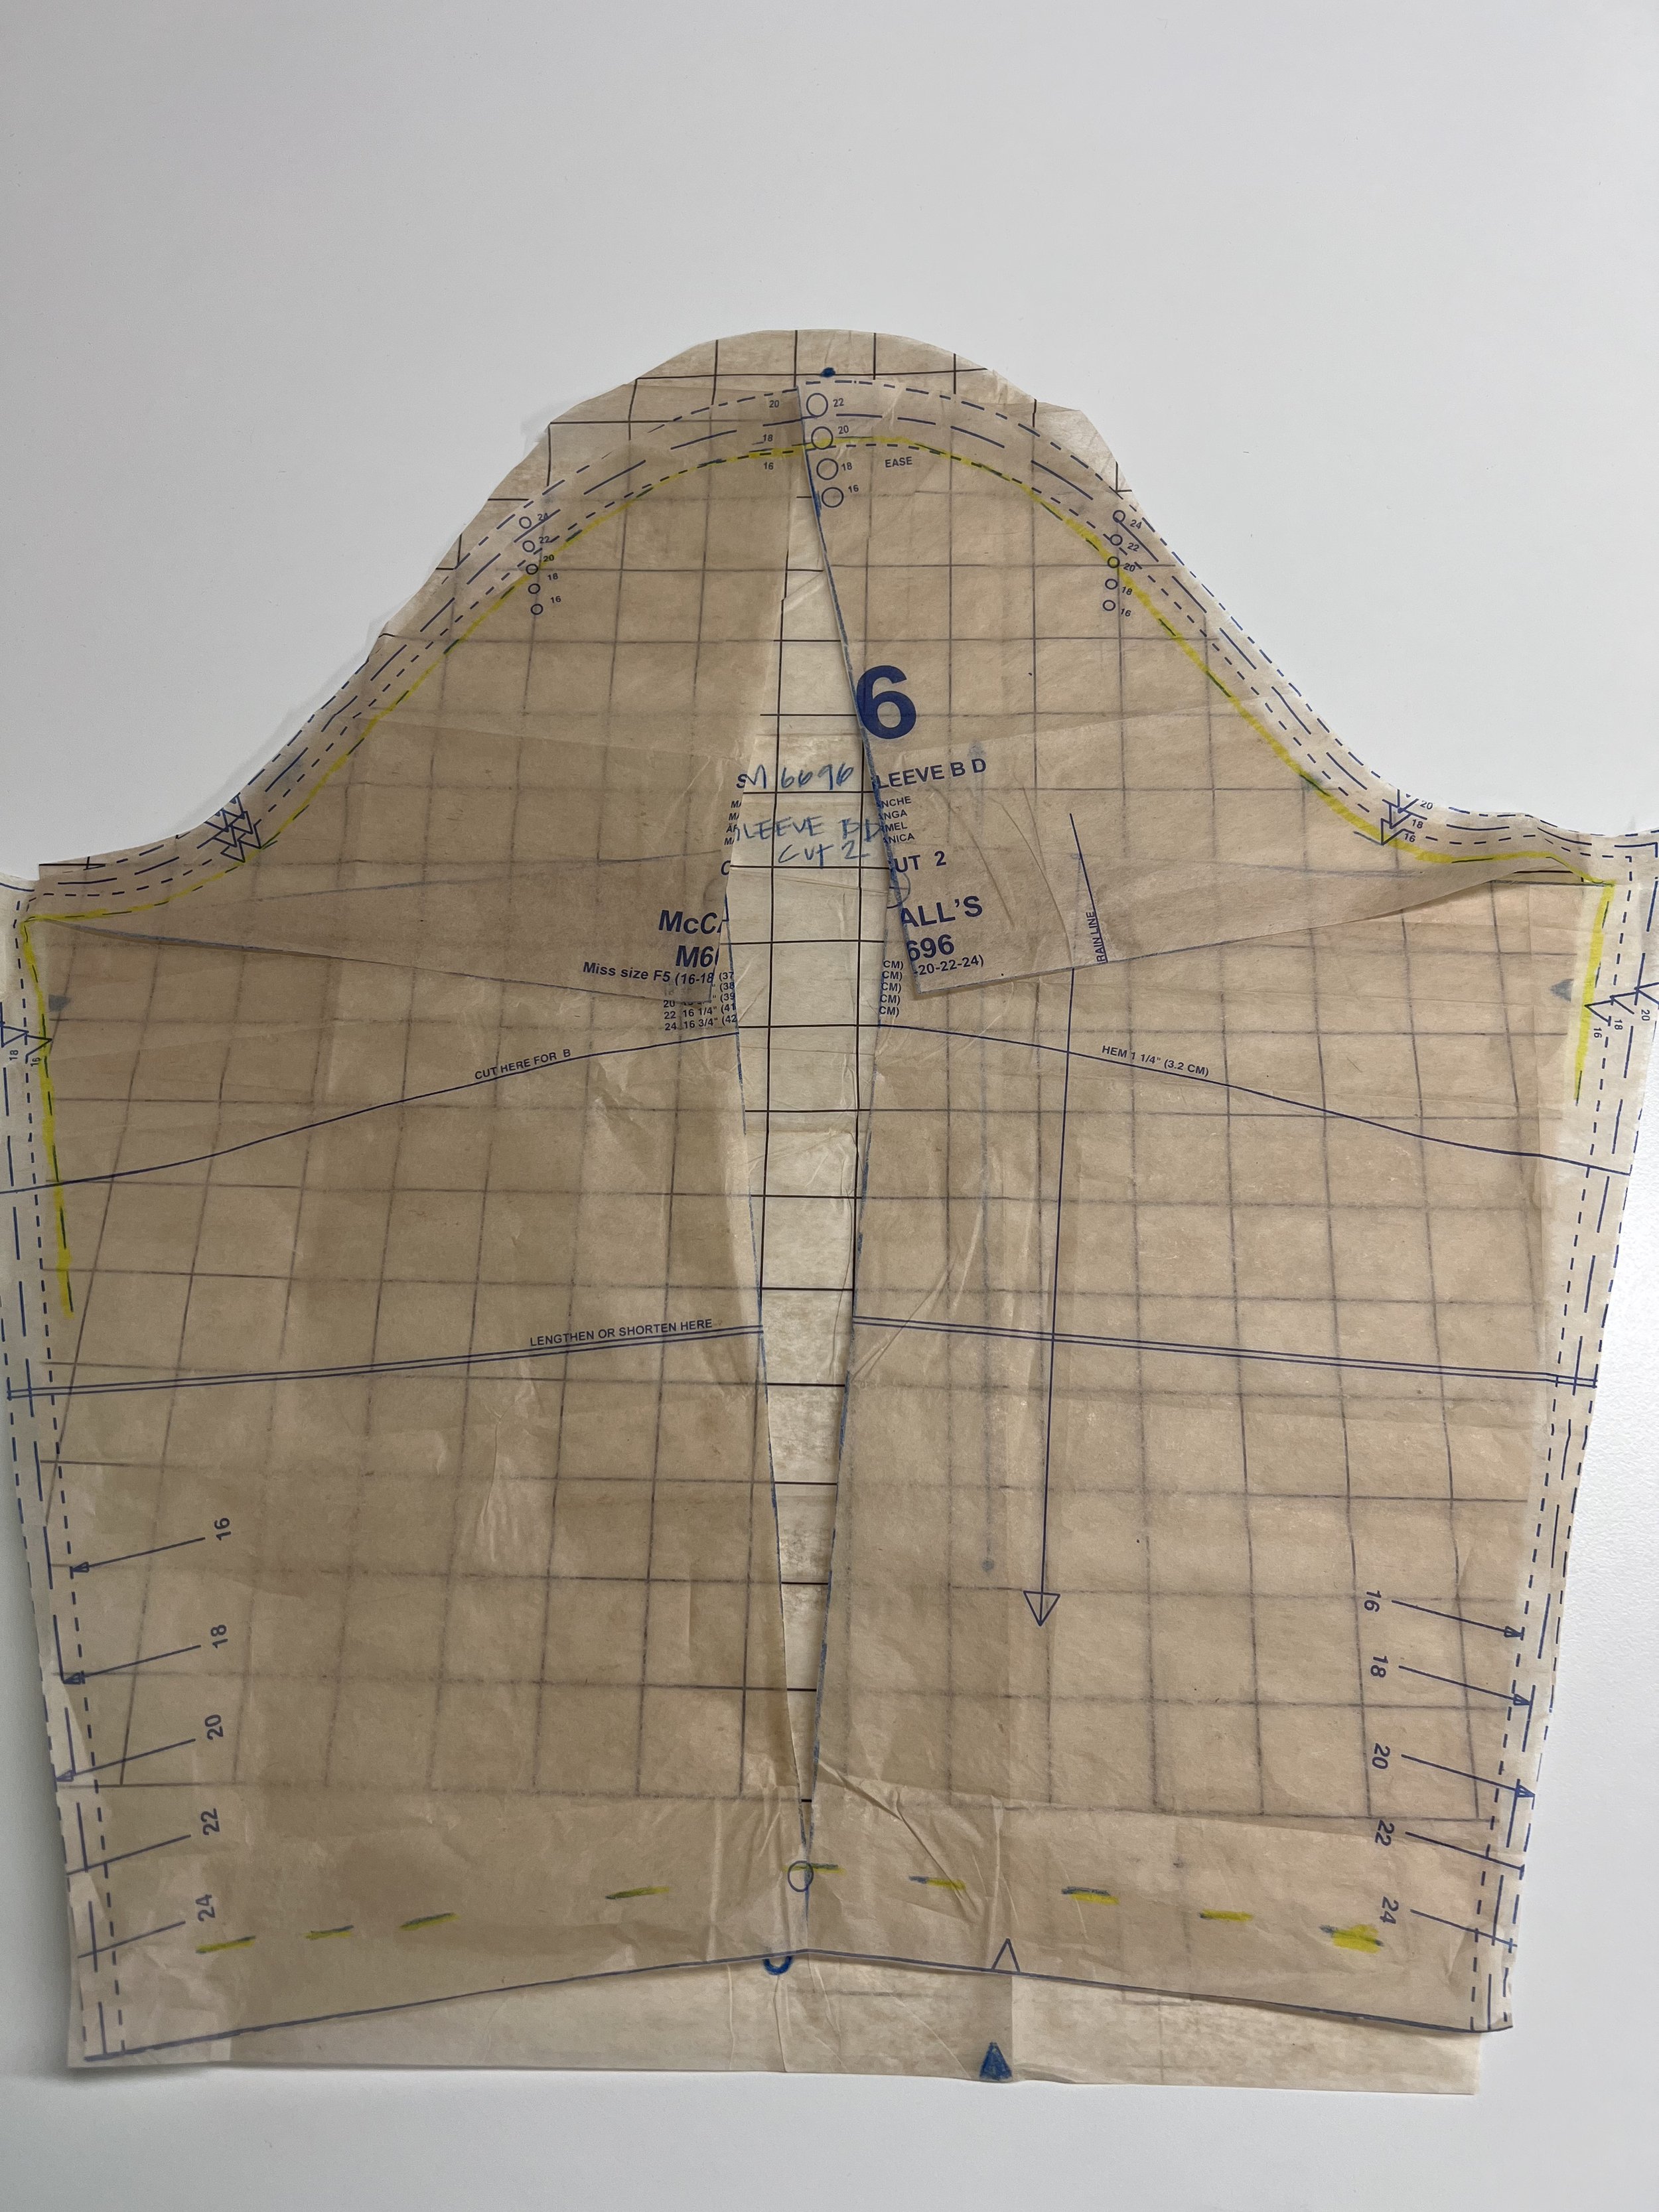
That’s where that sleeve that we traced comes in handy. I want you to use that sleeve that we traced to redraw the top of the sleeve cap. Once you have done that … you are done!
Use your traced sleeve pattern to re-trace the top of the sleeve cap along with the 2” bicep adjustment.
