

Sew Along for V8959 a cape and a pattern review

At first glance Vogue 8959 looks somewhat intimidating but I assure you its a great pattern if you are a confident beginner want to take a shot at learning how to work with wool fabrics and how to put a lining in. I used a boiled wool from Minerva and for my lining I used a Rifle and Paper Rayon Challis from Fabric.com
What did you particularly like or dislike about the pattern?
I loved this pattern, as I was making it I can see how many people could ditch the lining and just use bias tape to finish off the seams.
Does it look like the photos/illustrations on the pattern envelope?
Yes it does.
Were the instructions easy to follow?
The instructions on this are two pages and yes I looked at them. I made some changes to the way I did the hem as I didn’t want to create a lot of bulk in the hem as I’m using a boiled wool. If I make it again I would most likely add 1.5 inches to the fabric and keep the length of the lining the same as the pattern pieces so I can just bag the entire lining and leave a small opening on which to turn the lining and just slip stitch. The two hems are a lot of work! Hence why I only did one.
I also extended the hand openings about 2 inches, so I could move freely.
Pattern alterations or any design changes you made:
I took in the shoulders once I had the cape sewn. Most of the other reviews mention to check the shoulders and sure enough it has a weird look that you can’t even see when you do a tissue fitting. You have to use the boiled wool to get an idea on the drape.
Would you sew it again? Would you recommend it to others?
Yes but I would most likely use a completely different fabric like an athletic knit that doesn’t need to be lined and make a lot of changes so its something I can just slip over my head and go about my day. I will say the boiled wool is nice and warm. It will be perfect on a fall day when its not too cold or too warm and I just want something to throw on.


How to sew curved pockets that look beautiful and match

Do you ever go, oh man these curved pockets look awful. They never seem to match, sewing that curve is like taking a sharp turn going 90 miles in your car… it gets done but it never looks pretty. I have a little trick for you….
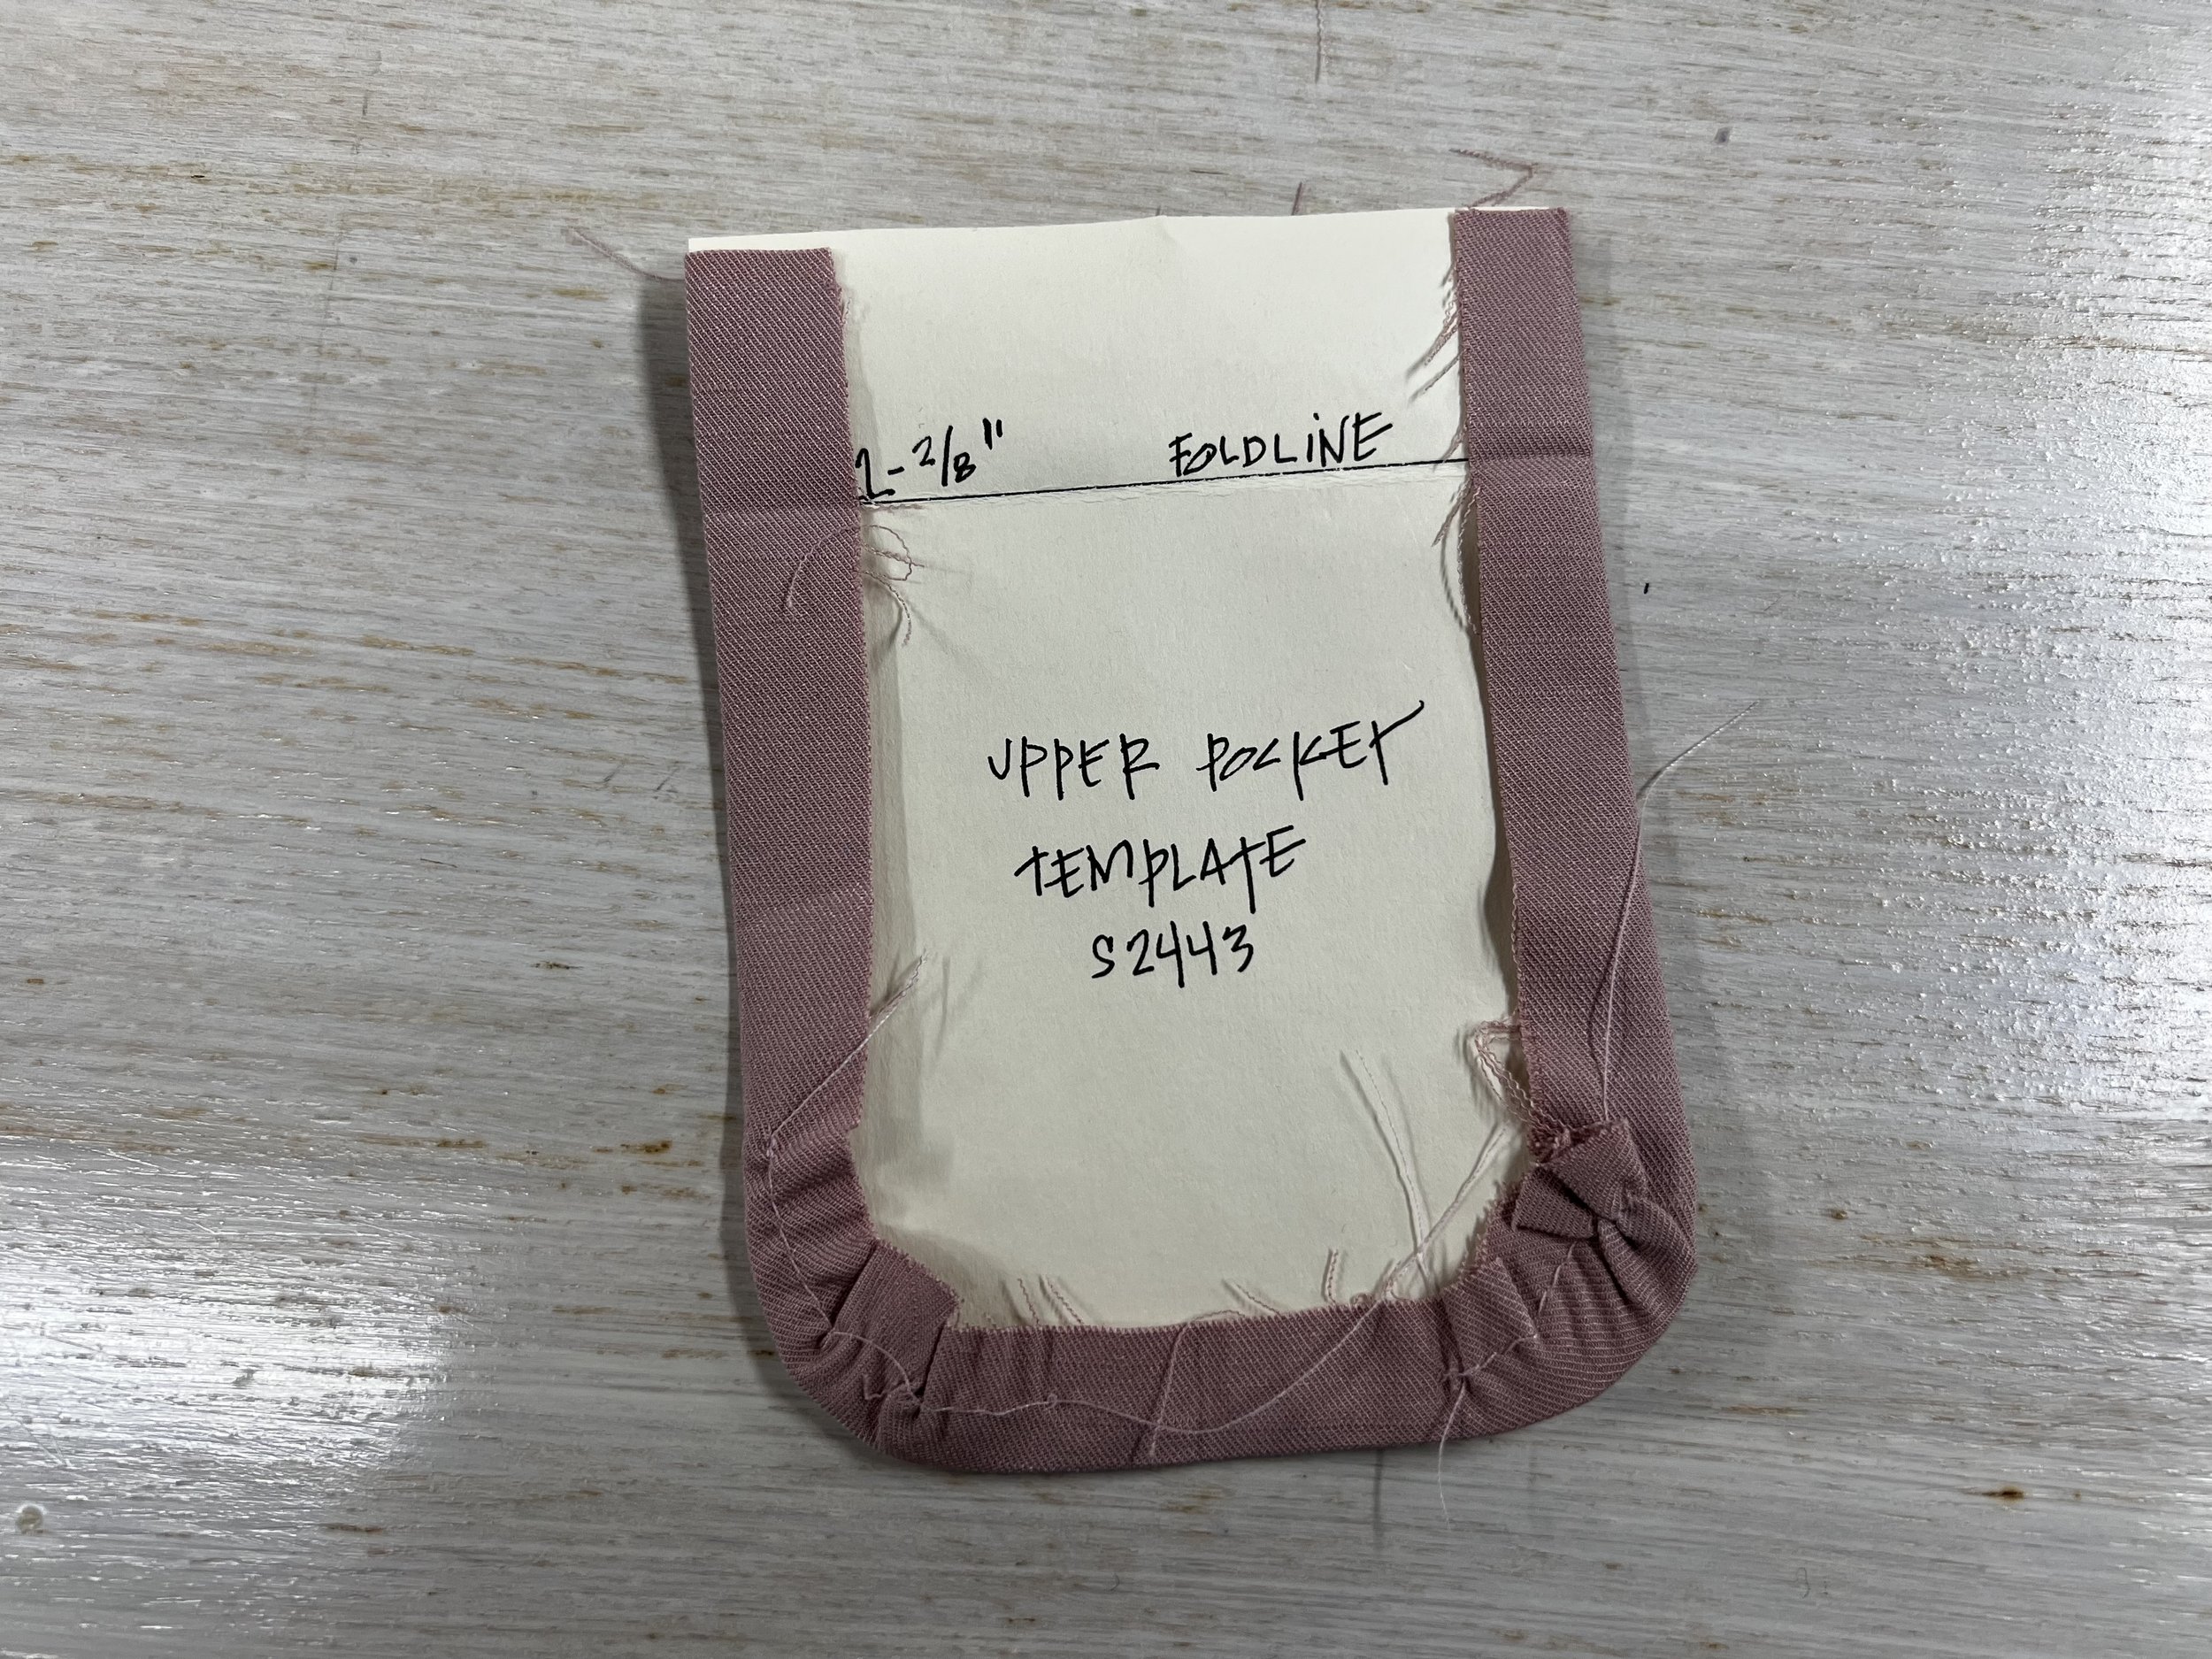
First thing, first make a template out of the original pocket pattern piece without the seam allowance. I usually make mine out of cardstock or a thicker paper because I will be using this to press and also I can use it again and again.

Pocket Pattern Template use cardstock and take out the seam allowance… In my case 5/8”
Next do gathering stitches 3/8” away from the raw edge. Make sure to back stitch at the start, but leave your threads long at the end.

Do gathering stitches 3/8” away from the raw edge. Lock in your stitches at the start with a backstitch… but leave your threads long at the end.
Now set your pocket piece on top the cut pocket fabric piece. Gather those stitches. The fabric will encircle the pocket template… now its ready to be pressed!
Now that you gathered the stitches, take it to the ironing board and press it
If you have a fold line, like I do in my pockets use the template to fold it at the same spot too. Fold the fabric and template… Press!

Voila! You have a beautifully finished curved pocket. Double bonus if you need to make more than one they will match!

You now have a beautifully finished curved pocket

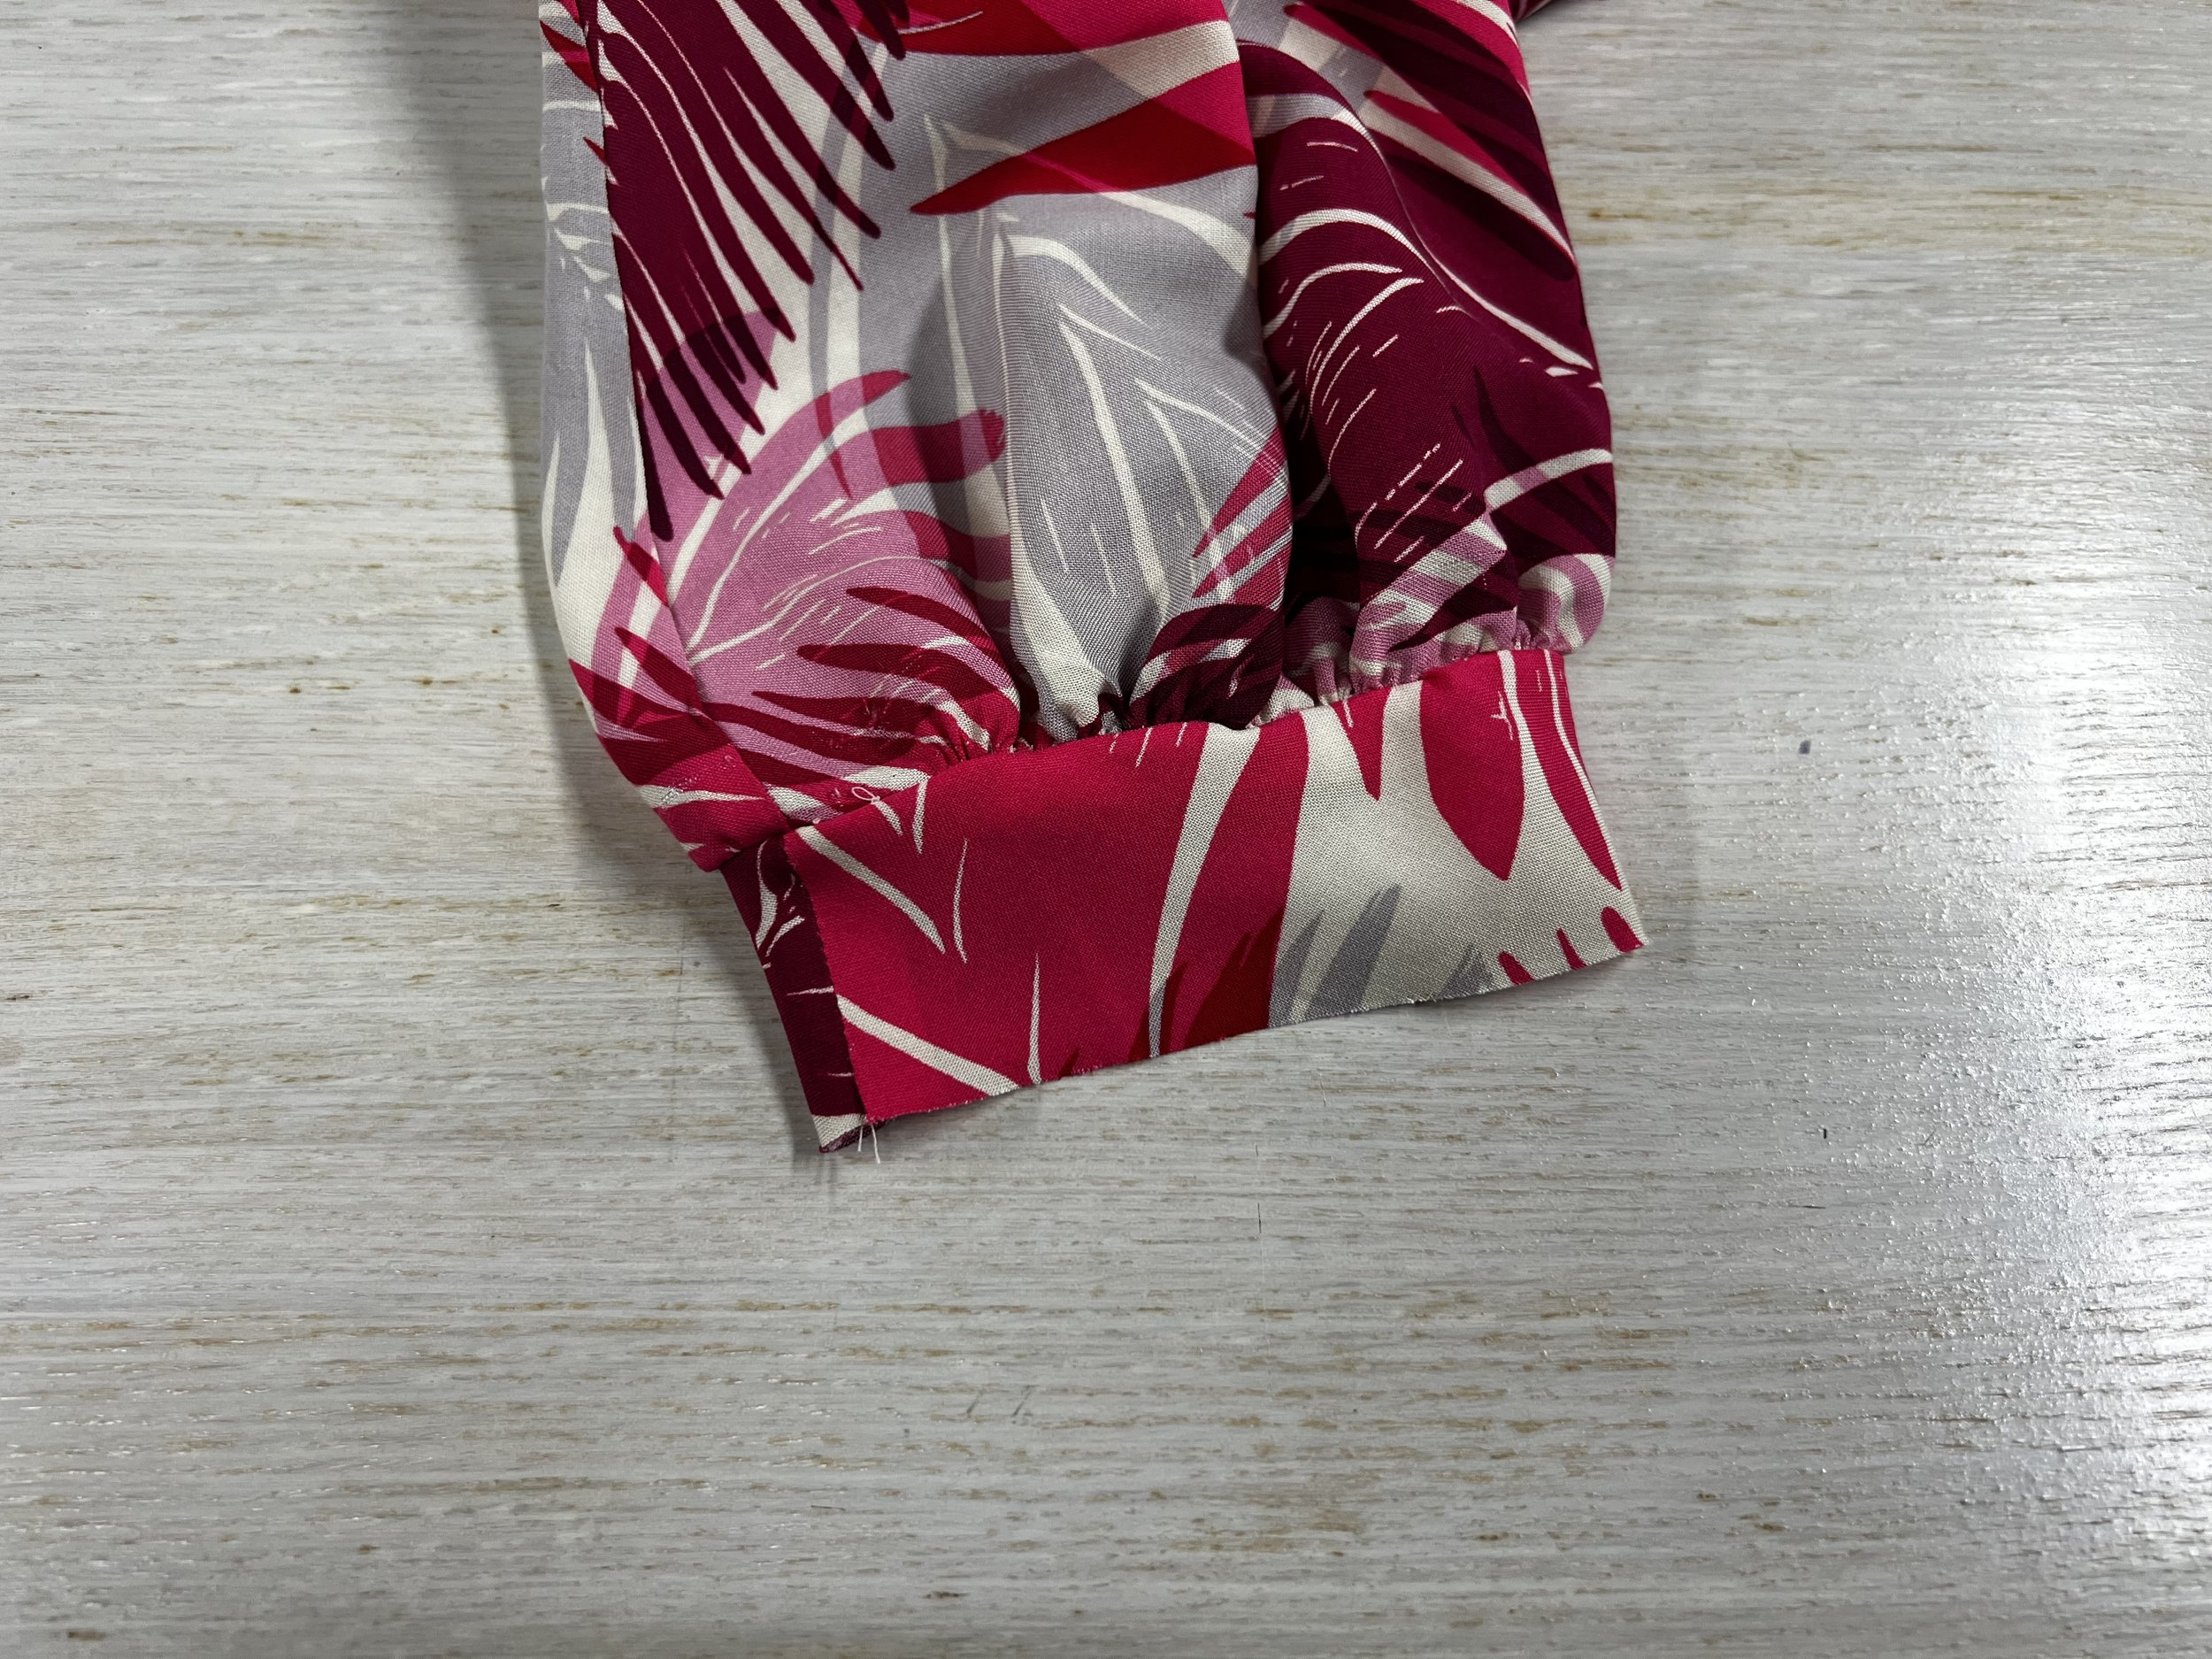
How to change an elastic sleeve cuffs to sleeve binding

So we made S9469 earlier this week, and it is a great pattern! On my first version I had made a change to it. Mostly because I don’t care for elastic sleeves cuffs. There is nothing wrong with elastic on your cuffs but I just don’t care for it, they are actually somewhat uncomfortable for me. So today I’m going to show you how to change the elastic on your sleeve cuffs to a sleeve binding.
First things first, you need to remove the stitches on the sleeves and also the elastic. So get your seam ripper out and remove those stitches. Give your sleeve a good press.

Time to take out that elastic and rip out those stitches. Give it a good press once you are done.
You will also need to do two rows of your longest running stitch on your machine as you want to create gathers as we have quite a bit of width on the sleeve cuffs.

Add two rows of gathering stitches… longest running stitch on your machine. Leave those threads long and don’t lock your stitches!
Next measure your forearm! Grab the measuring tape and measure the circumference of your forearm. That is the length of your forearm.

Length of Forearm + 1/2” Ease +6/8” Seam Allowance (3/8” per seam allowance and you have two) equals the total length of your pattern piece
Cut a 2” wide ( 5cm ) and use the length of your forearm plus 1/2” ( 1.27cm ) for ease and an additional 3/8” ( .95 cm) for seam allowance. Remember there are 2 seam allowances so you need to add 3/8” for each one… so 6/8”. That will give you the length of the pattern piece. In addition, this piece needs to be cut on the BIAS. I repeat, this sleeve binding pattern piece you are creating from scratch needs to be cut on the bias because it needs to stretch.
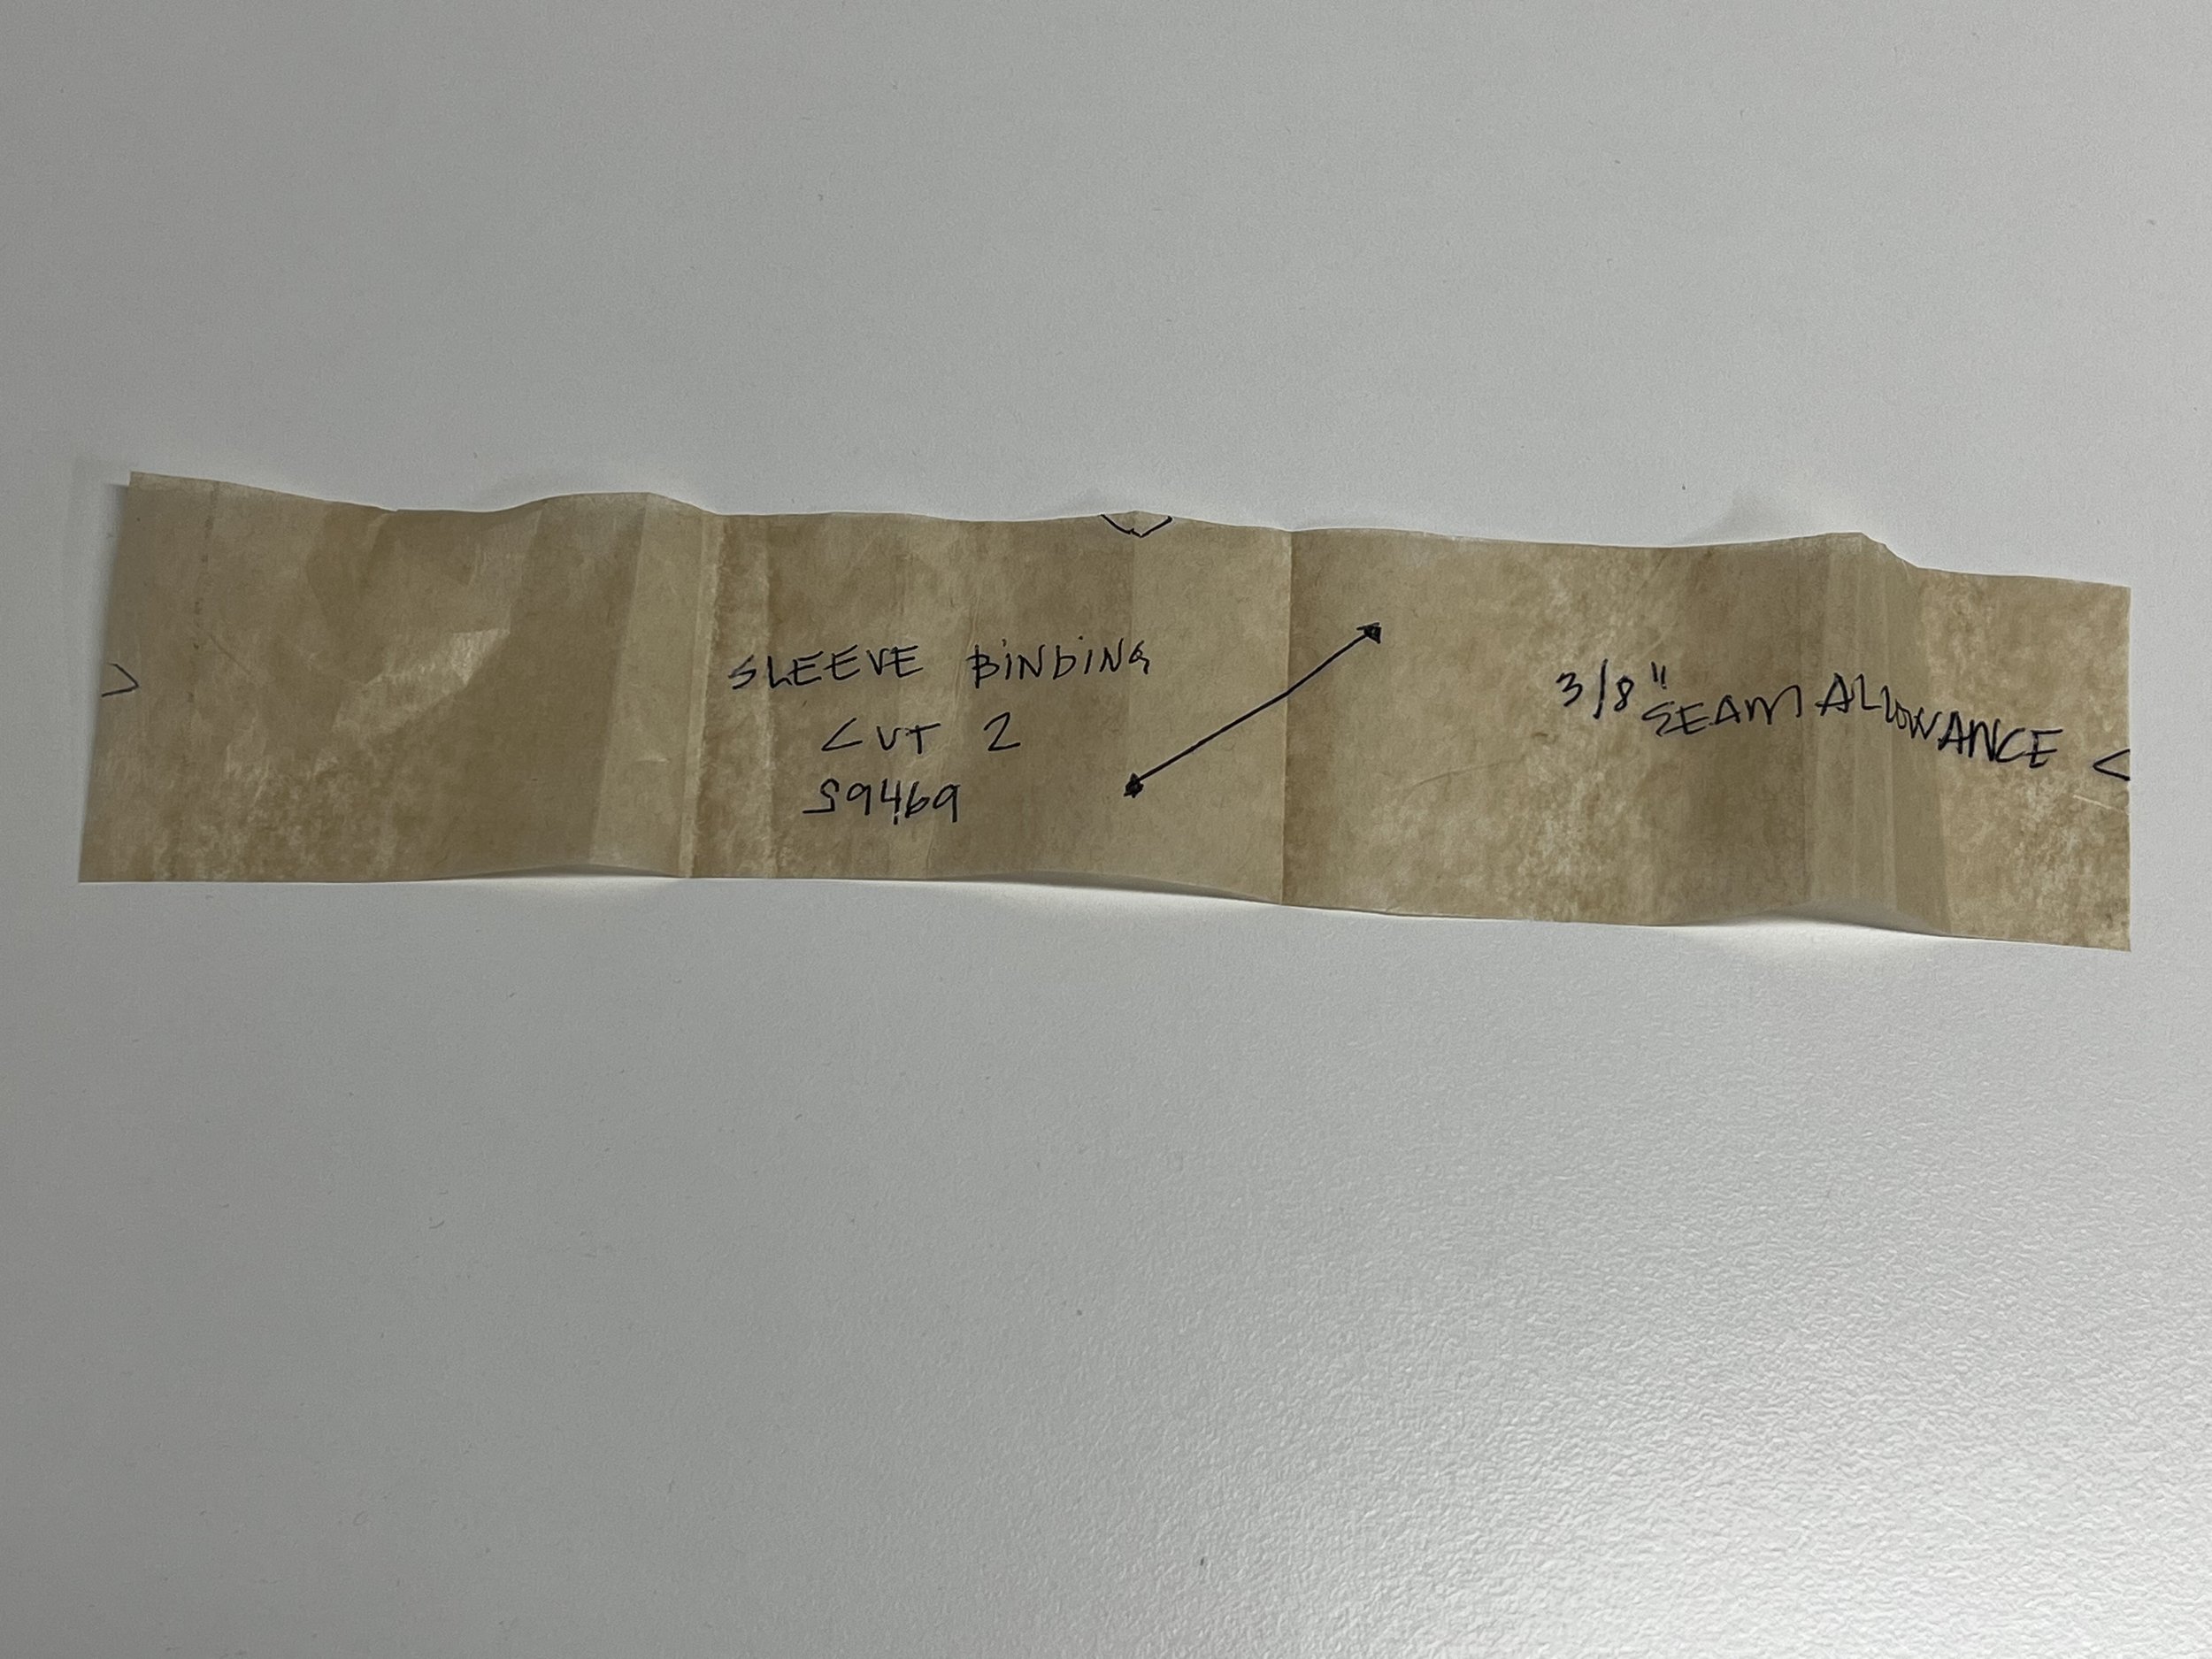
Self drafted sleeve binding pattern piece
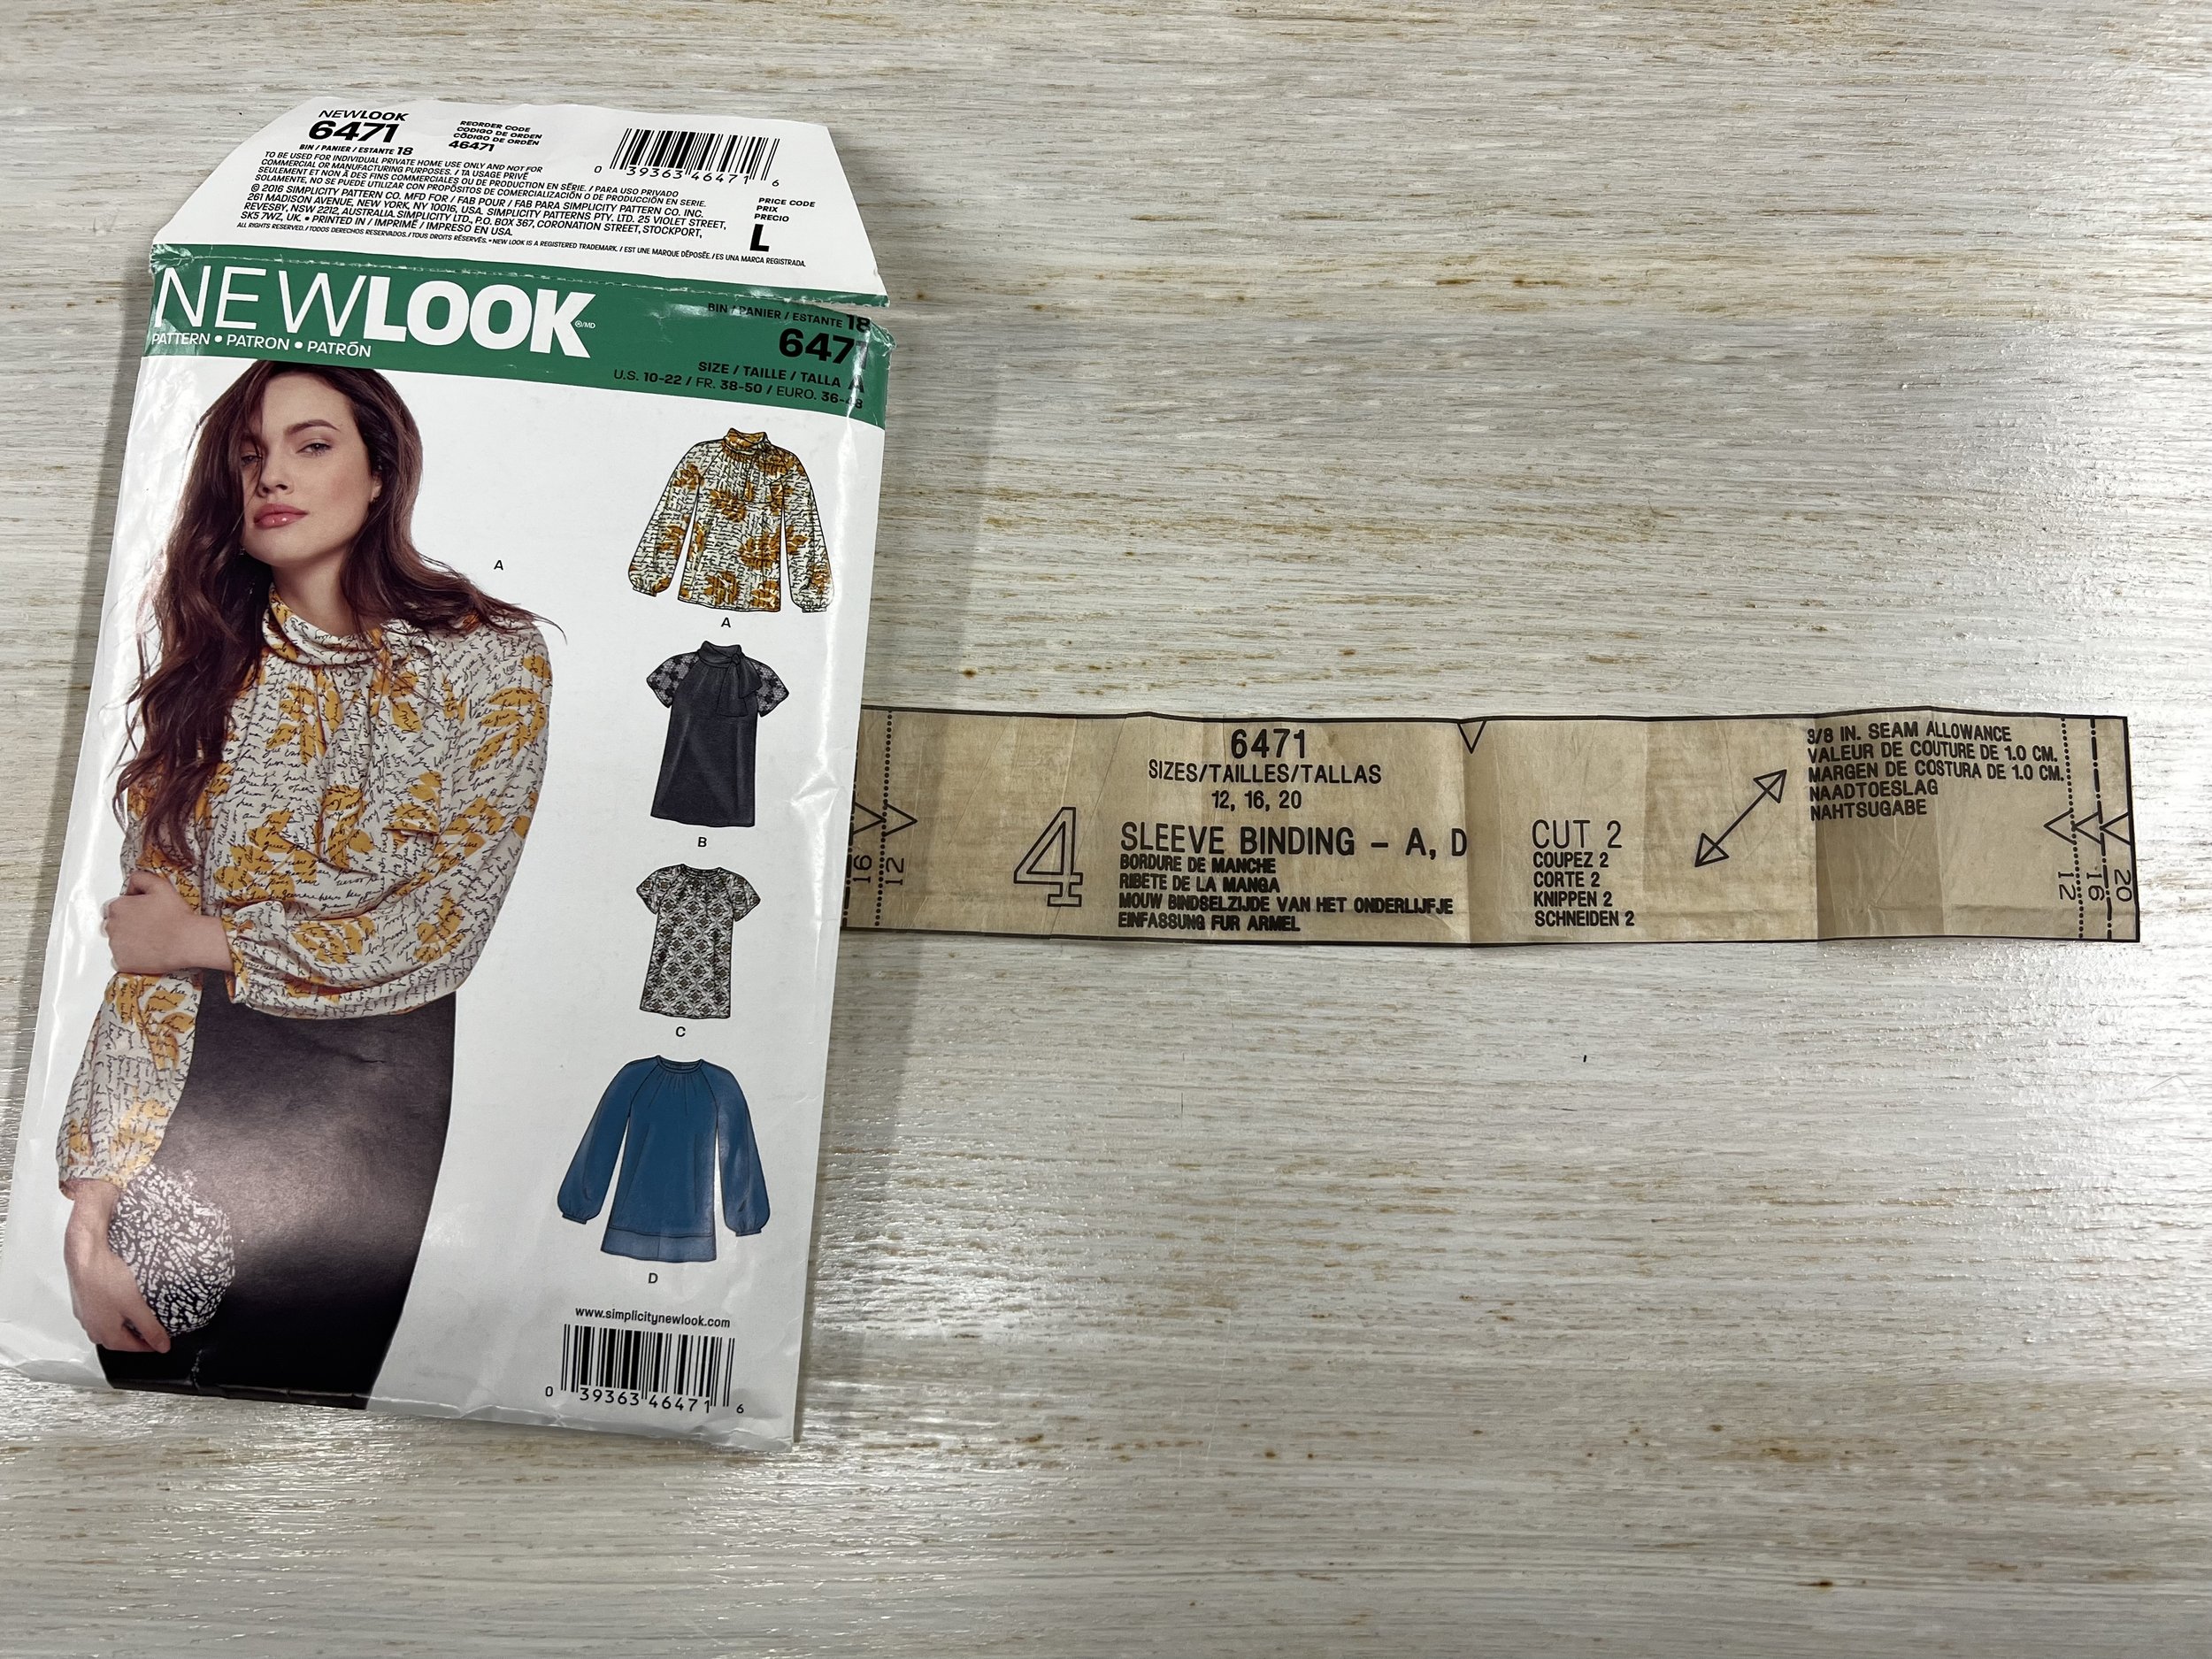
If you are not a lover of self drafting your own pattern pieces you can also use pattern New Look 6471 and a sleeve binding piece is included with this pattern. HOWEVER, you should measure it and see if you need to add a little length to it so it fits your forearm.
Now you need to stitch the sleeve cuff together. So with right sides together you have a 3/8” seam allowance. Press the seam allowance open!

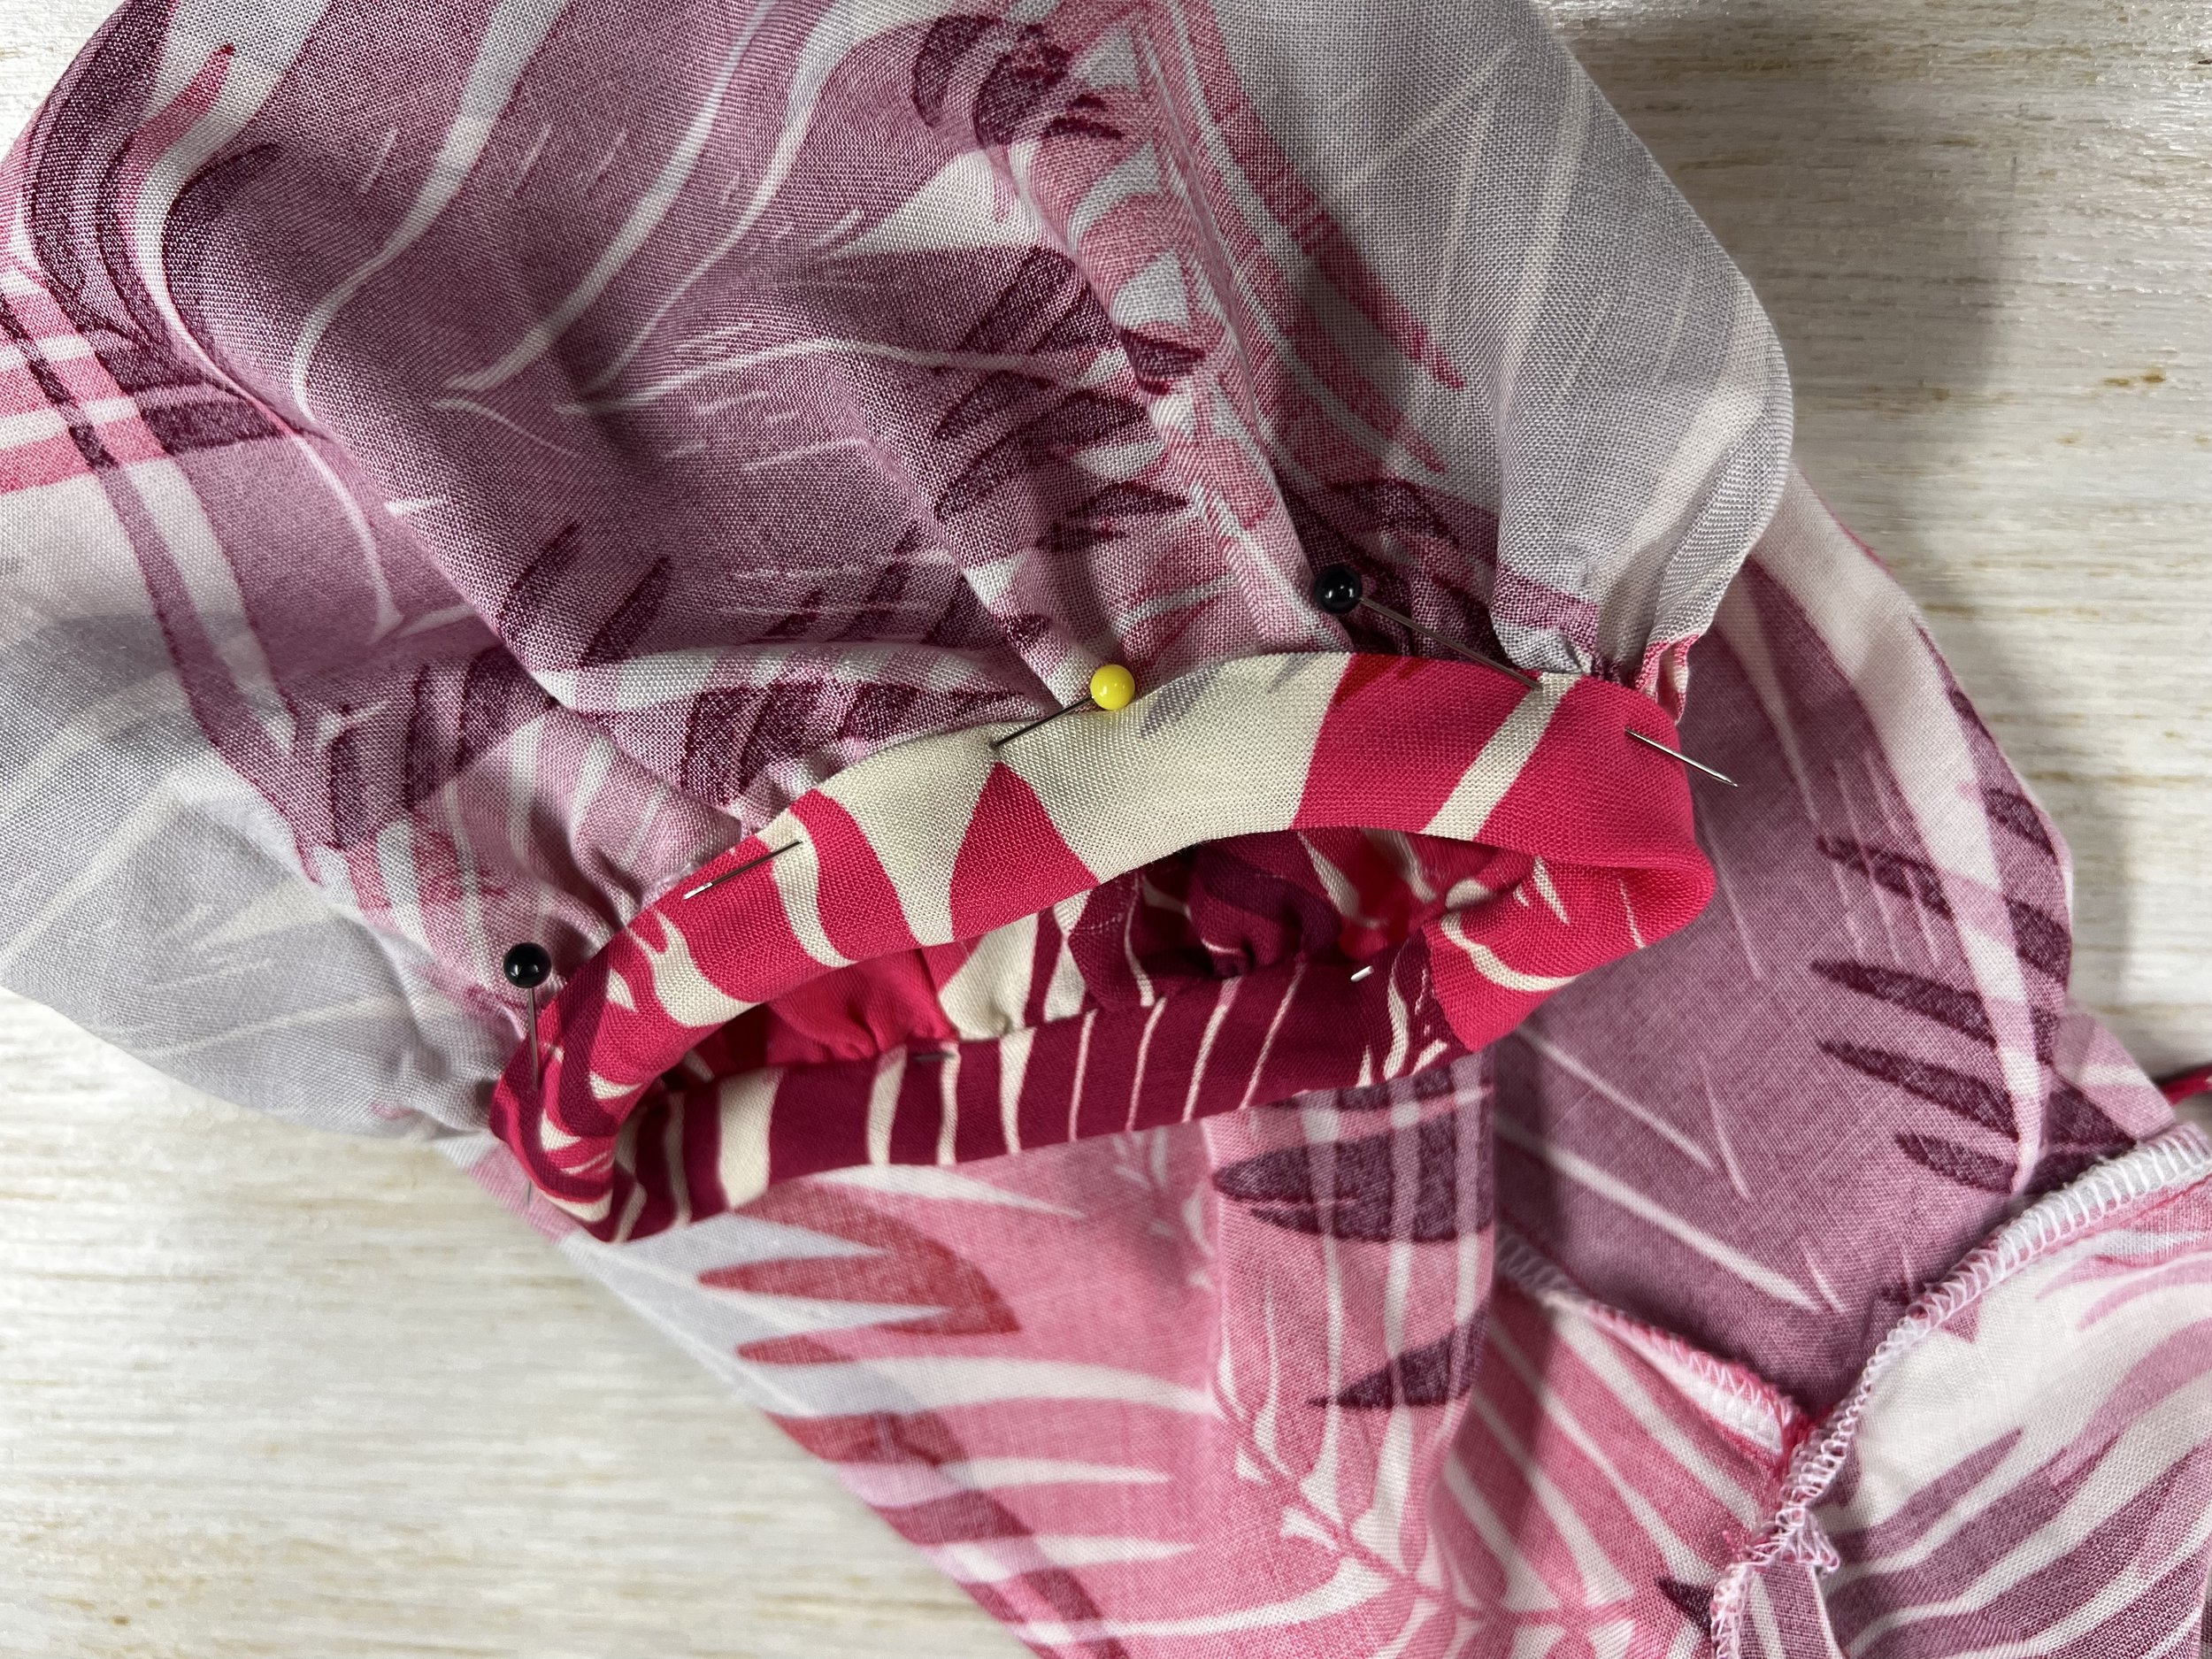
Line up your seam with the seam on the sleeve. Pin. Pull your gathers so its the same opening width as the gathers on your sleeve binding. Pin. Remember you are pining on the outside (right sides together) because we are going to fold this towards the inside.
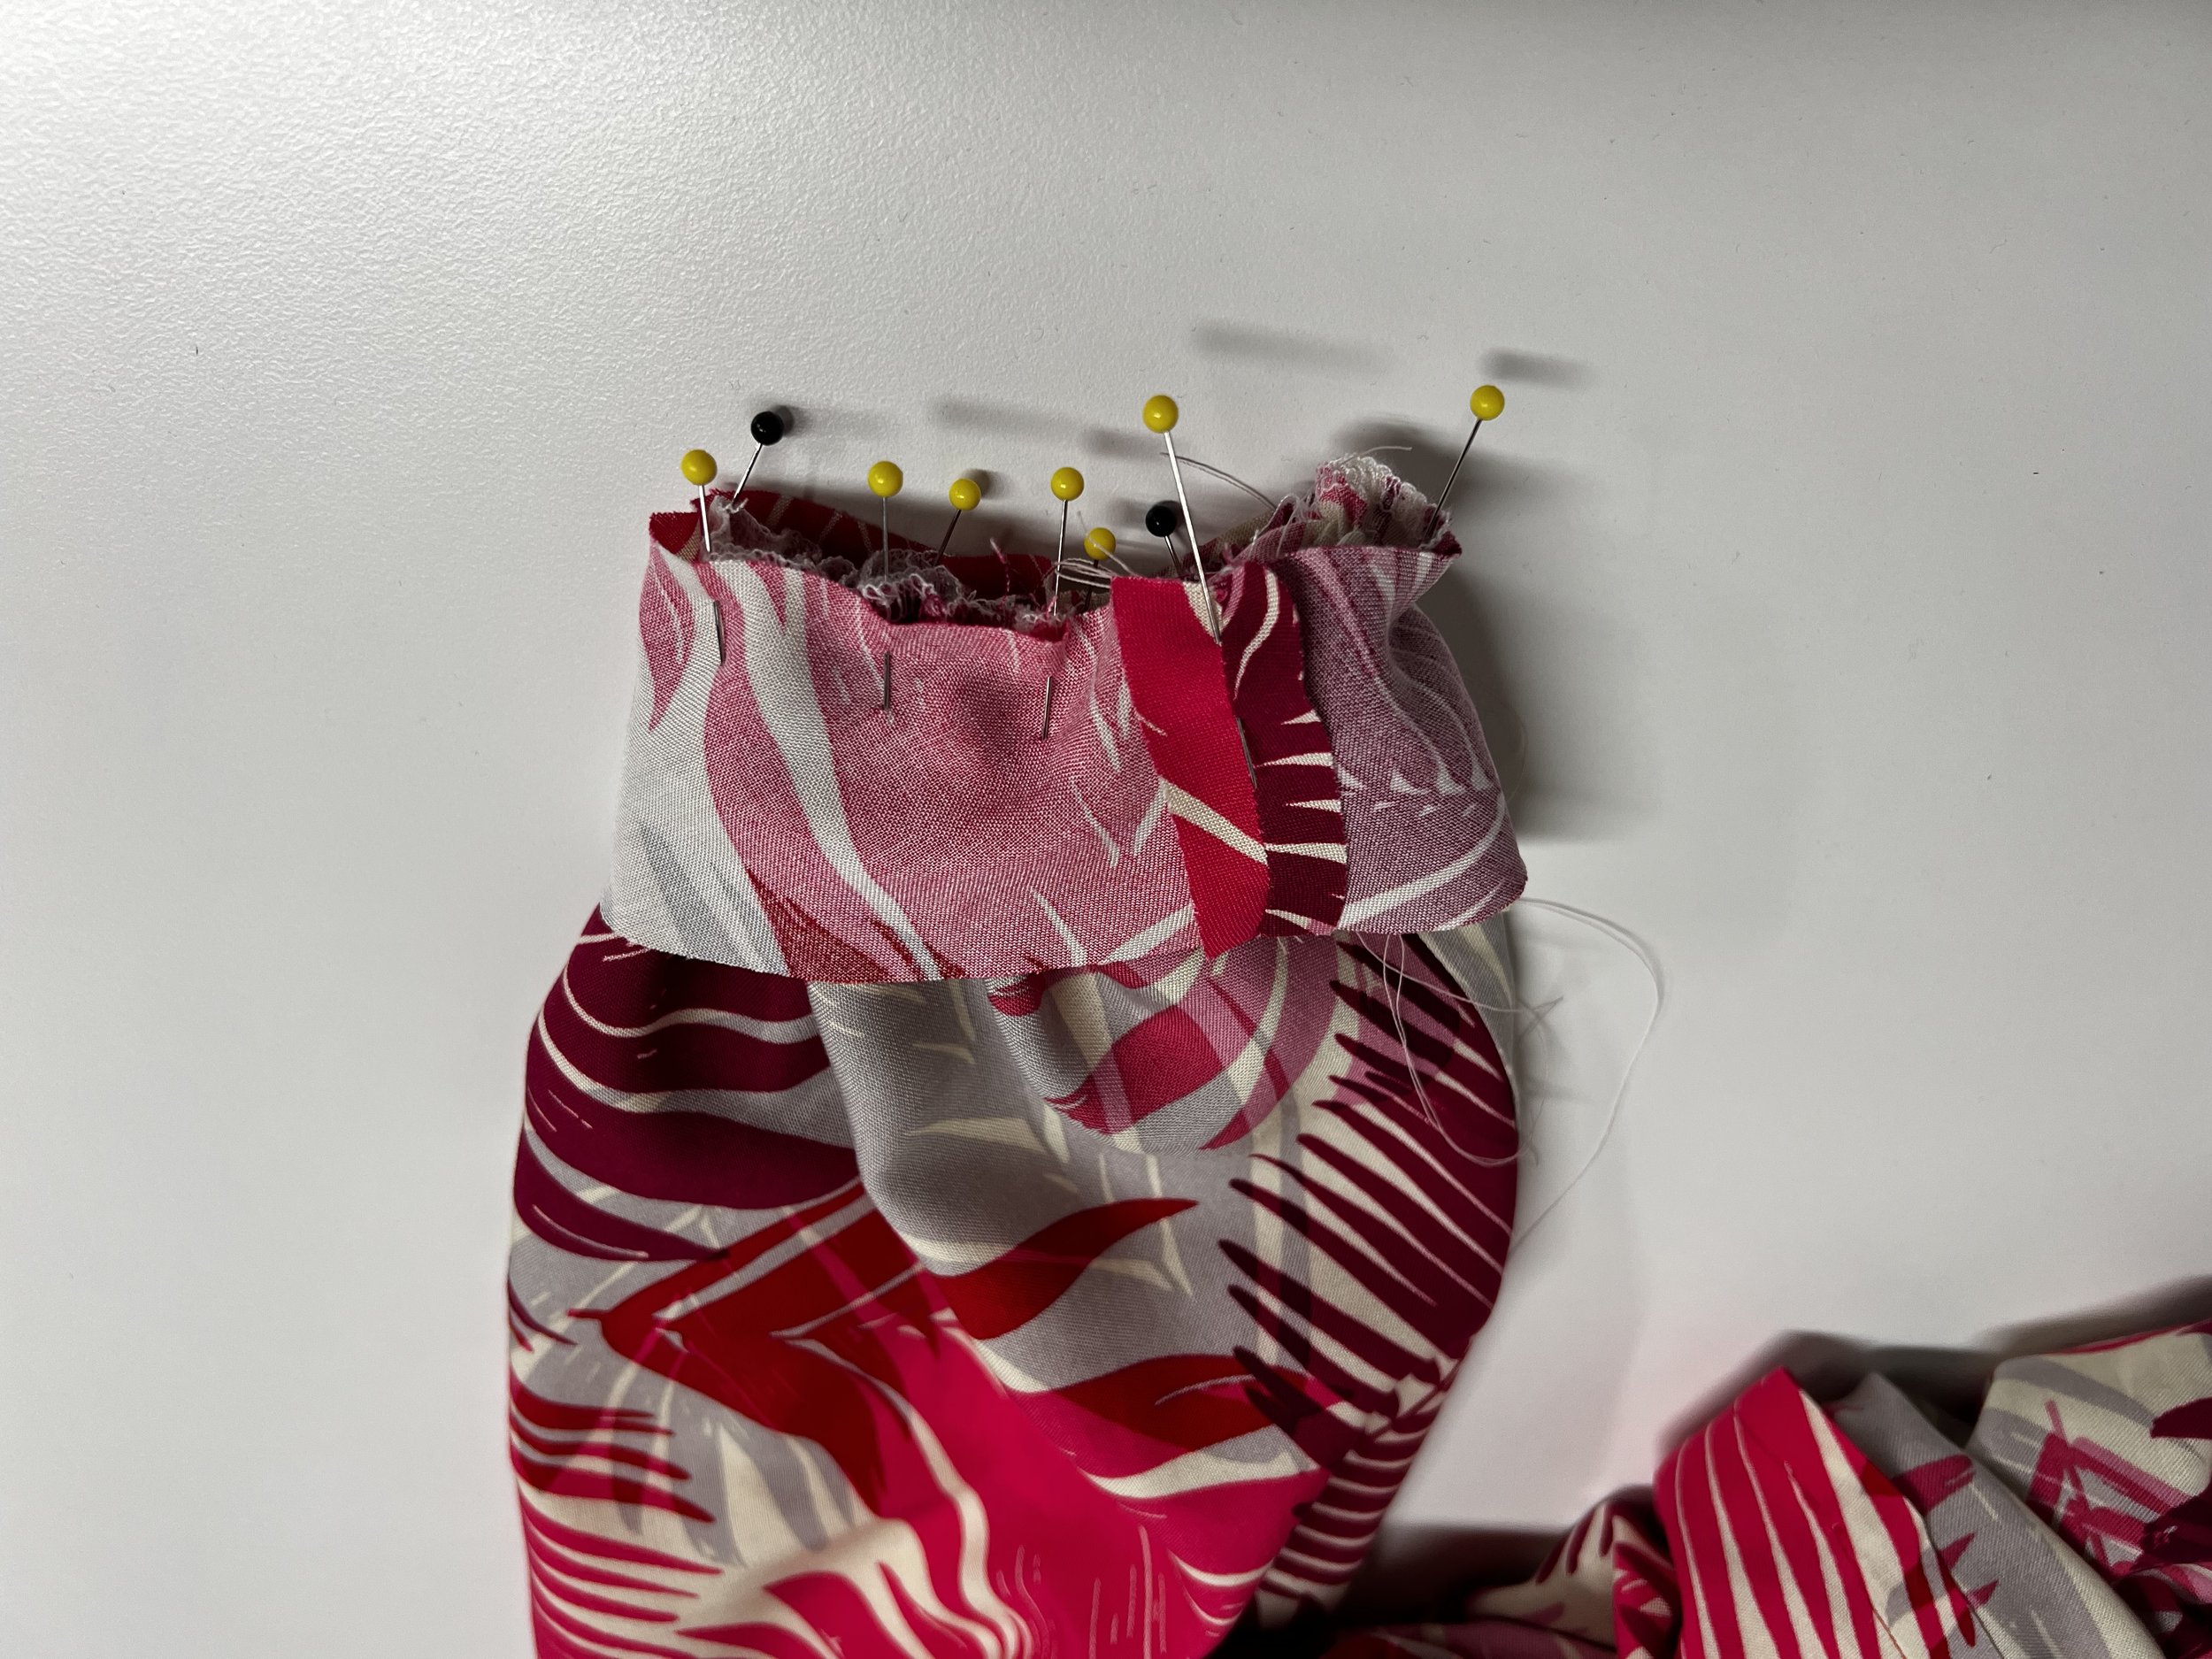
Stitch at 3/8” seam allowance all around. Don’t forget to back stitch at the start and at the end.
Now trim the gathered seam allowance down to 1/4” on the inside of the cuff and press your cuff towards the outside, and then press towards the inside 3/8”..

Now you need to slip stitch the inside of your cuffs. You can also stitch in the ditch (this is if you rather use your sewing machine!) but if you do make sure you catch the fabric inside the sleeve with your sewing machine…. hence why I like to use needle and thread and do it by hand. Give it one final press and you are done!
Which one do you prefer? Elastic cuffs or sleeve binding? I prefer sleeve binding, it elevates the look of the blouse, both are perfectly acceptable.

Love, Love, love my blouse! Now that I switched the elastic cuff with sleeve binding, it is also a lot more comfortable.

And better yet, I can put my arm on my hip, off to the side or even bend my elbow all the way and it doesn’t pull on my blouse!

Yes, it does take a little bit of extra work and time but I feel that it is well worth it.


McCalls 8182 Sew Along and Pattern Review
Pattern Description: M8182 or Monica McCalls is a Scoop neck boned corset top with lacing or separating zipper front opening. It has two different hemlines and you can either do the elastic short sleeves or go sleeveless. The top is also lined.
Pattern Sizing: Pattern is sized 6 to 24. I made a size 8. I made view B.
Did it look like the photo/drawing on the pattern envelope once you were done sewing with it? yes it looked like the picture on the envelope.
Were the instructions easy to follow? Yes they were very easy to follow.
What did you particularly like or dislike about the pattern? It is a nicely drafted pattern, the instructions are great. The one thing that I disliked and they should have a better explanation is the length of the zipper. They ask you to use a separating zipper that is either 14” or 16” long. Even the 14” zipper is way too long and you will have to cut it no matter what, this might be a deterrent to some.
Fabric Used: I used a black sateen fabric and black lining fabric.
Pattern alterations or any design changes you made: I had to do no pattern alterations on this, which was quite shocking but the measurements are on point.
Would you sew it again? Would you recommend it to others? I love the pattern, but I will say it is one to do in small increments of time as cutting, interfacing and getting the lining fabric ready is time consuming. Attaching the boning also takes quite some time. Even with all the time it takes as the sewing has to be rather precise in addition to topstitching, the corset is beautiful and the instructions are easy to follow. I would recommend it to others and believe it or not, I will sew it again!
Subscribe to our newsletter.
Sign up with your email address to receive news and updates.