Pattern Review - Aster Dress True Bias … plus adjustments
Pattern Description: From the True Bias website “ The Aster Dress features a square cut front and back neckline, as well as squared off armholes. It has angeled French darts and a button back opening. You can make this pattern with or without a lining. I chose to make it without a lining. I can see if I used a nicer fabric or even something slight sheer how nice it is to have a lining in it. Pattern pieces are provided for this which I always appreciate.
Pattern Sizing: The Aster Dress is available in two different size ranges from 0 to 18 usually drafted with a C cup and from 14 to 32 with a D cup. I got the smaller size range as I was thiclose to fitting in the smaller size range (I do, I just wanted to make sure I have enough wearing ease) and I knew I could adjust in a few locations so as to make sure that I didn’t have to do that big of a Small Bust Adjustment.
Did it look like the photo / drawing on the pattern envelopes once you were done sewing with it? It did look like the picture I did however made some adjustments to this pattern and changed the overall look of the armholes.
Were the instructions easy to follow? Instructions were well written, illustrations all made sense, and the pattern is VERY well drafted. Of course there is a sew along on True Bias’ website along with their You Tube channel. A confident beginner can tackle this pattern and also learn a few things such as sewing square necklines (which I love how she asks you to shorten the stitch length about 1” before and after making the corner, cutting into the corner plus they also give you a pattern piece for interfacing for this area), sewing fish eye darts and even a mitered corner for the hem. Love when you can learn new things if you are a confident beginner.
What did you particularly like or dislike about this pattern? I overlooked the square armholes when I bought the pattern, it looks beautiful on the models BUT I really didn’t care for the way the toile looked on me, thats when I had to start making all kinds of adjustments to make sure I loved my final garment.
Fabric Used? I used a 100% light sage green linen that had been in my stash for quite some time. I’ll be honest I don’t particularly LOVE linen (it just feels so rough some times) and I also don’t like the “embrace the wrinkles” no matter how many times I iron linen fabric with the hottest setting on my iron before I wash it. I don’t care what people say you looked wrinkled 24/7/365 so essentially all the time!!! So some days I’m not so in love with it but alas, I used linen. Now that I look at it, I’m glad I stucked with it. It is a GREAT transitional from summer to fall garment.
Pattern Alterations or any design changes you made: Well, pull up a chair, because there are MANY adjustments that I made to this pattern to give me a little bit more wearing ease but also adjust the armholes to something I would be happy to wear again and again.
This pattern is drafted for a C cup, so I knew that I was going to have to make a SBA on this, but I actually read the pattern instructions which say to double check and make a toile before you embark on a SBA. Sure enough after making my first toile, I didn’t have to do one which was shocking because for True Bias dresses and tops I always (and I mean always) even on knit tops I have to! I also didn’t have to move the bust dart. It is a French angeled dart so I think it’s a really nice feature of this pattern.
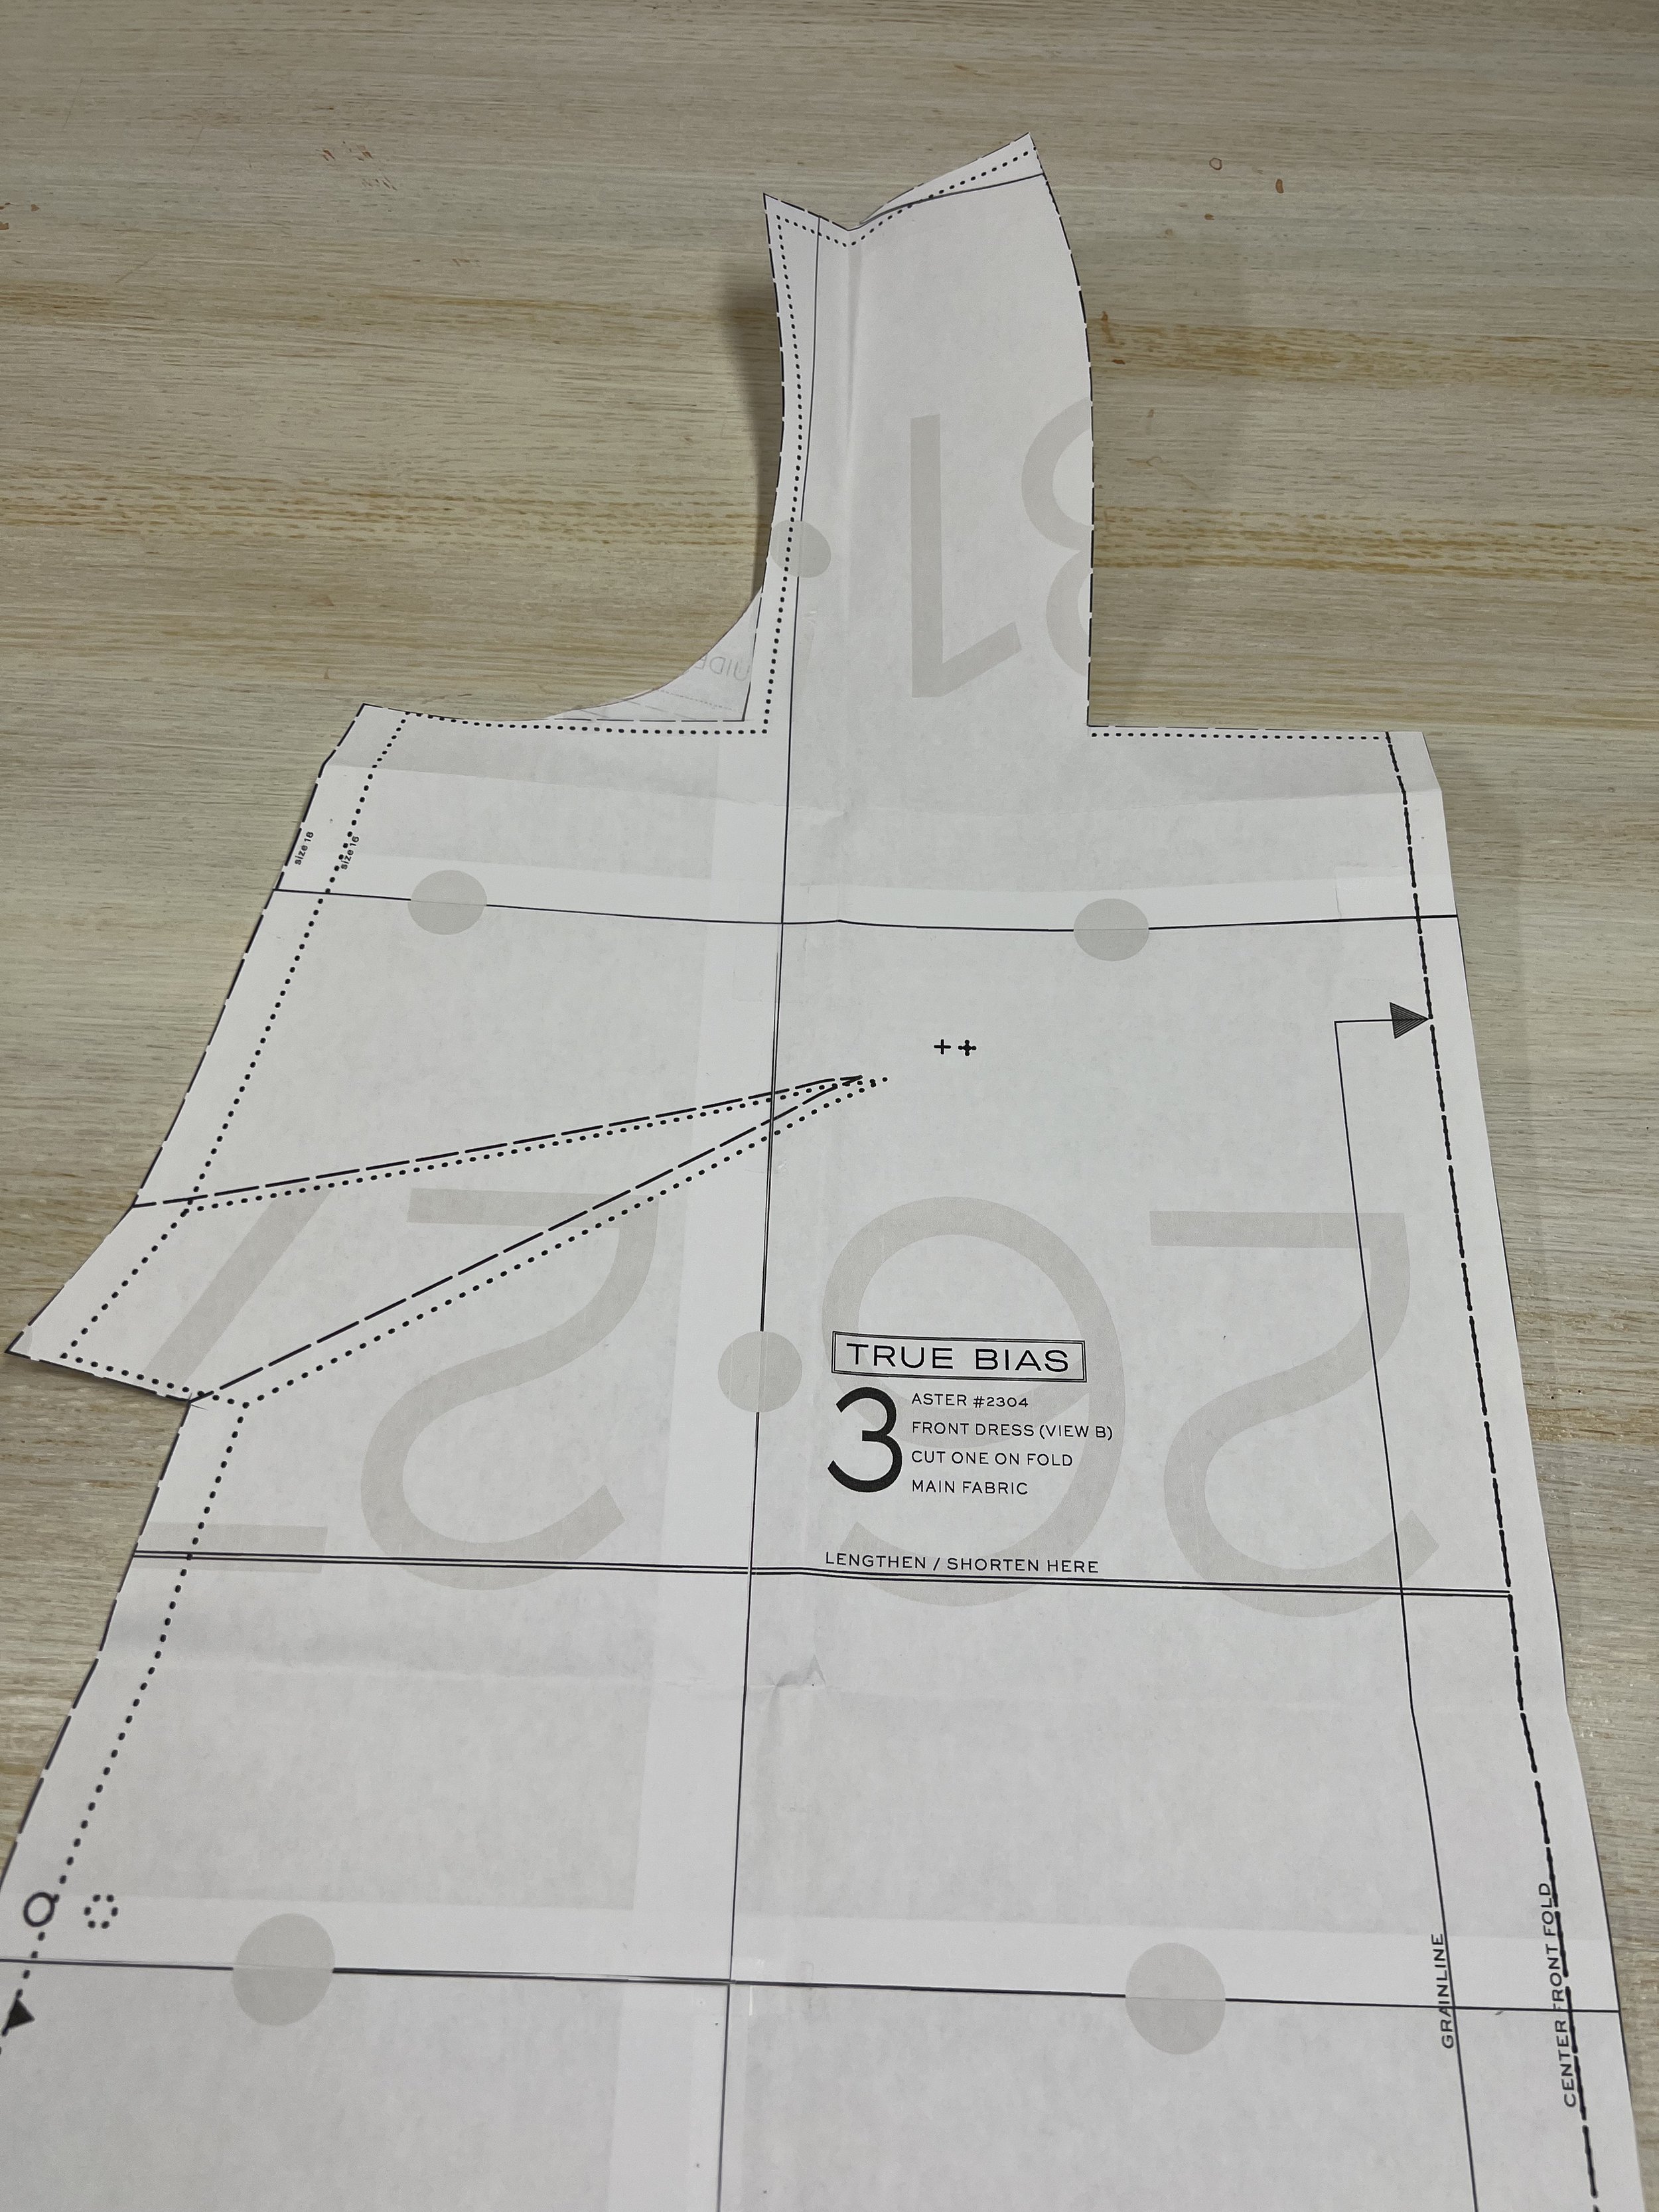
I originally told you I was just at the end of the size 18 size range so I knew I would have to add some ease to the bodice to make sure it fit and it wasn’t tight so I added 1/2” to the width of the bodice… but I did this at the center front (vs. the side seams) so I could push the straps towards the sides, ensuring my bra was always covered. So adding it to the front dress pattern piece means I also have to add it to the front facing.
Front dress pattern piece - Can you see the 1/2” added to the center front (right by the “center front fold”)
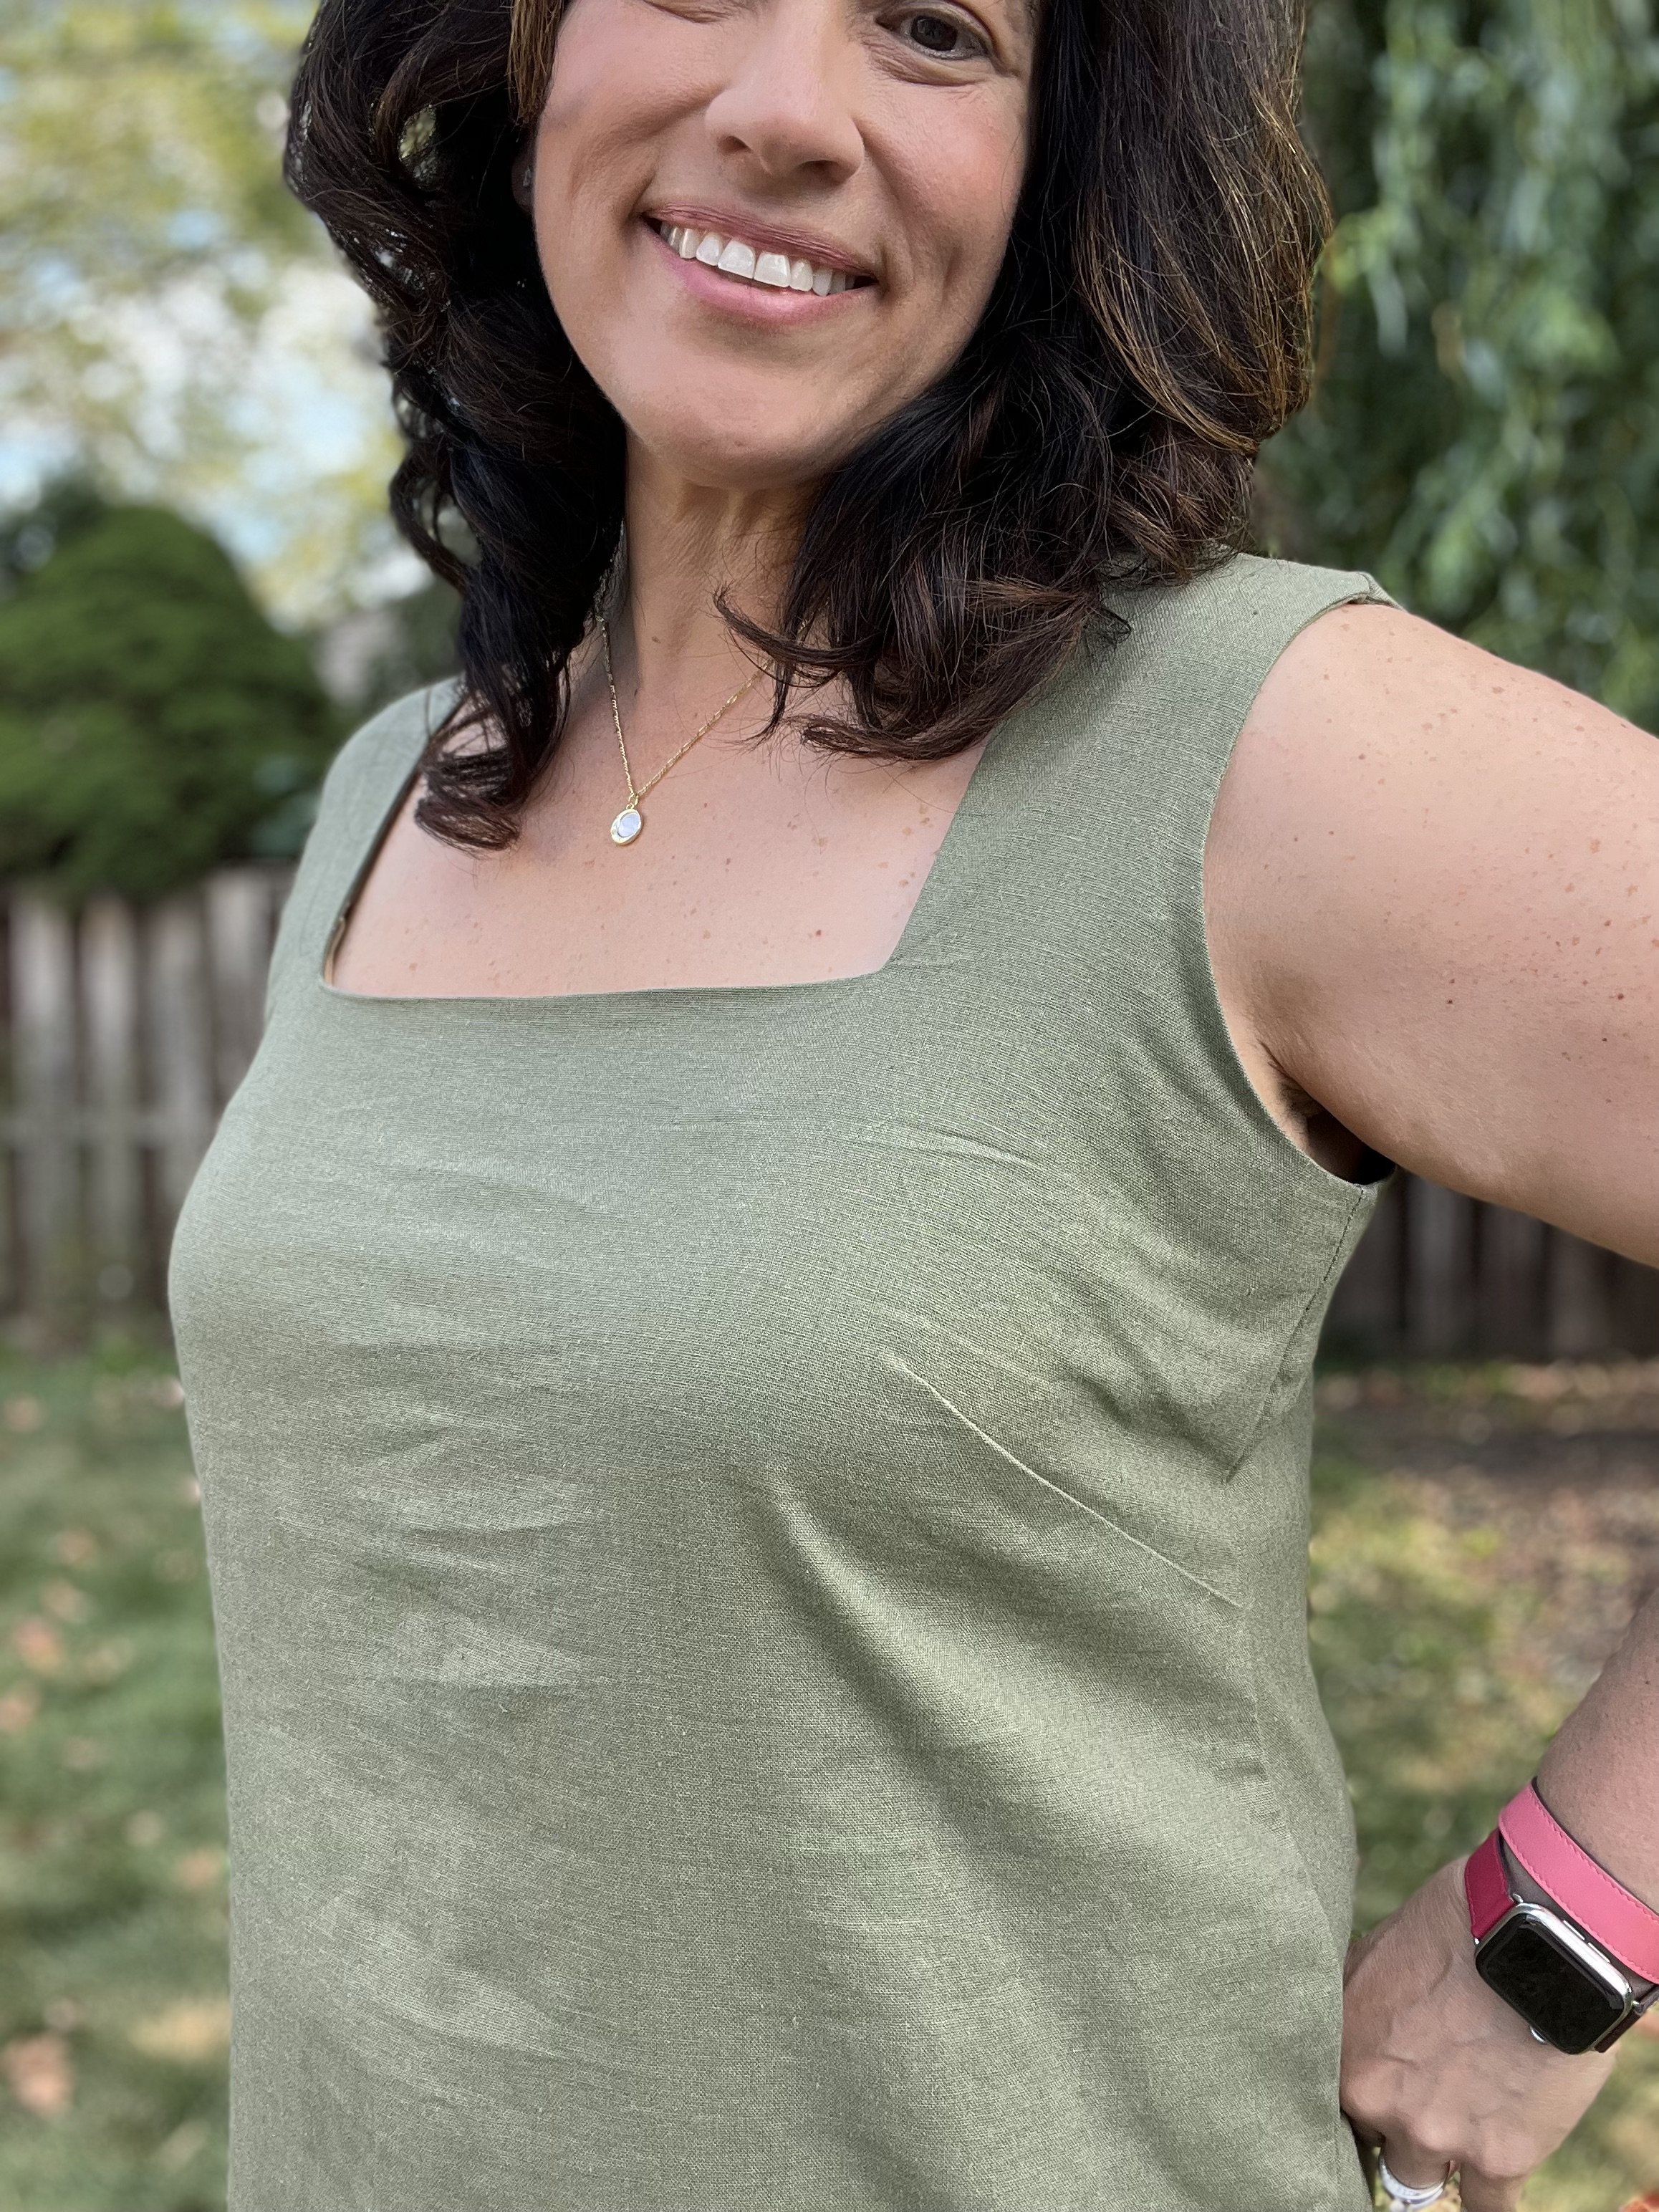
Look at how that bust dart hits right on the bust and how the armhole fits just right.
Since I added the 1/2” to the front dress piece it meant my straps were going to be angeled in the back so I had to make sure I added 1/2” to the back pattern pieces for the dress AND also the facings.
Notice the location of the added 1/2” as I added it to the front in the center, I had to make sure I added it in the back somewhere close to the center.
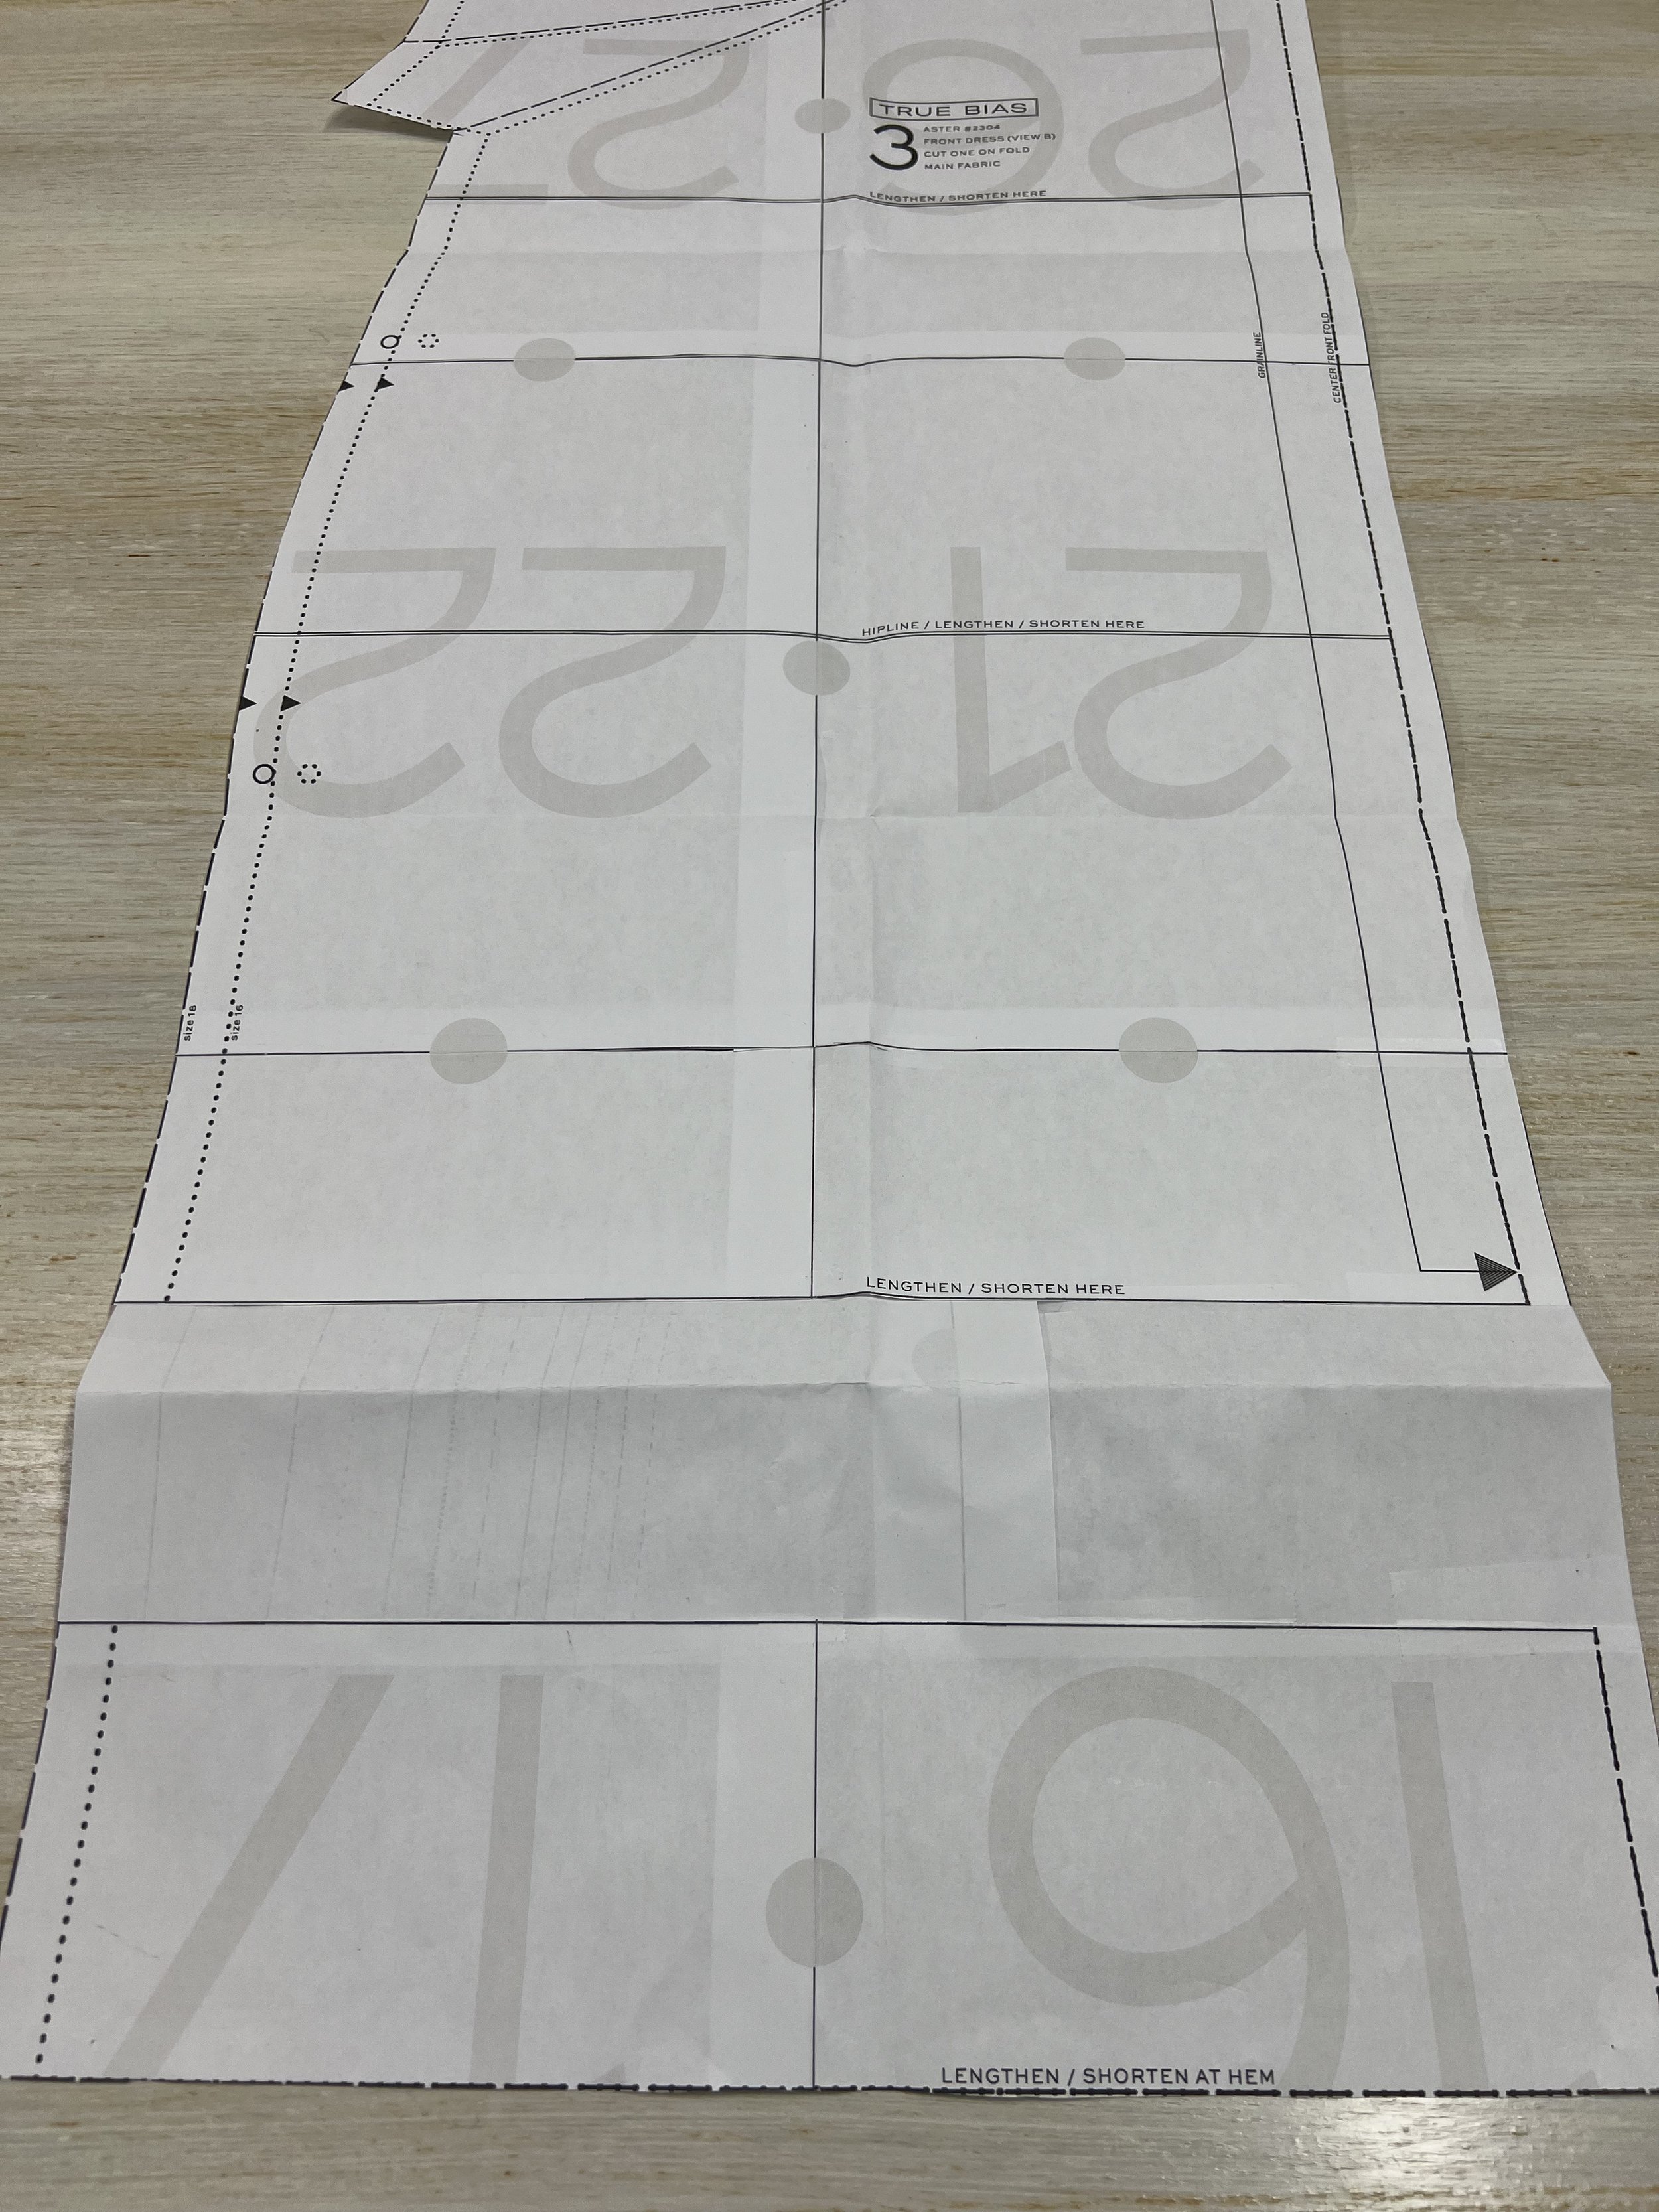
I also added length to the pattern. I probably didn’t need it, but I'm glad I did as I can always take it off if I need to do so. That meant I also had to add length to the buttonhole placket pattern piece. There are shorten and lengthen lines in a few spots on the pattern, always so helpful.
I added 3” to the length of the pattern as I wanted to make sure the hem hit right at my knees or just below.
I didn’t care for the square armholes, hello meaty armpits. If you know, you know. It is not flattering and I wanted to make sure that if I’m making a dress, that I wear it. So I had to add curvature to the dress AND the facings. I had just worked on McCalls M8402 and I liked the way the armhole is drafted on this pattern, which lo and behold also had French bust darts. So I took that portion of the pattern and used it to redraft those square armholes.
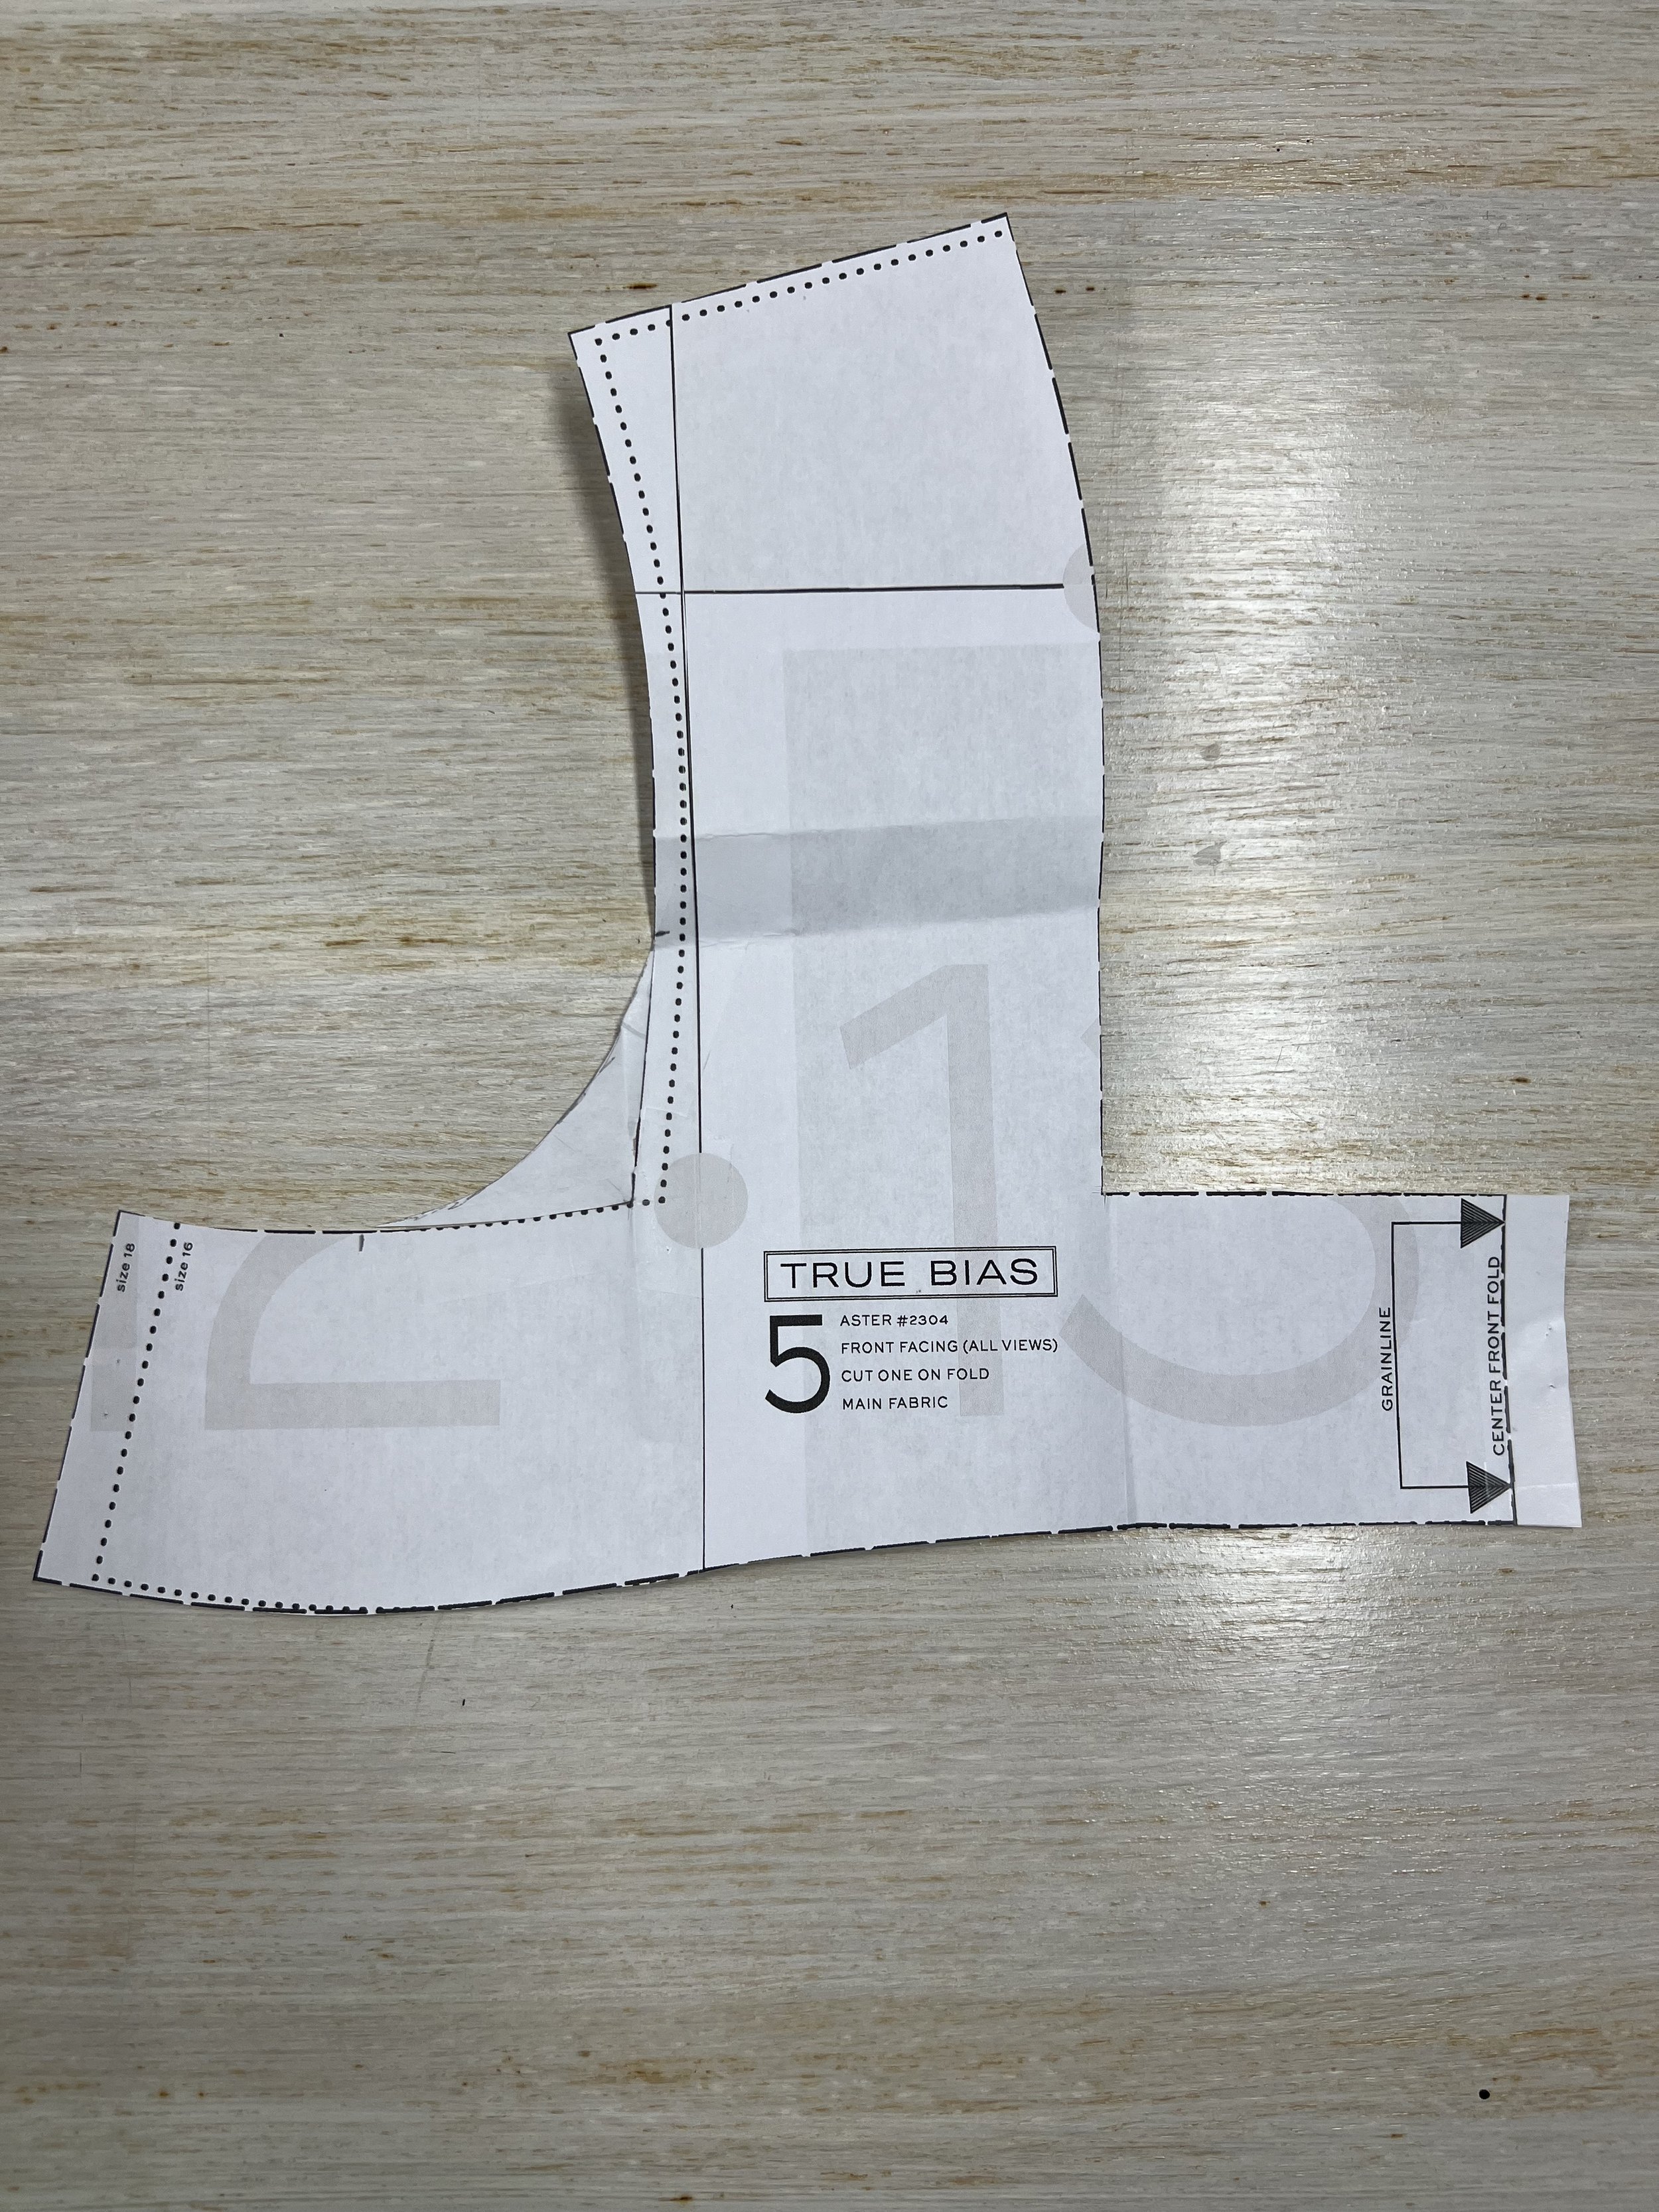
I used M8402’s front and back facings to give the dress a rounded armhole which fit me a tad better.
Front Facing - See the curved area around the armholes!!! I also added 1/2” to the center front.
I took off almost 3/4” off the length of the straps as I wanted to make sure that my bra was covered at all times, front and back.
I said good bye to those pockets. I didn’t need or want bulk and I rarely use pockets in dresses plus this would have been flapping out there… so “poof” gone!
Some thing to note, which is NOT an adjustment. Whatever buttons you use for this pattern make sure they are flat because they are in the back and you will be sitting on these at some point so you want to avoid any discomfort while seated.
Make sure you use flat buttons for this dress. After all, you will be seating from time to time.
Would you sew it again? I’ll be honest, after making several toiles and making this dress, I’m going to take a break from this pattern for a little bit. I’m glad I did, don’t get me wrong, the pattern is fitted to me and next time I make it, it will be a really quick sew. I can see myself hacking it and moving the button hole placket to the front but like I said, I’m going to take a little break from it and perhaps find a pretty rayon twill, or Liberty print next time I make it OR perhaps something with a really large print.
Would you recommend it to others? It is a lovely design, it is well drafted, it is VERY hackable (you can make a top, you can make a dress, you can hack it with the button holes I the front, you can do a waist length top and add in a peplum with buttons) in that sense, it is a great pattern, but beware if you don’t like to make a lot of adjustments because you are crazy picky about fit like me!
