
How to Add a bias Tape Finish to a Jacket Lining

Click on the image above for a step by step video tutorial on how to add a bias tape finish to a jacket lining.
A quick way to elevate the inside of your jackets, blazers or coats is to add a bias tape finish to the inside of the jacket. You will need
Finish facing for the fronts and also the back facing
Lining Fabric for the sides and back pieces already attached.
4 to 5 yards (on the conservative side) of bias tape. You can make it yourself or you can get it from your local fabric store. I’m using a 1” double fold bias tape, once it is folded it is 1/2”. Have fun with this!

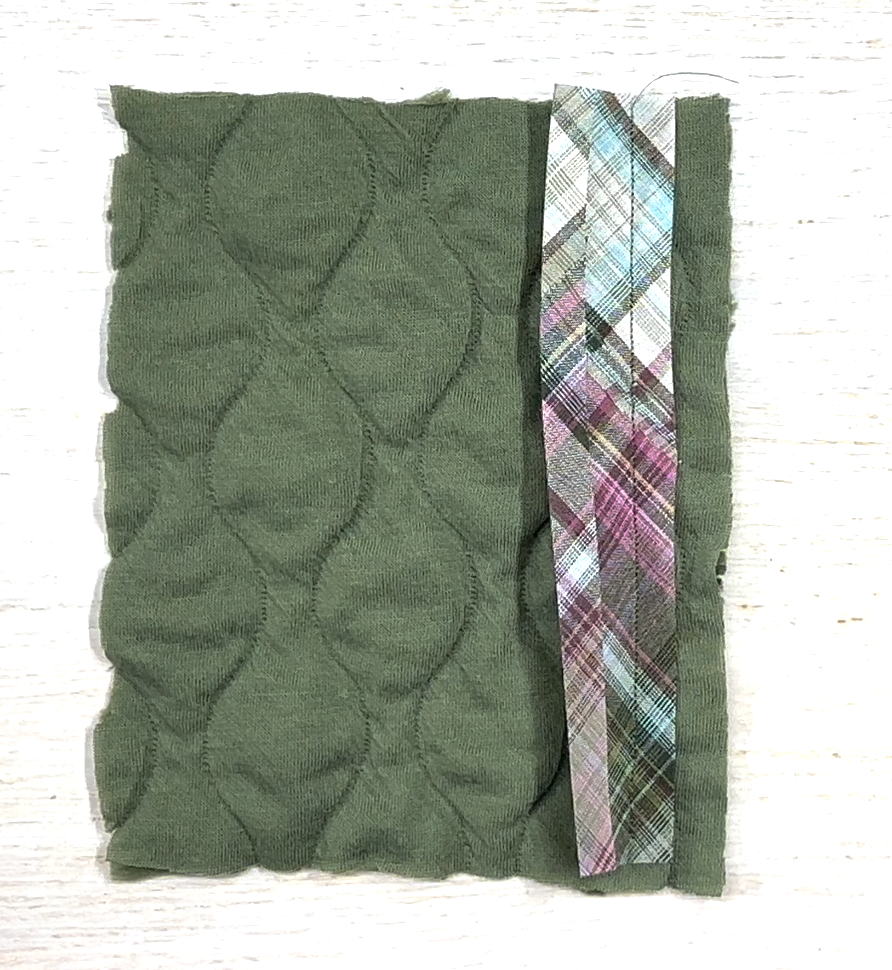
Facing (main fabric on the left), Bias tape 1” (on the middle), lining fabric (on the right hand side)
My pattern seam allowance is 5/8” or 1.5 cm. I’m unfolding my bias tape and sewing on that fold at a seam allowance of 7/8” from the raw edge.
Notice how I sewed on the inside fold at 7/8” from the raw edge.
Now press your extra bias tape fabric towards the raw edge and cut the extra fabric so it matches the raw edge.
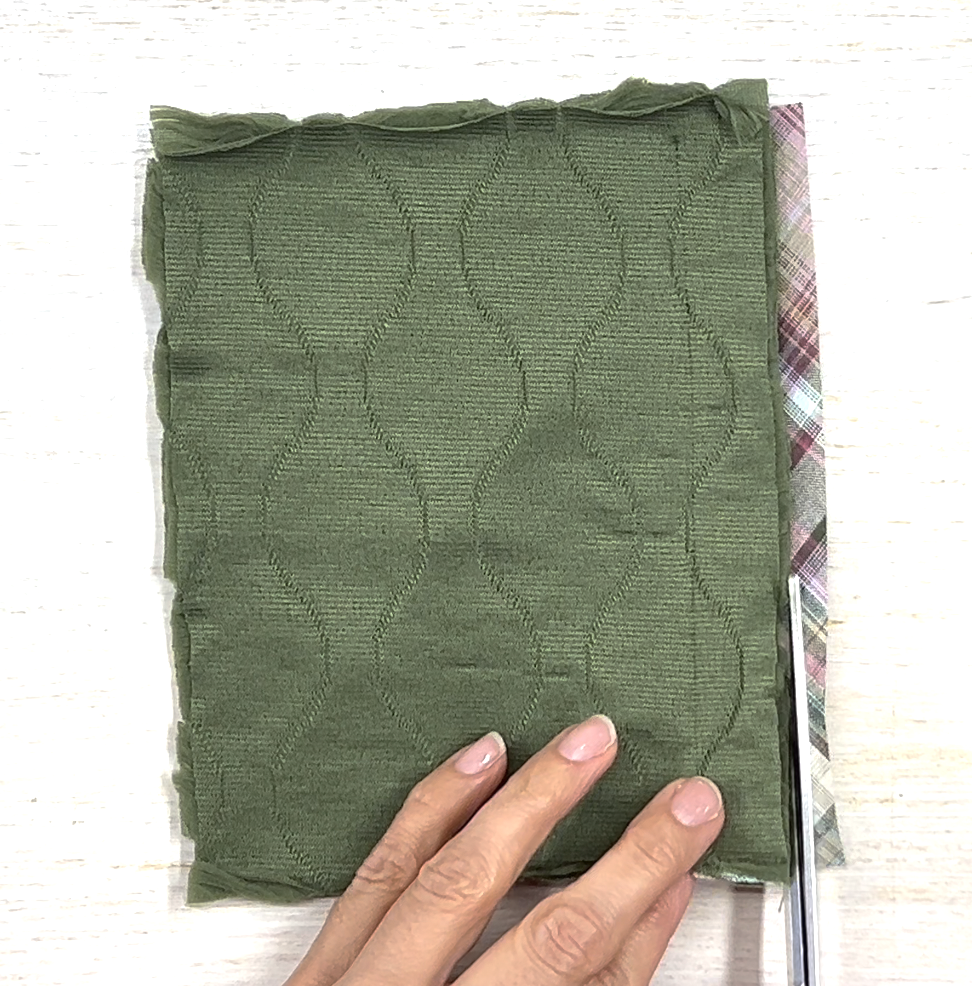
Looking at the main fabric from the wrong, side I have a little bit of extra bias tape… cut that so it matches the raw edge.
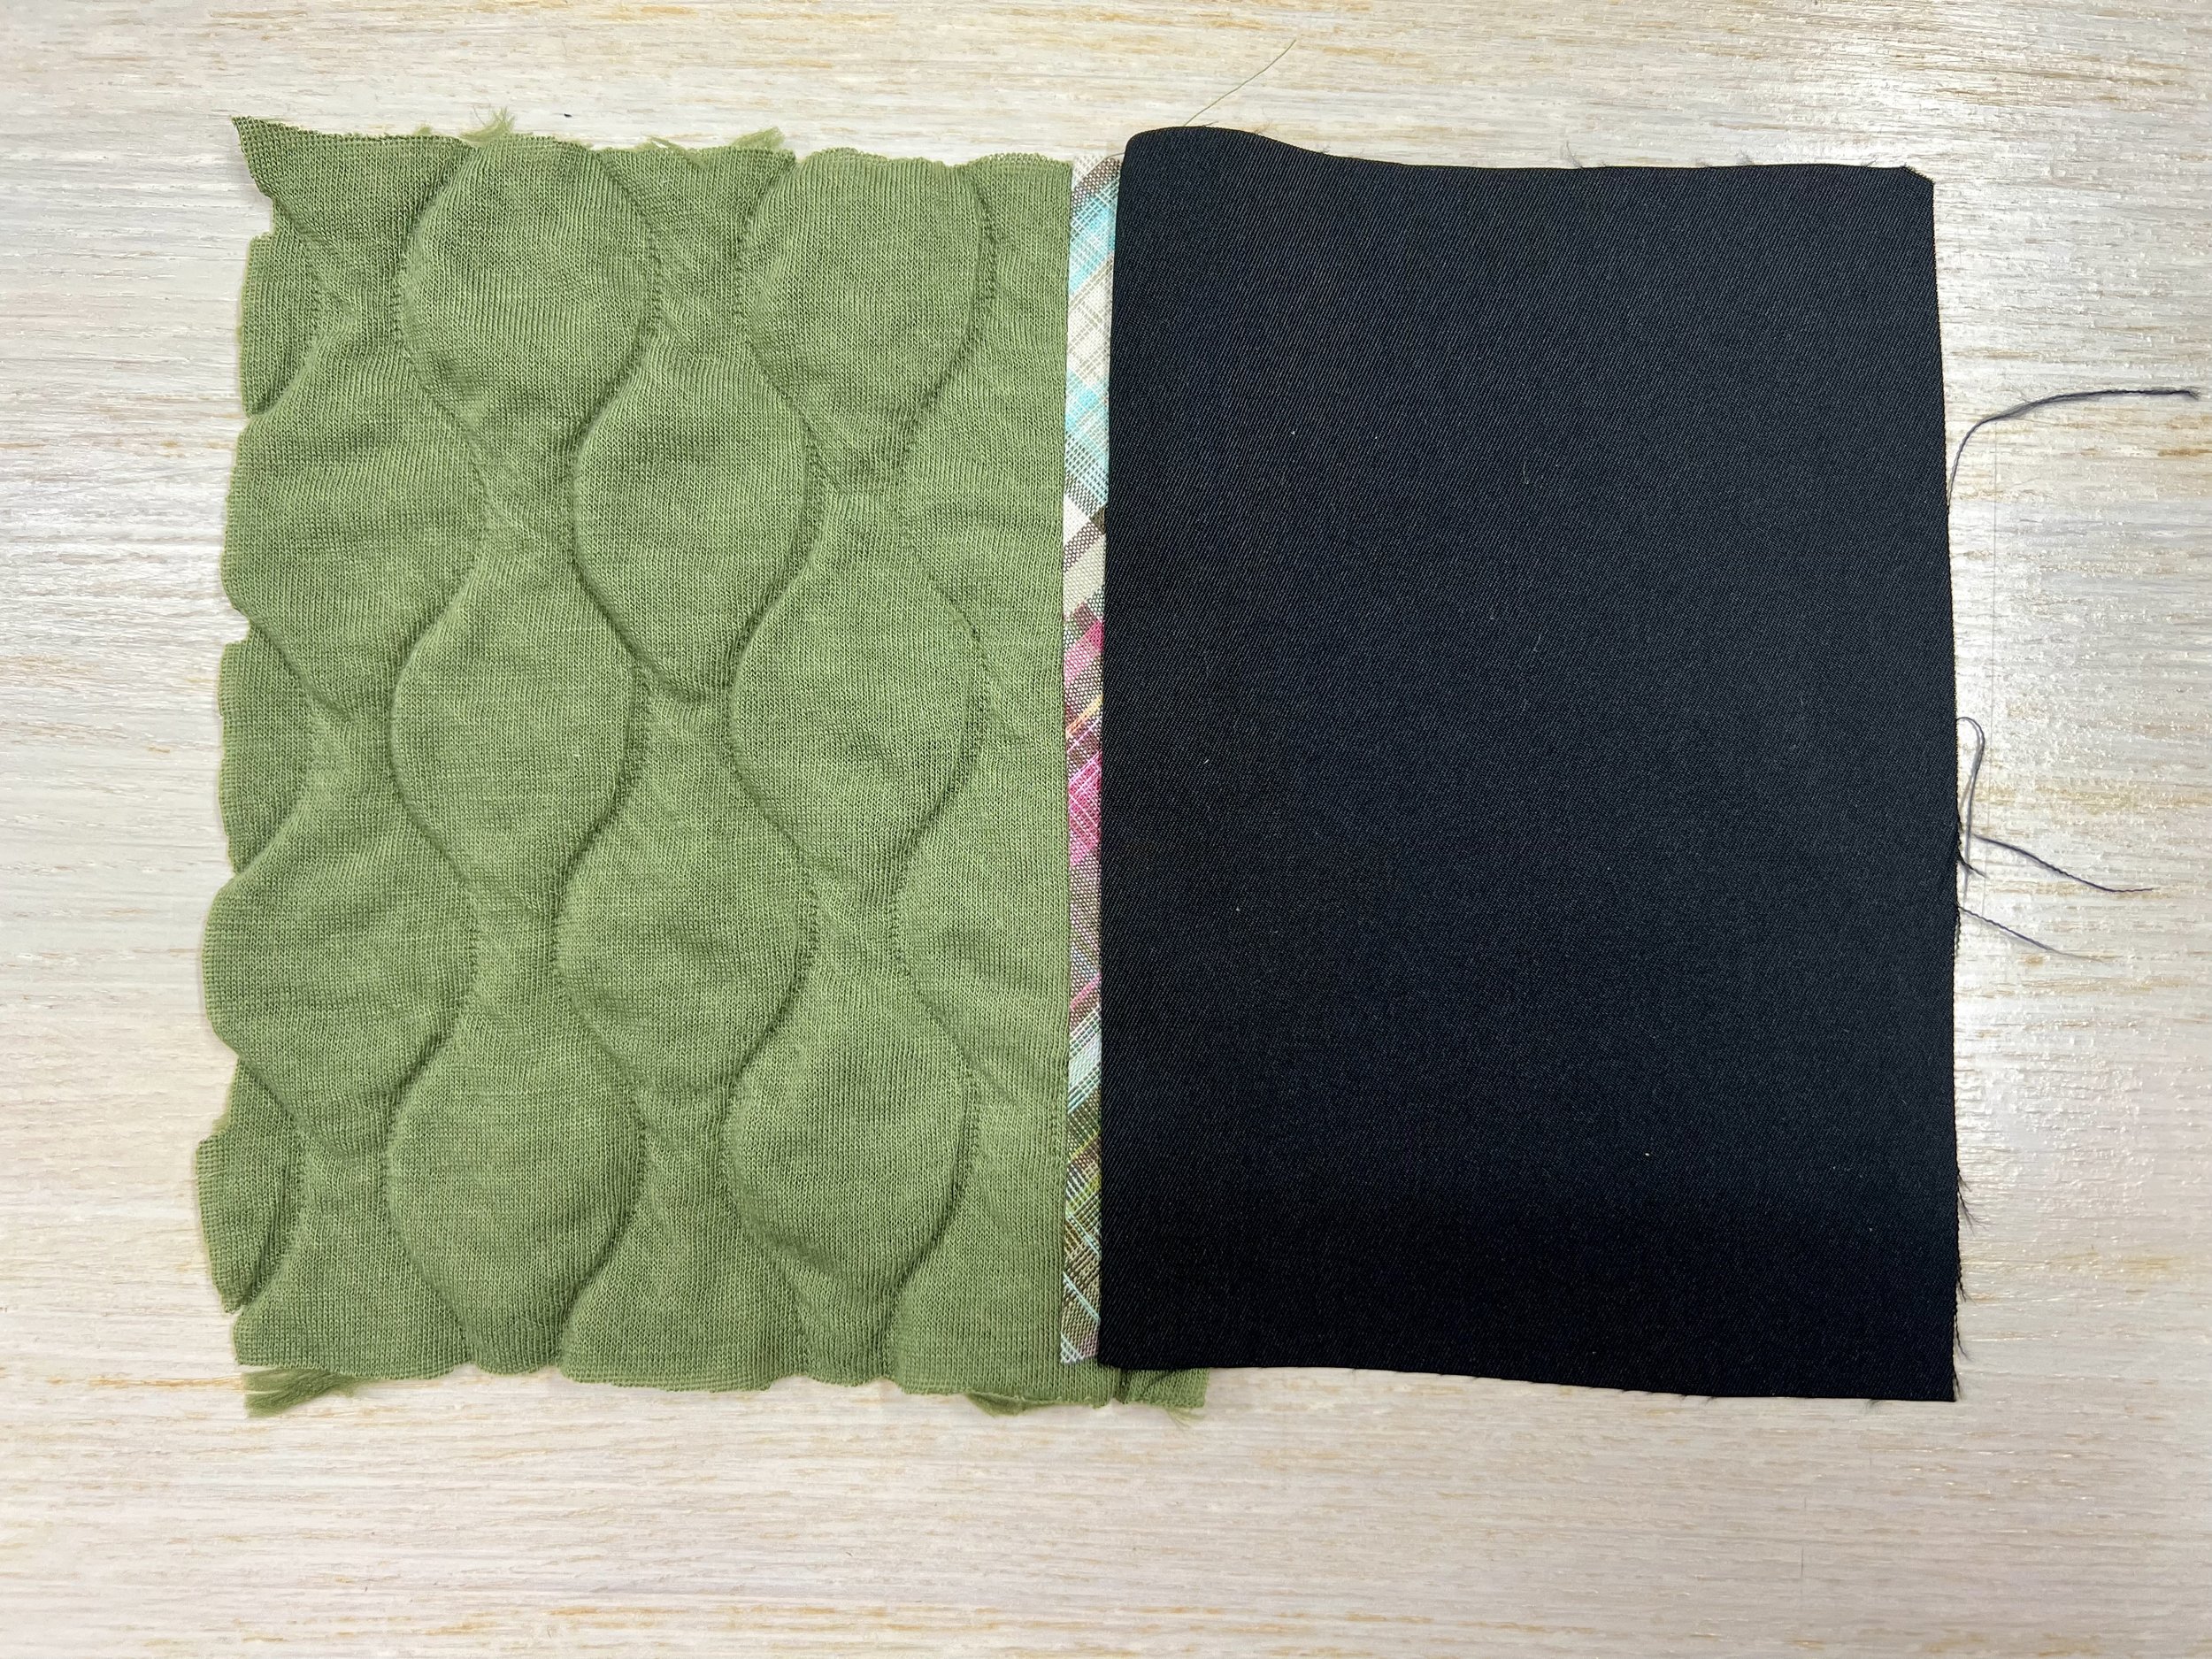
Now right side of the main fabric (with the bias tape already attached) to the right side of the lining… stitch at 5/8” seam allowance.

Now give it a final press to show the bias tape finish.
Final view with the bias tape finish on the facing (aka the main green fabric) and the lining.